How to Set Up Headlamp in EKS with Cognito as the OIDC provider
This tutorial is about configuring Headlamp 0.23.2 with:
- AWS Cognito for OpenID Connect (OIDC) authentication
- AWS EKS Platform eks.6
- Kubernetes 1.29
Configuring Cognito
Cognito is a fully managed identity provider that allows you to create and manage users for your applications. In this tutorial, we will use Cognito as the OIDC provider for our EKS cluster. Before proceeding, follow the getting started guide to know more about Cognito.
We will start by creating a Cognito user pool. This tutorial uses the AWS portal, but you can also use the 'ekctl' or AWS CLI tools for configuration.
- Go to the AWS console and navigate to the Cognito service.
- Click on Create user pool.

- On the configure sign-in experience view, select User name, email and Allow user to sign in with a preferred username options.
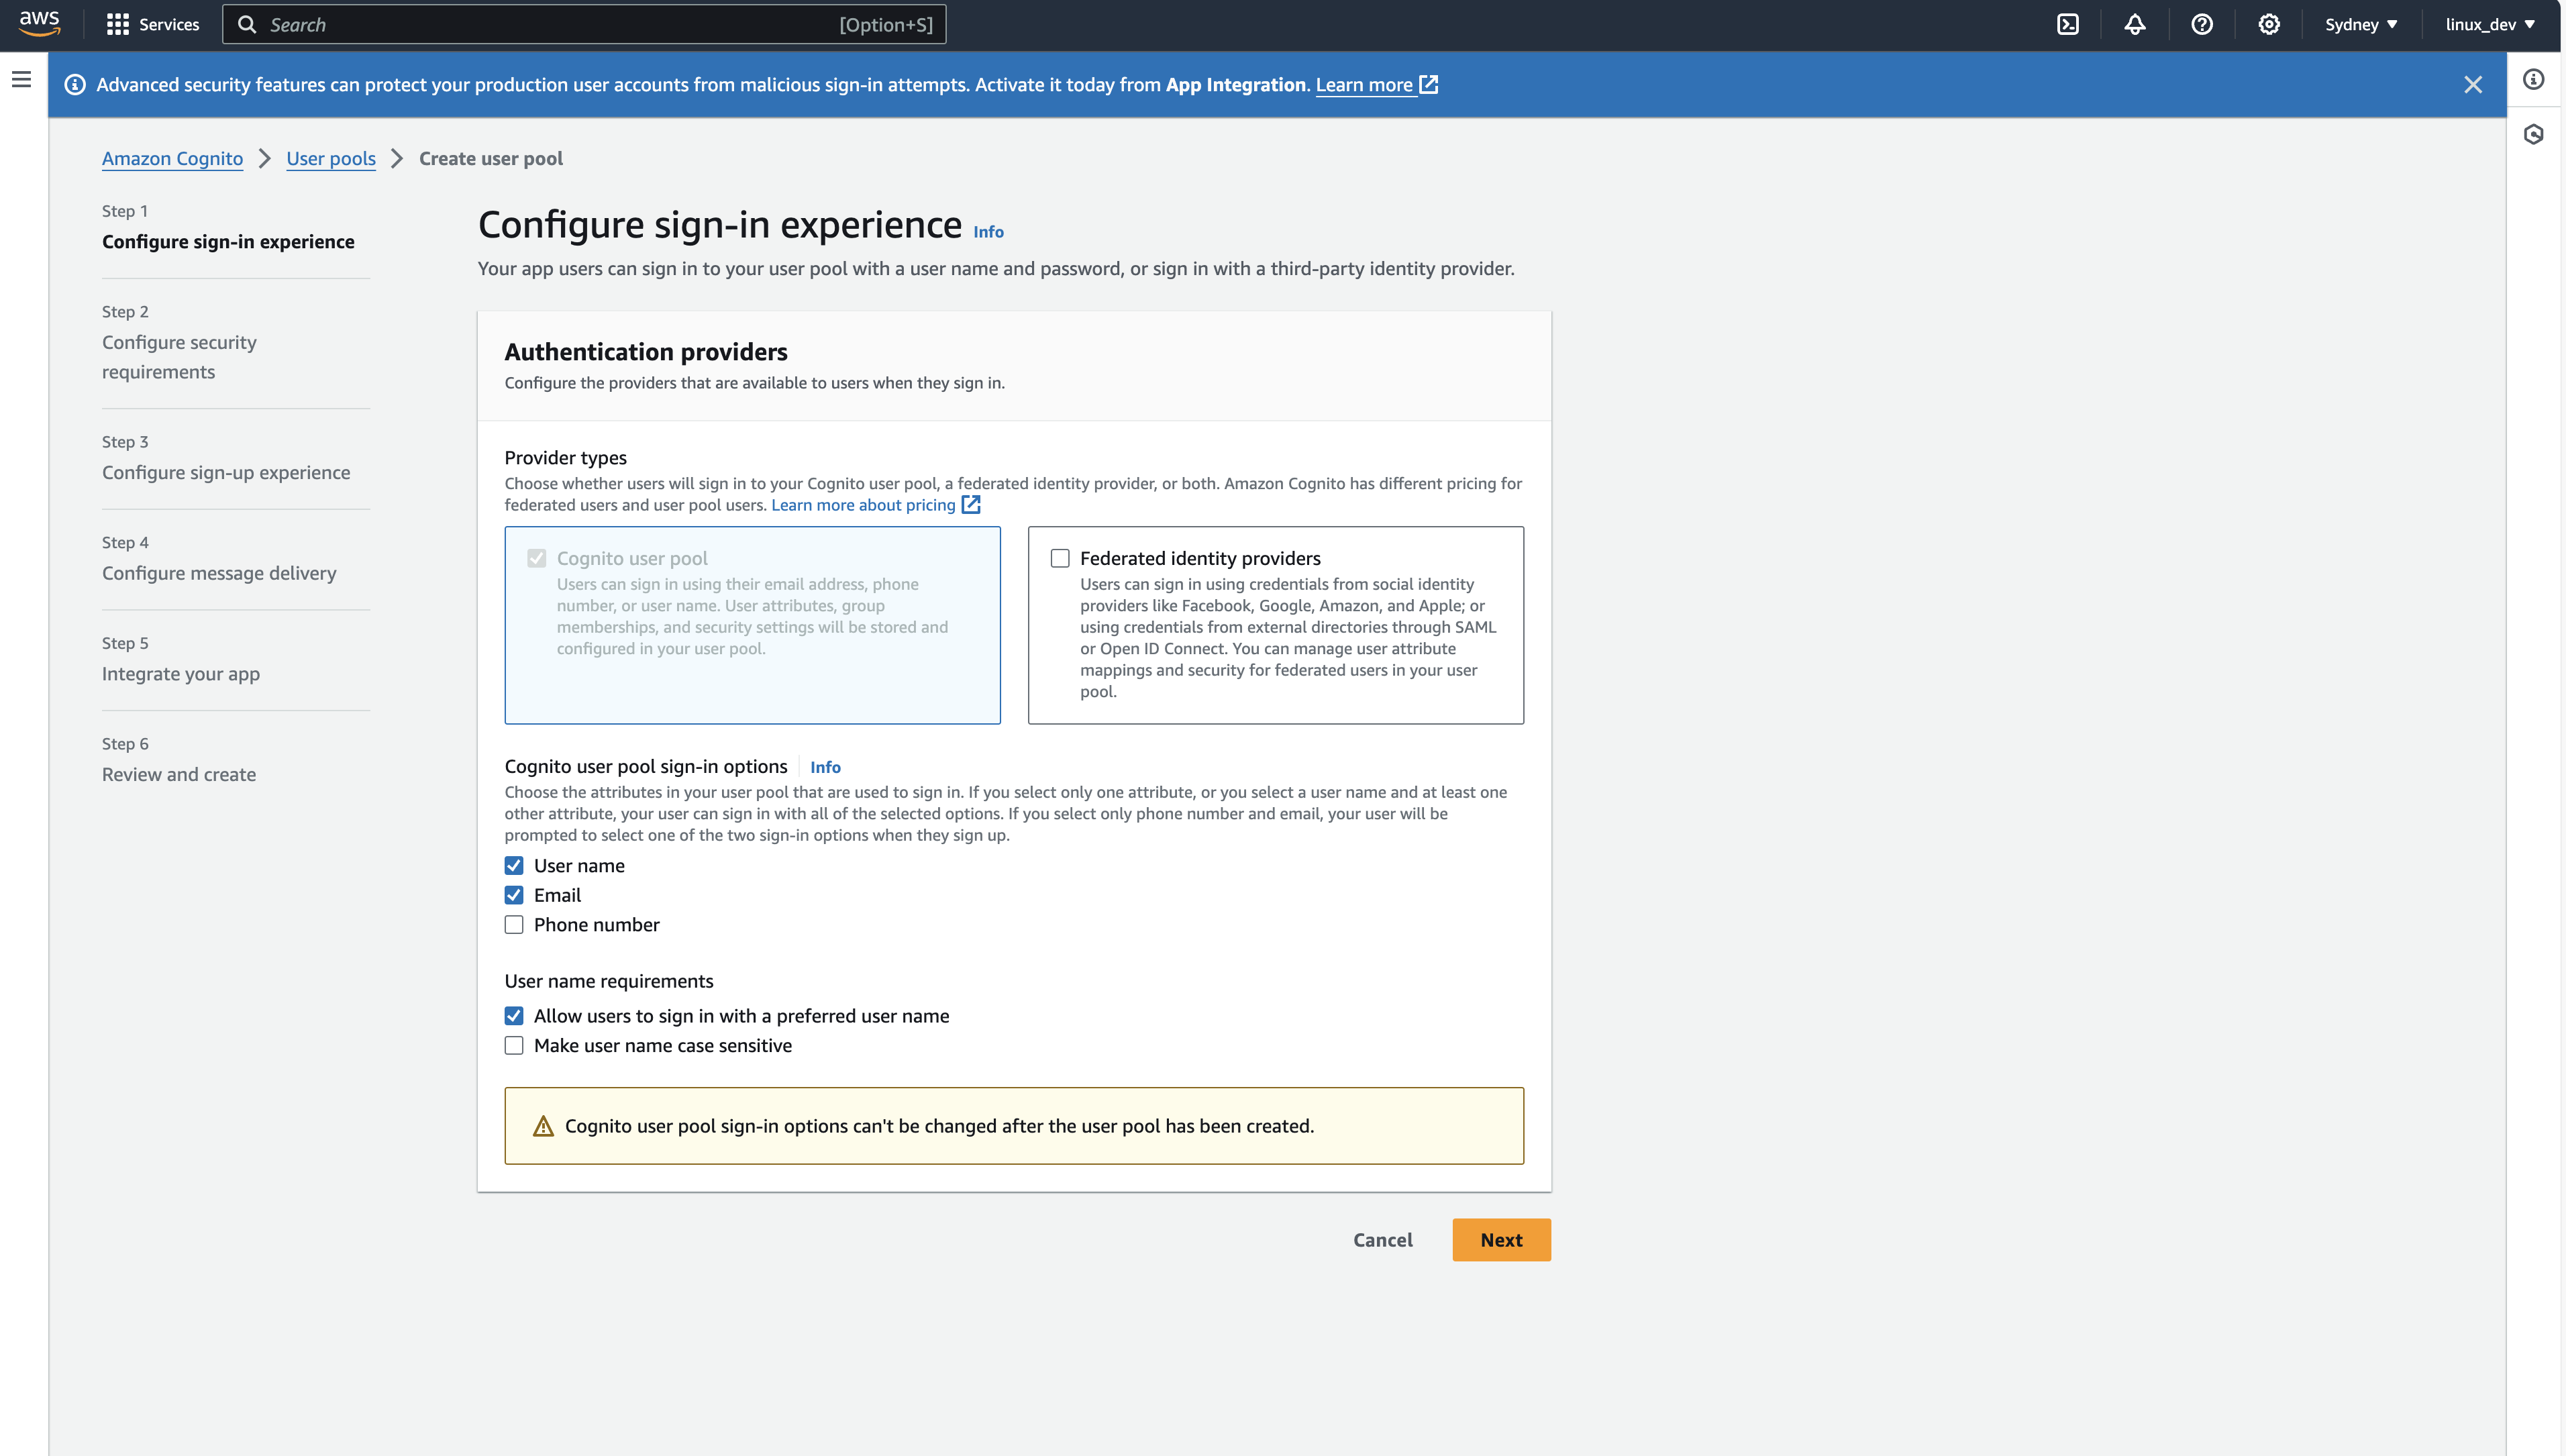
- Click next to go to the Configure security requirements view
- You can configure the password policy as per your requirements. For this tutorial we will use the default settings.
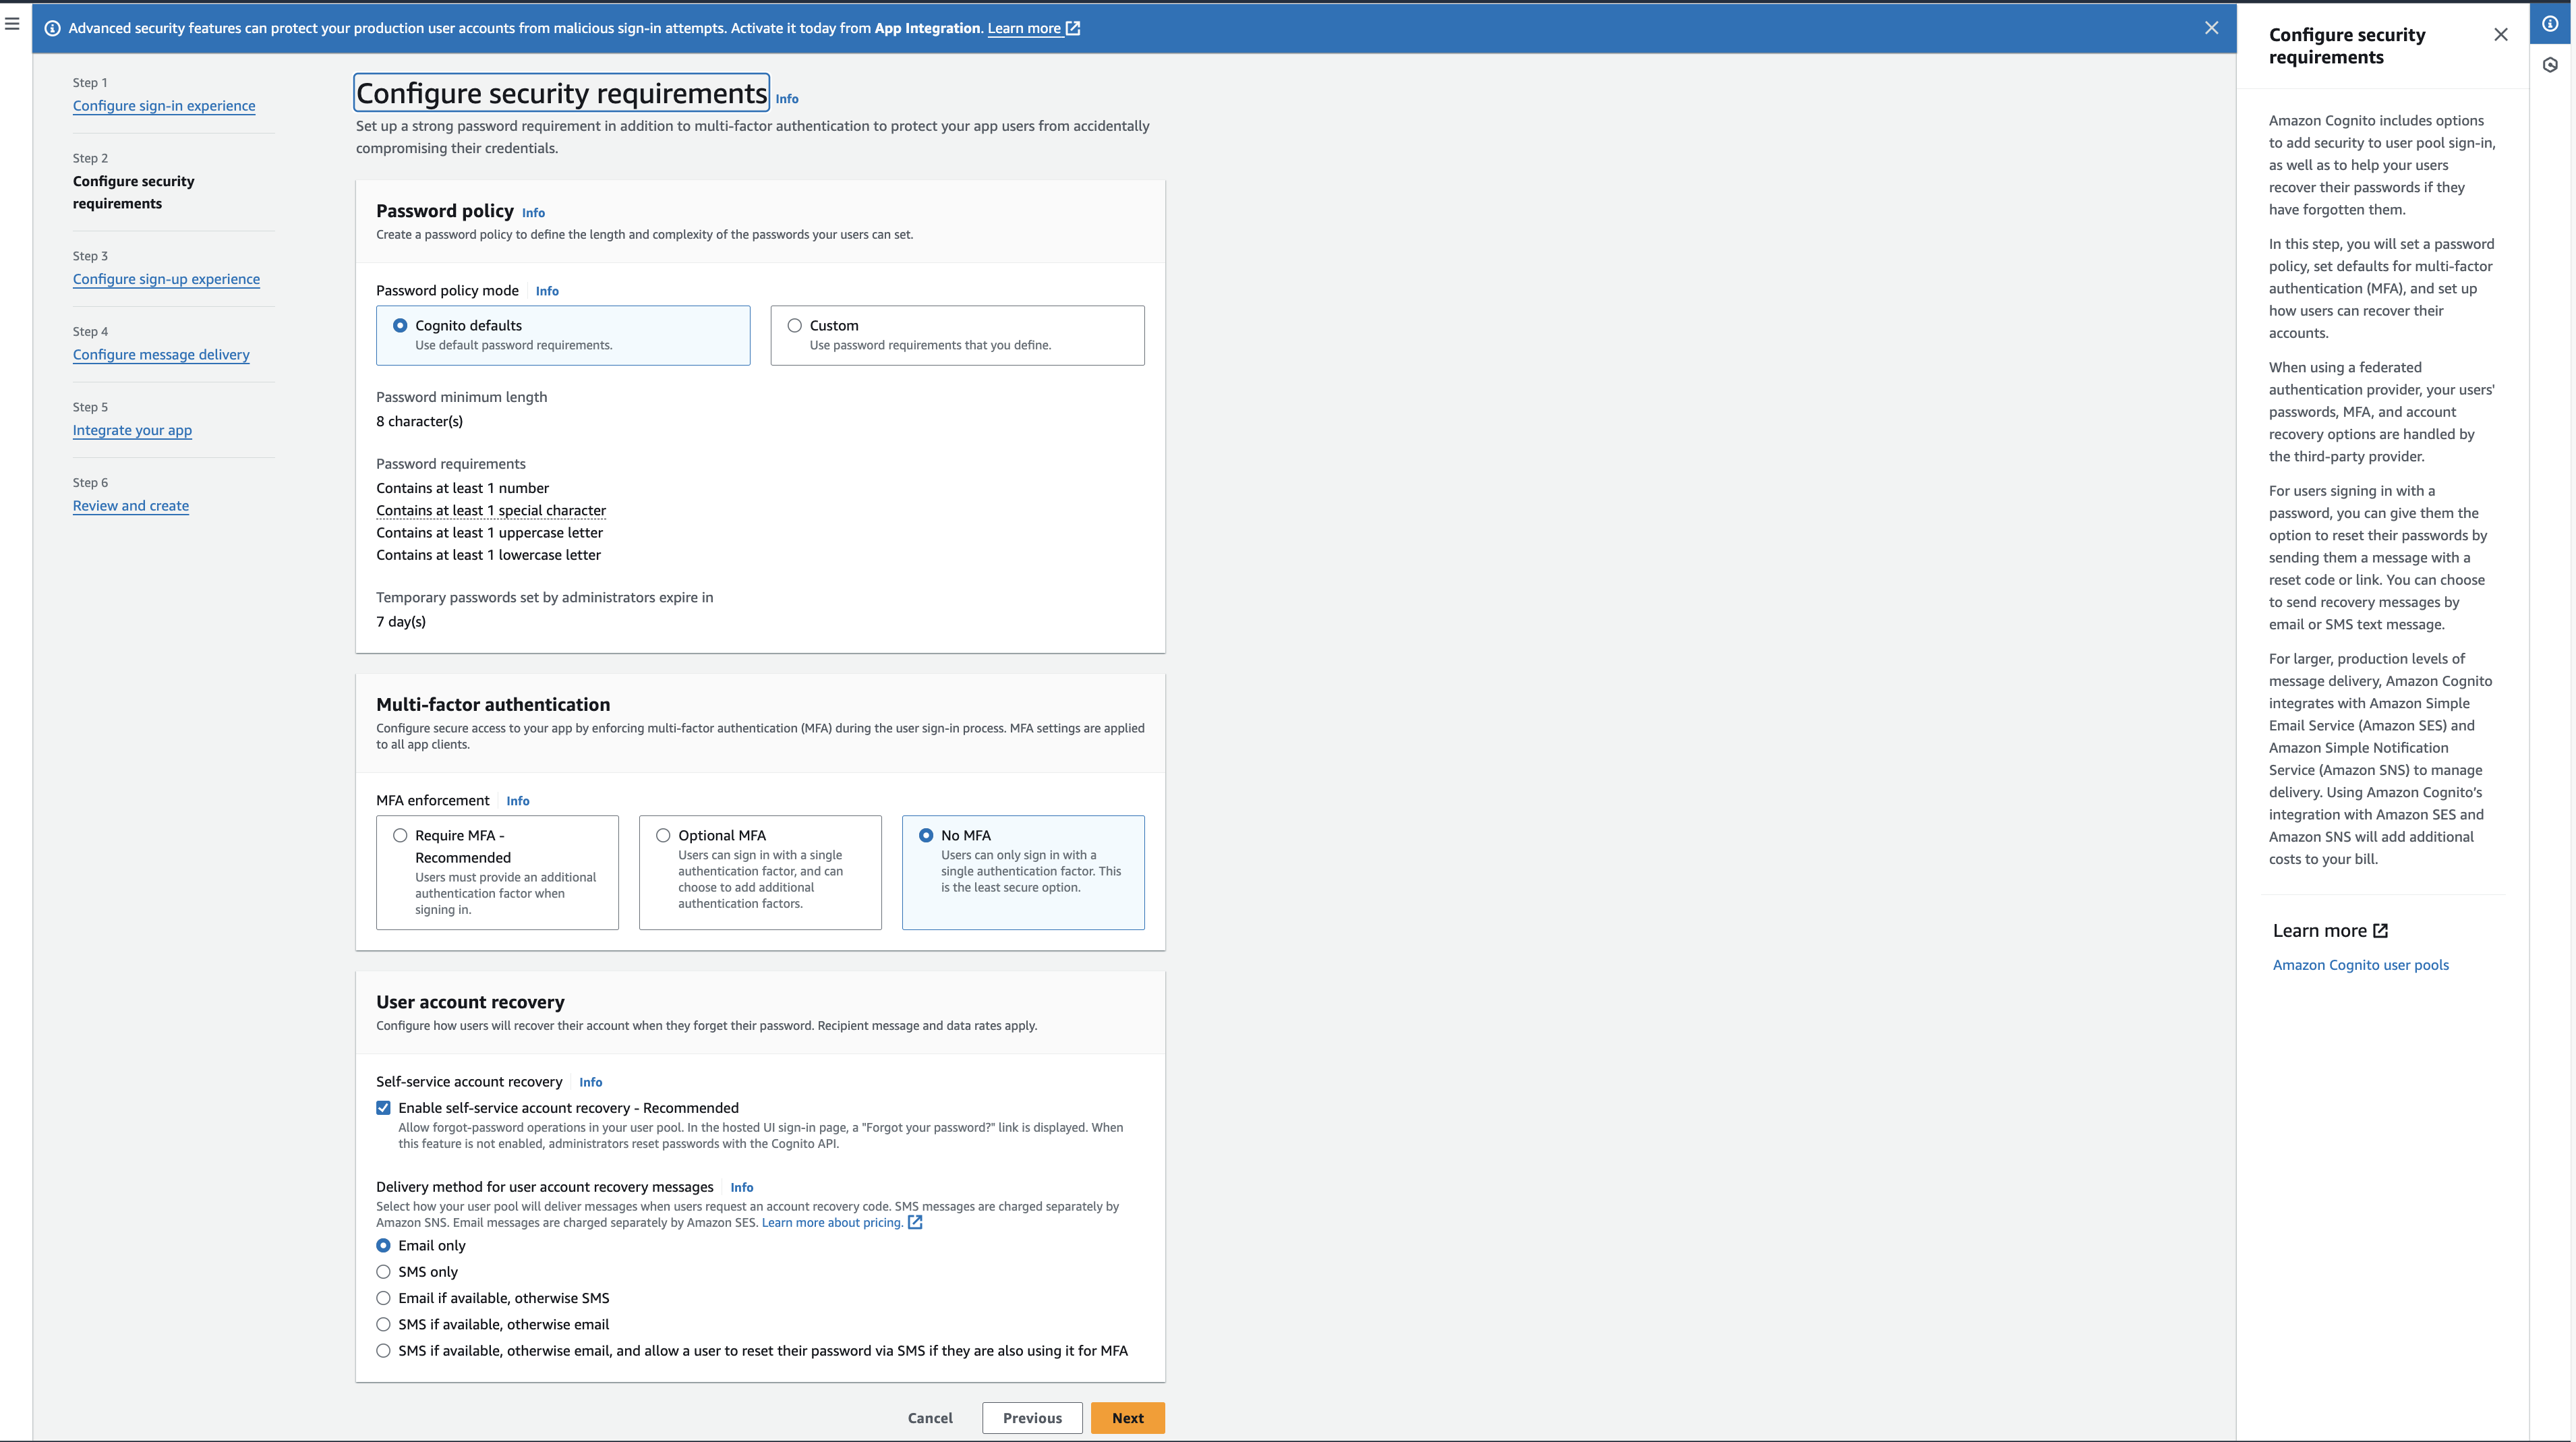
- Click next to go to the Configure sign-up experience
- You can configure the email and phone verification settings as per your requirements. For this tutorial we will use the default settings.

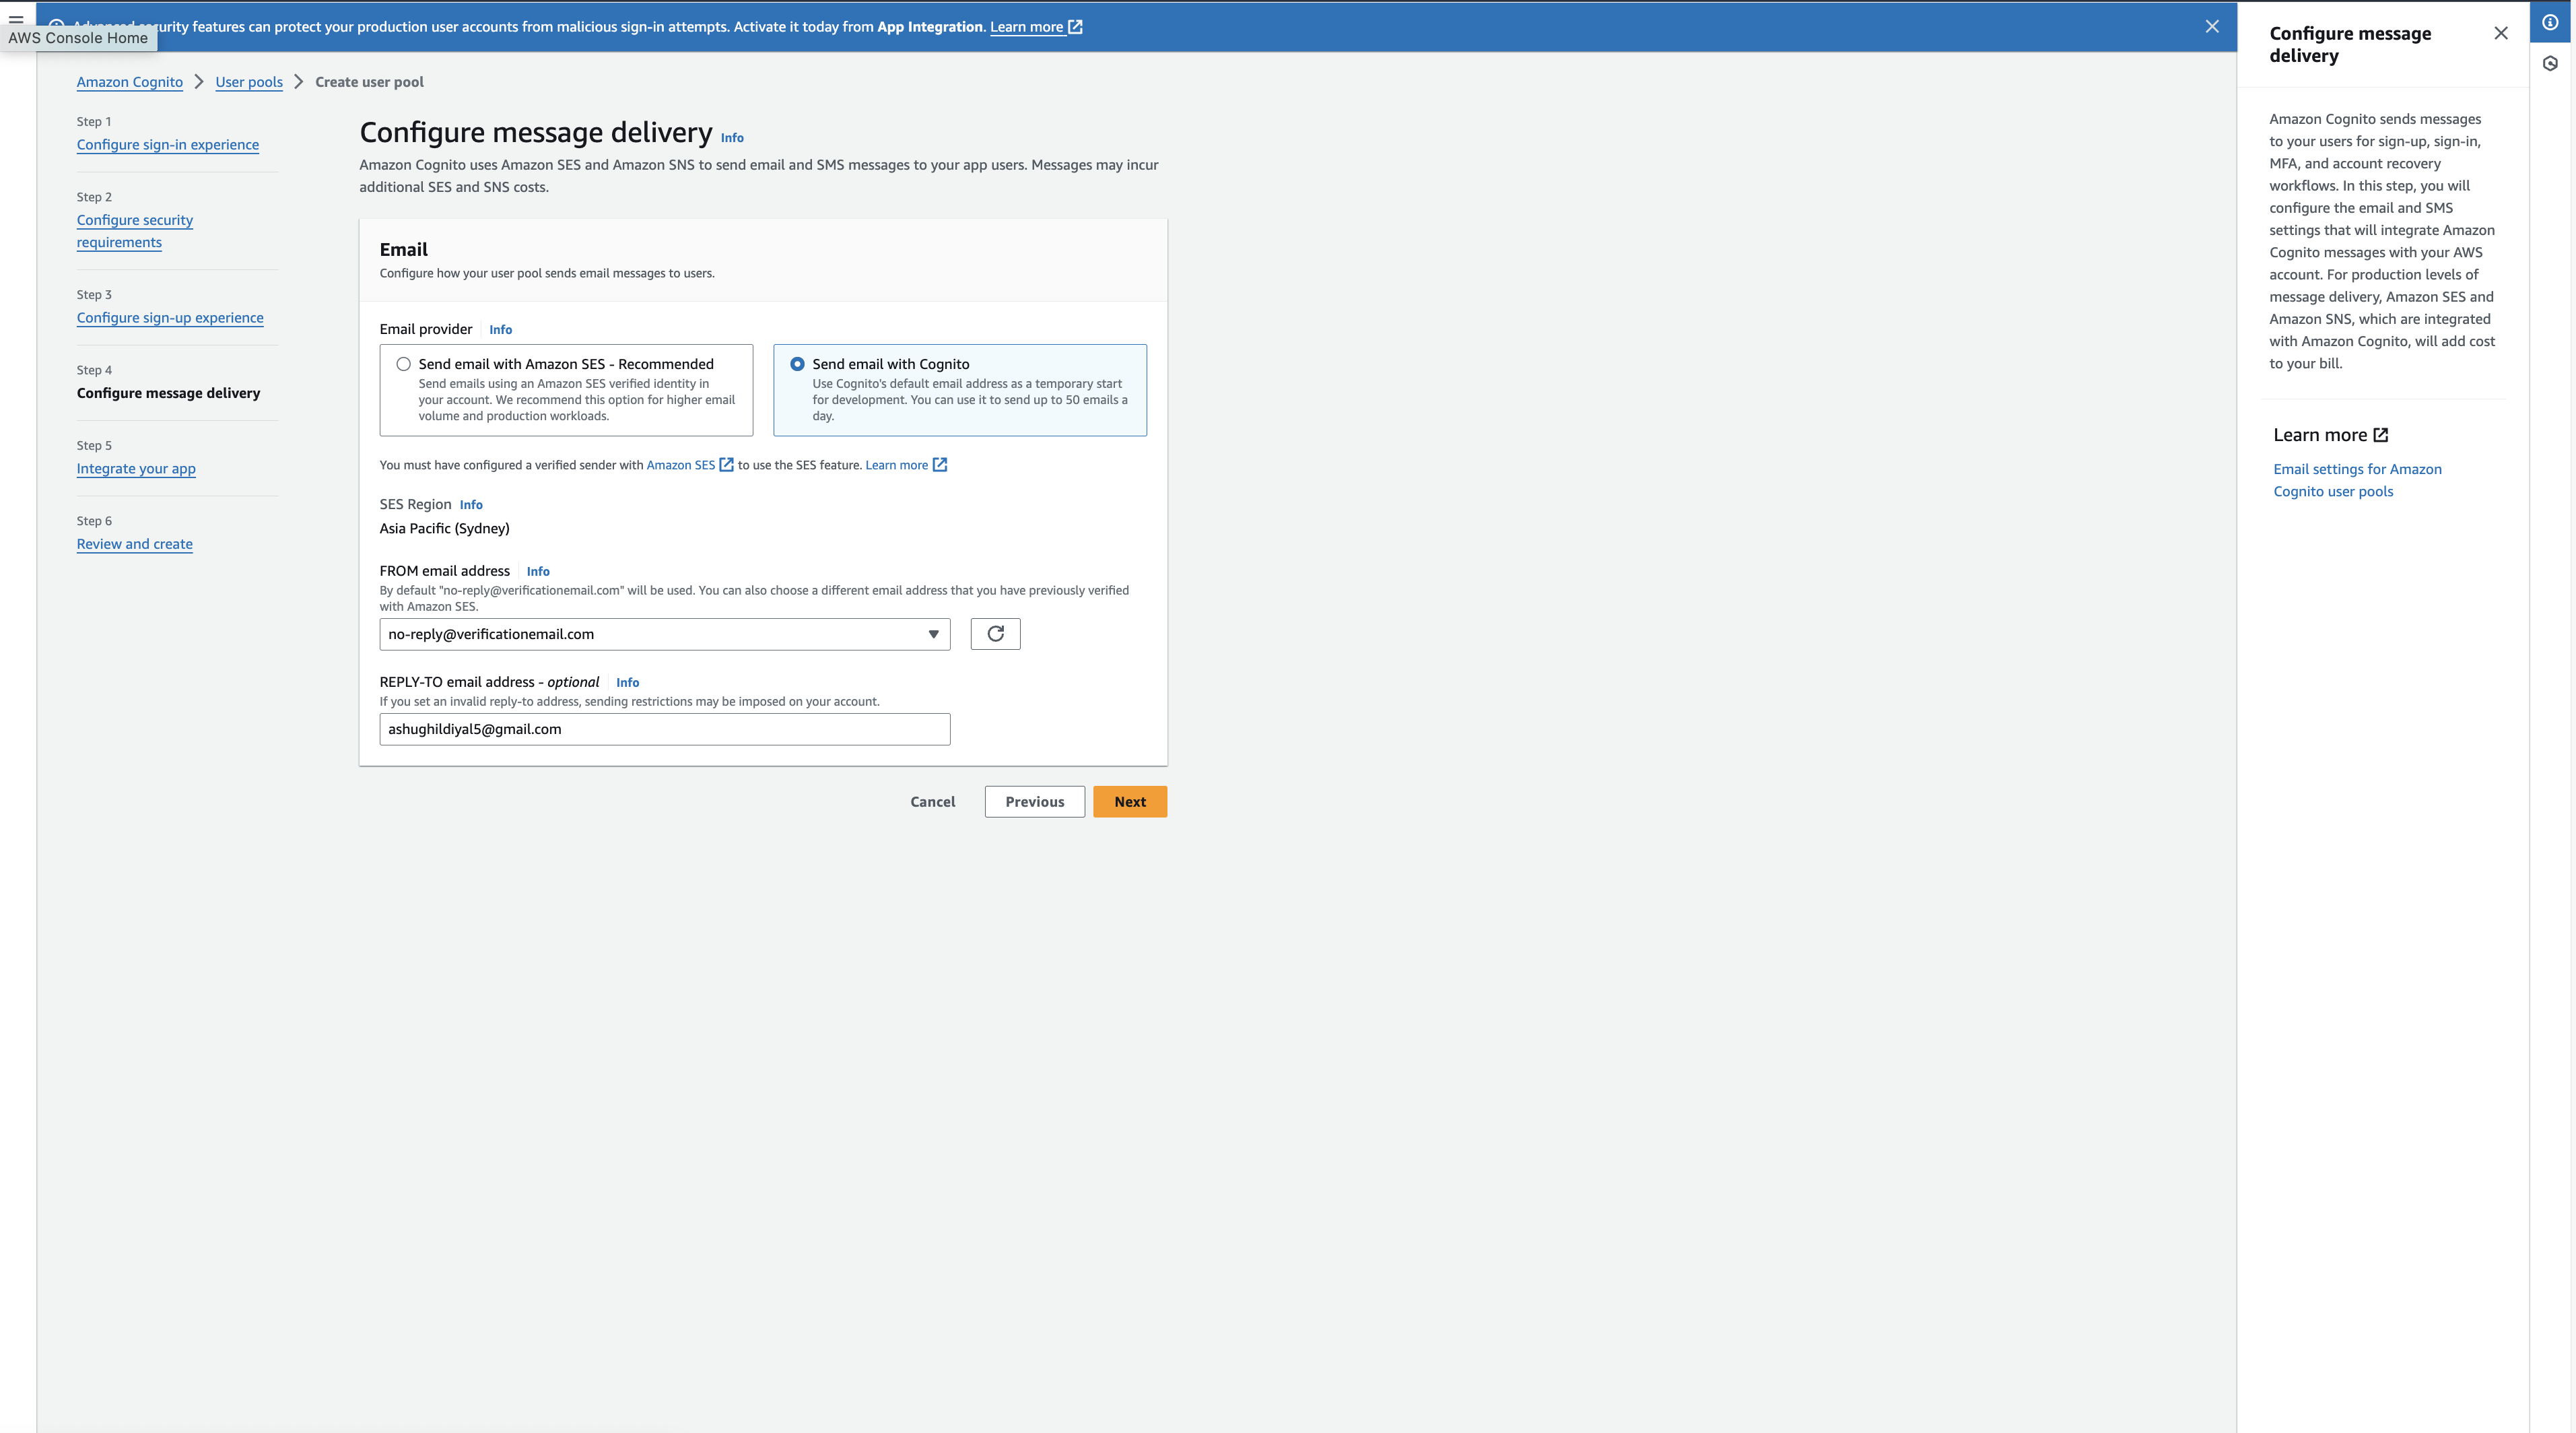
- Click next to go to the Configure message delivery view
- You can either chose sending email from Amazon SES or with Cognito, These emails are for MFA, account recovery, sign up, sign in workflows. For this tutorial we will use sending emails through Cognito.
- Click next to go to the Integrate your app view
- There are a few things you have to take care of here,
- You can either use the hosted UI or create your own UI for the authentication workflows (We are using the Cognito hosted UI).
- You can also configure the domain name for the hosted UI (Also remember this is the issuer URL as well, which we will later use to set up EKS with). We are using the Cognito domain for this tutorial, but you can choose your own custom domain as well.
- You can also configure the callback URLs for the auth flow. For this tutorial, we are setting it to be http://localhost:8000/oidc-callback as we will be running headlamp on this port. Or, you can choose your own callback host as well based on your needs. Make sure to append /oidc-callback to the host since this is where Headlamp expects the redirect from auth to occur.
- Client Secret - We want to generate a client secret as our Headlamp app needs it to start the auth dance, so select Generate a client secret client secret column.
- You can also configure the scopes and claims for the tokens. For this tutorial, make sure the openid, profile, and email scopes are selected; other scopes are optional.
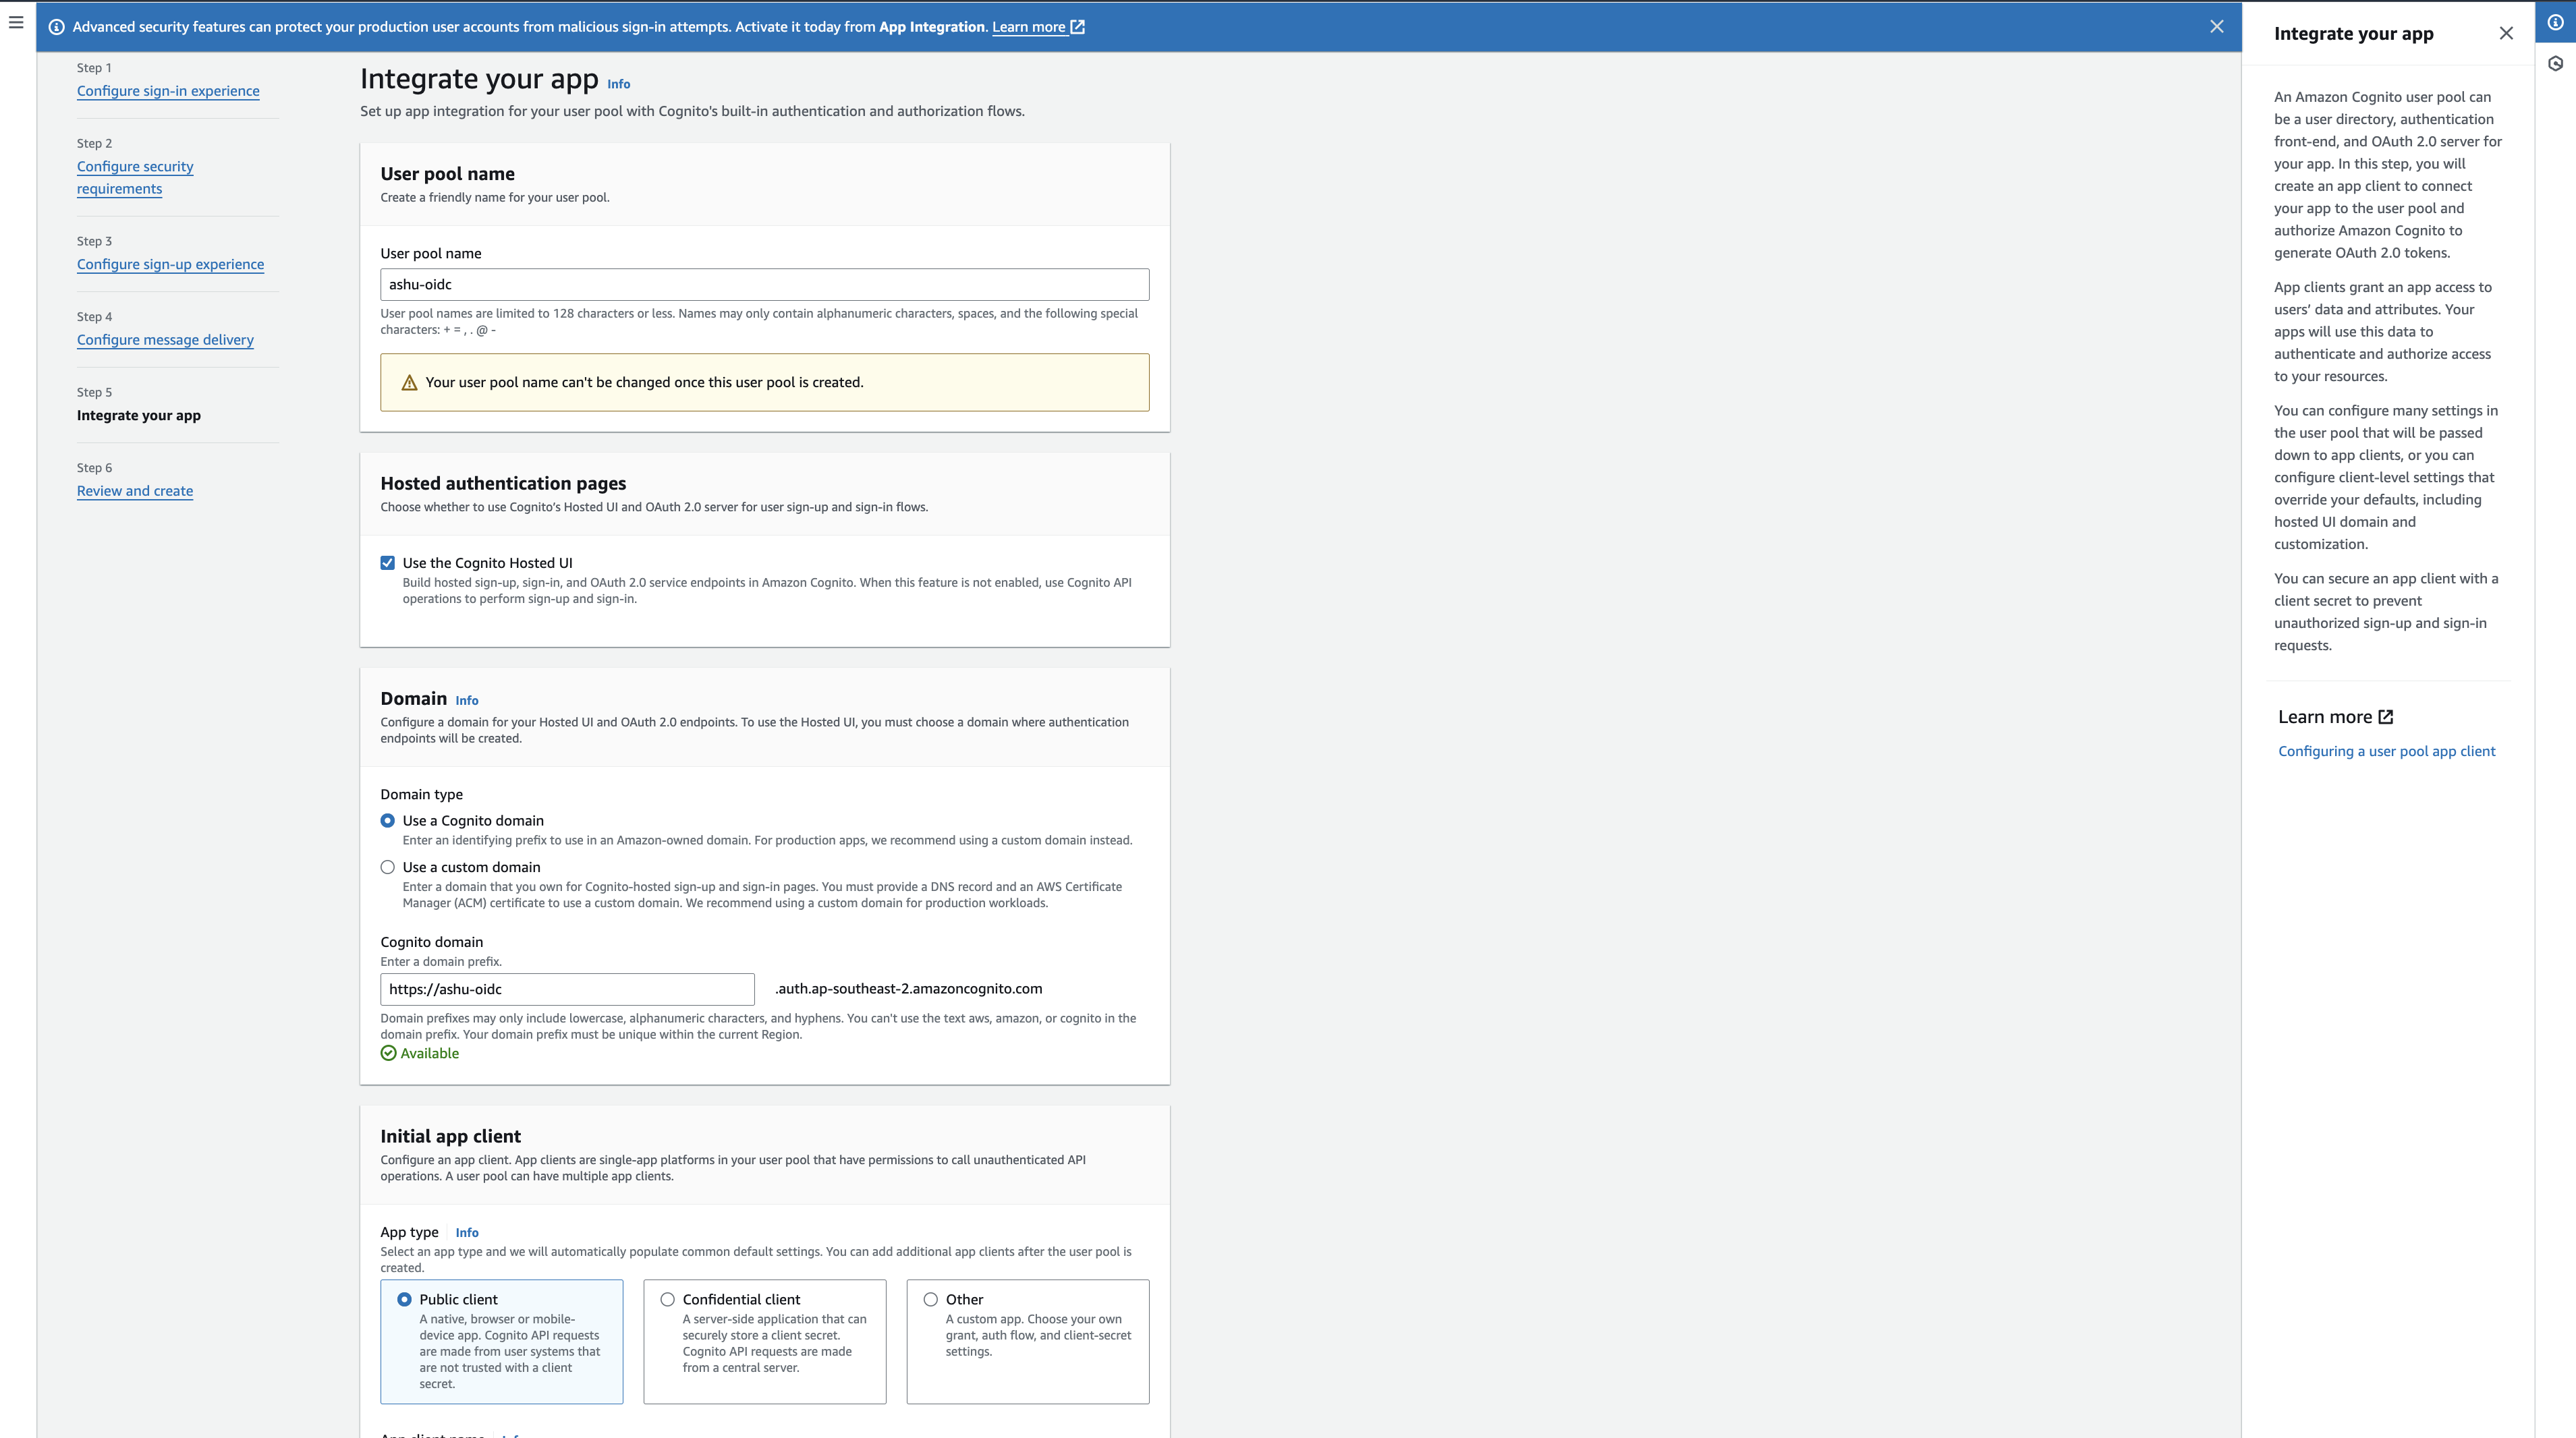
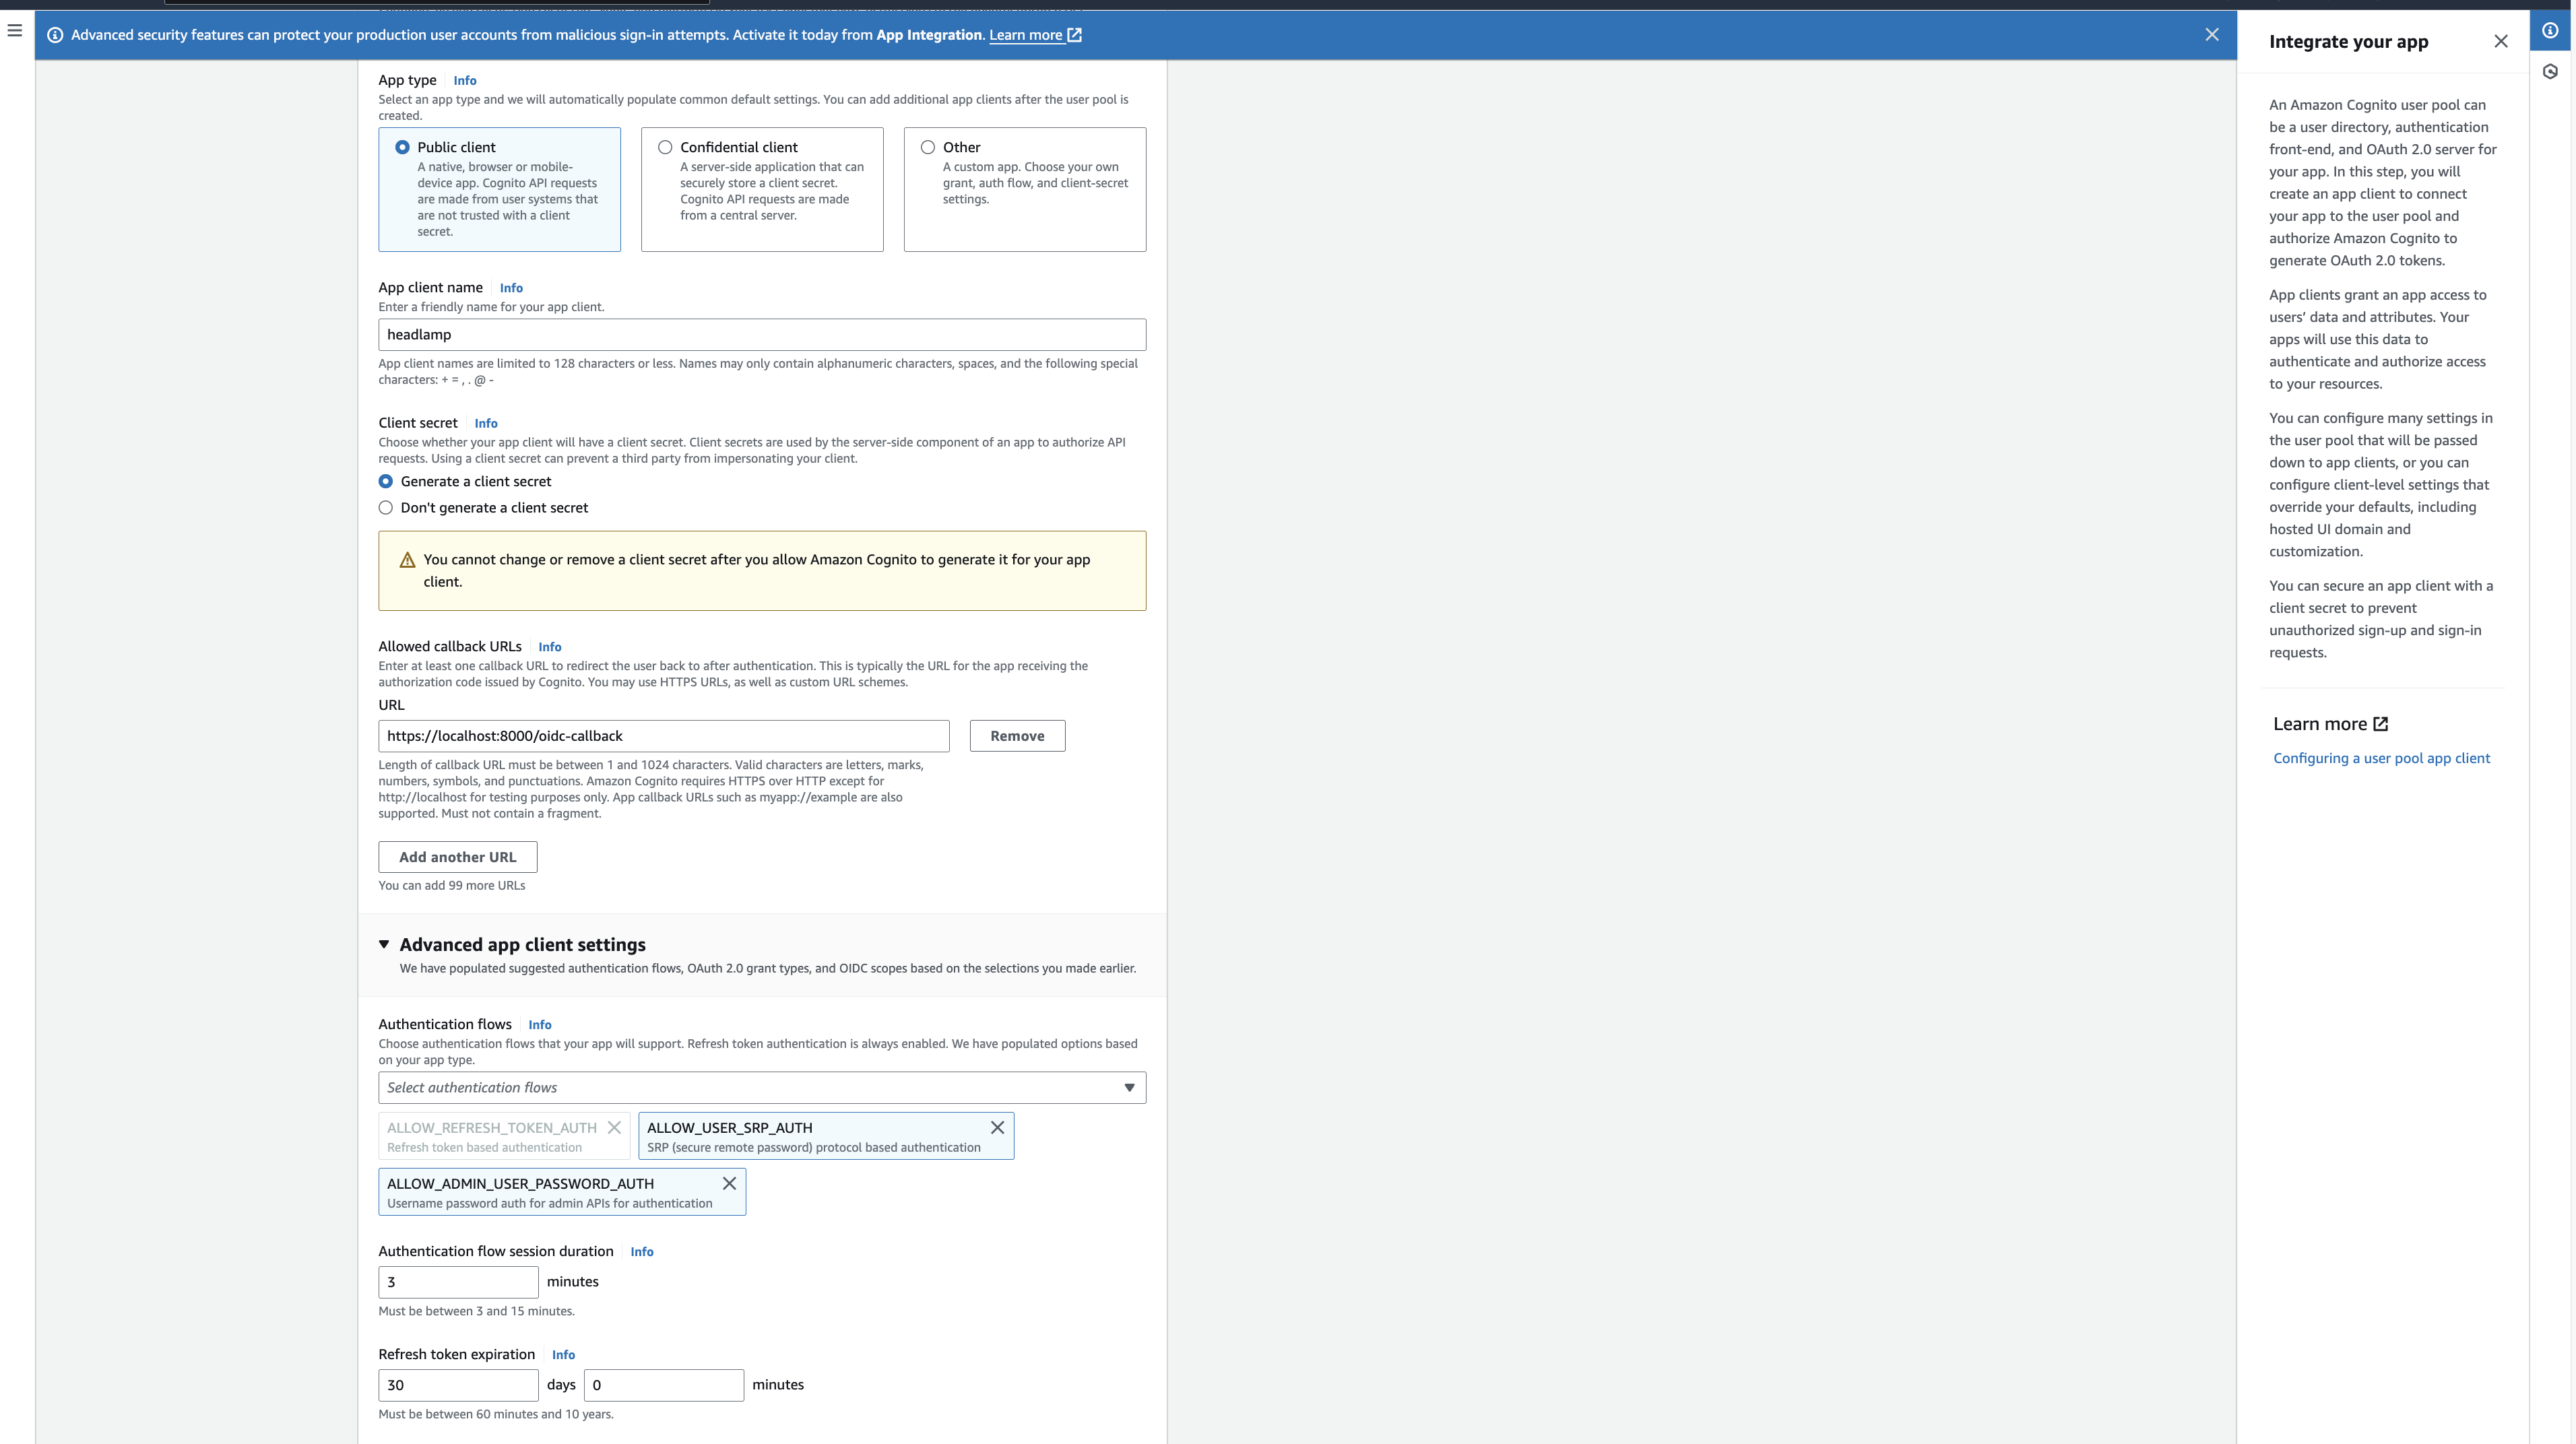
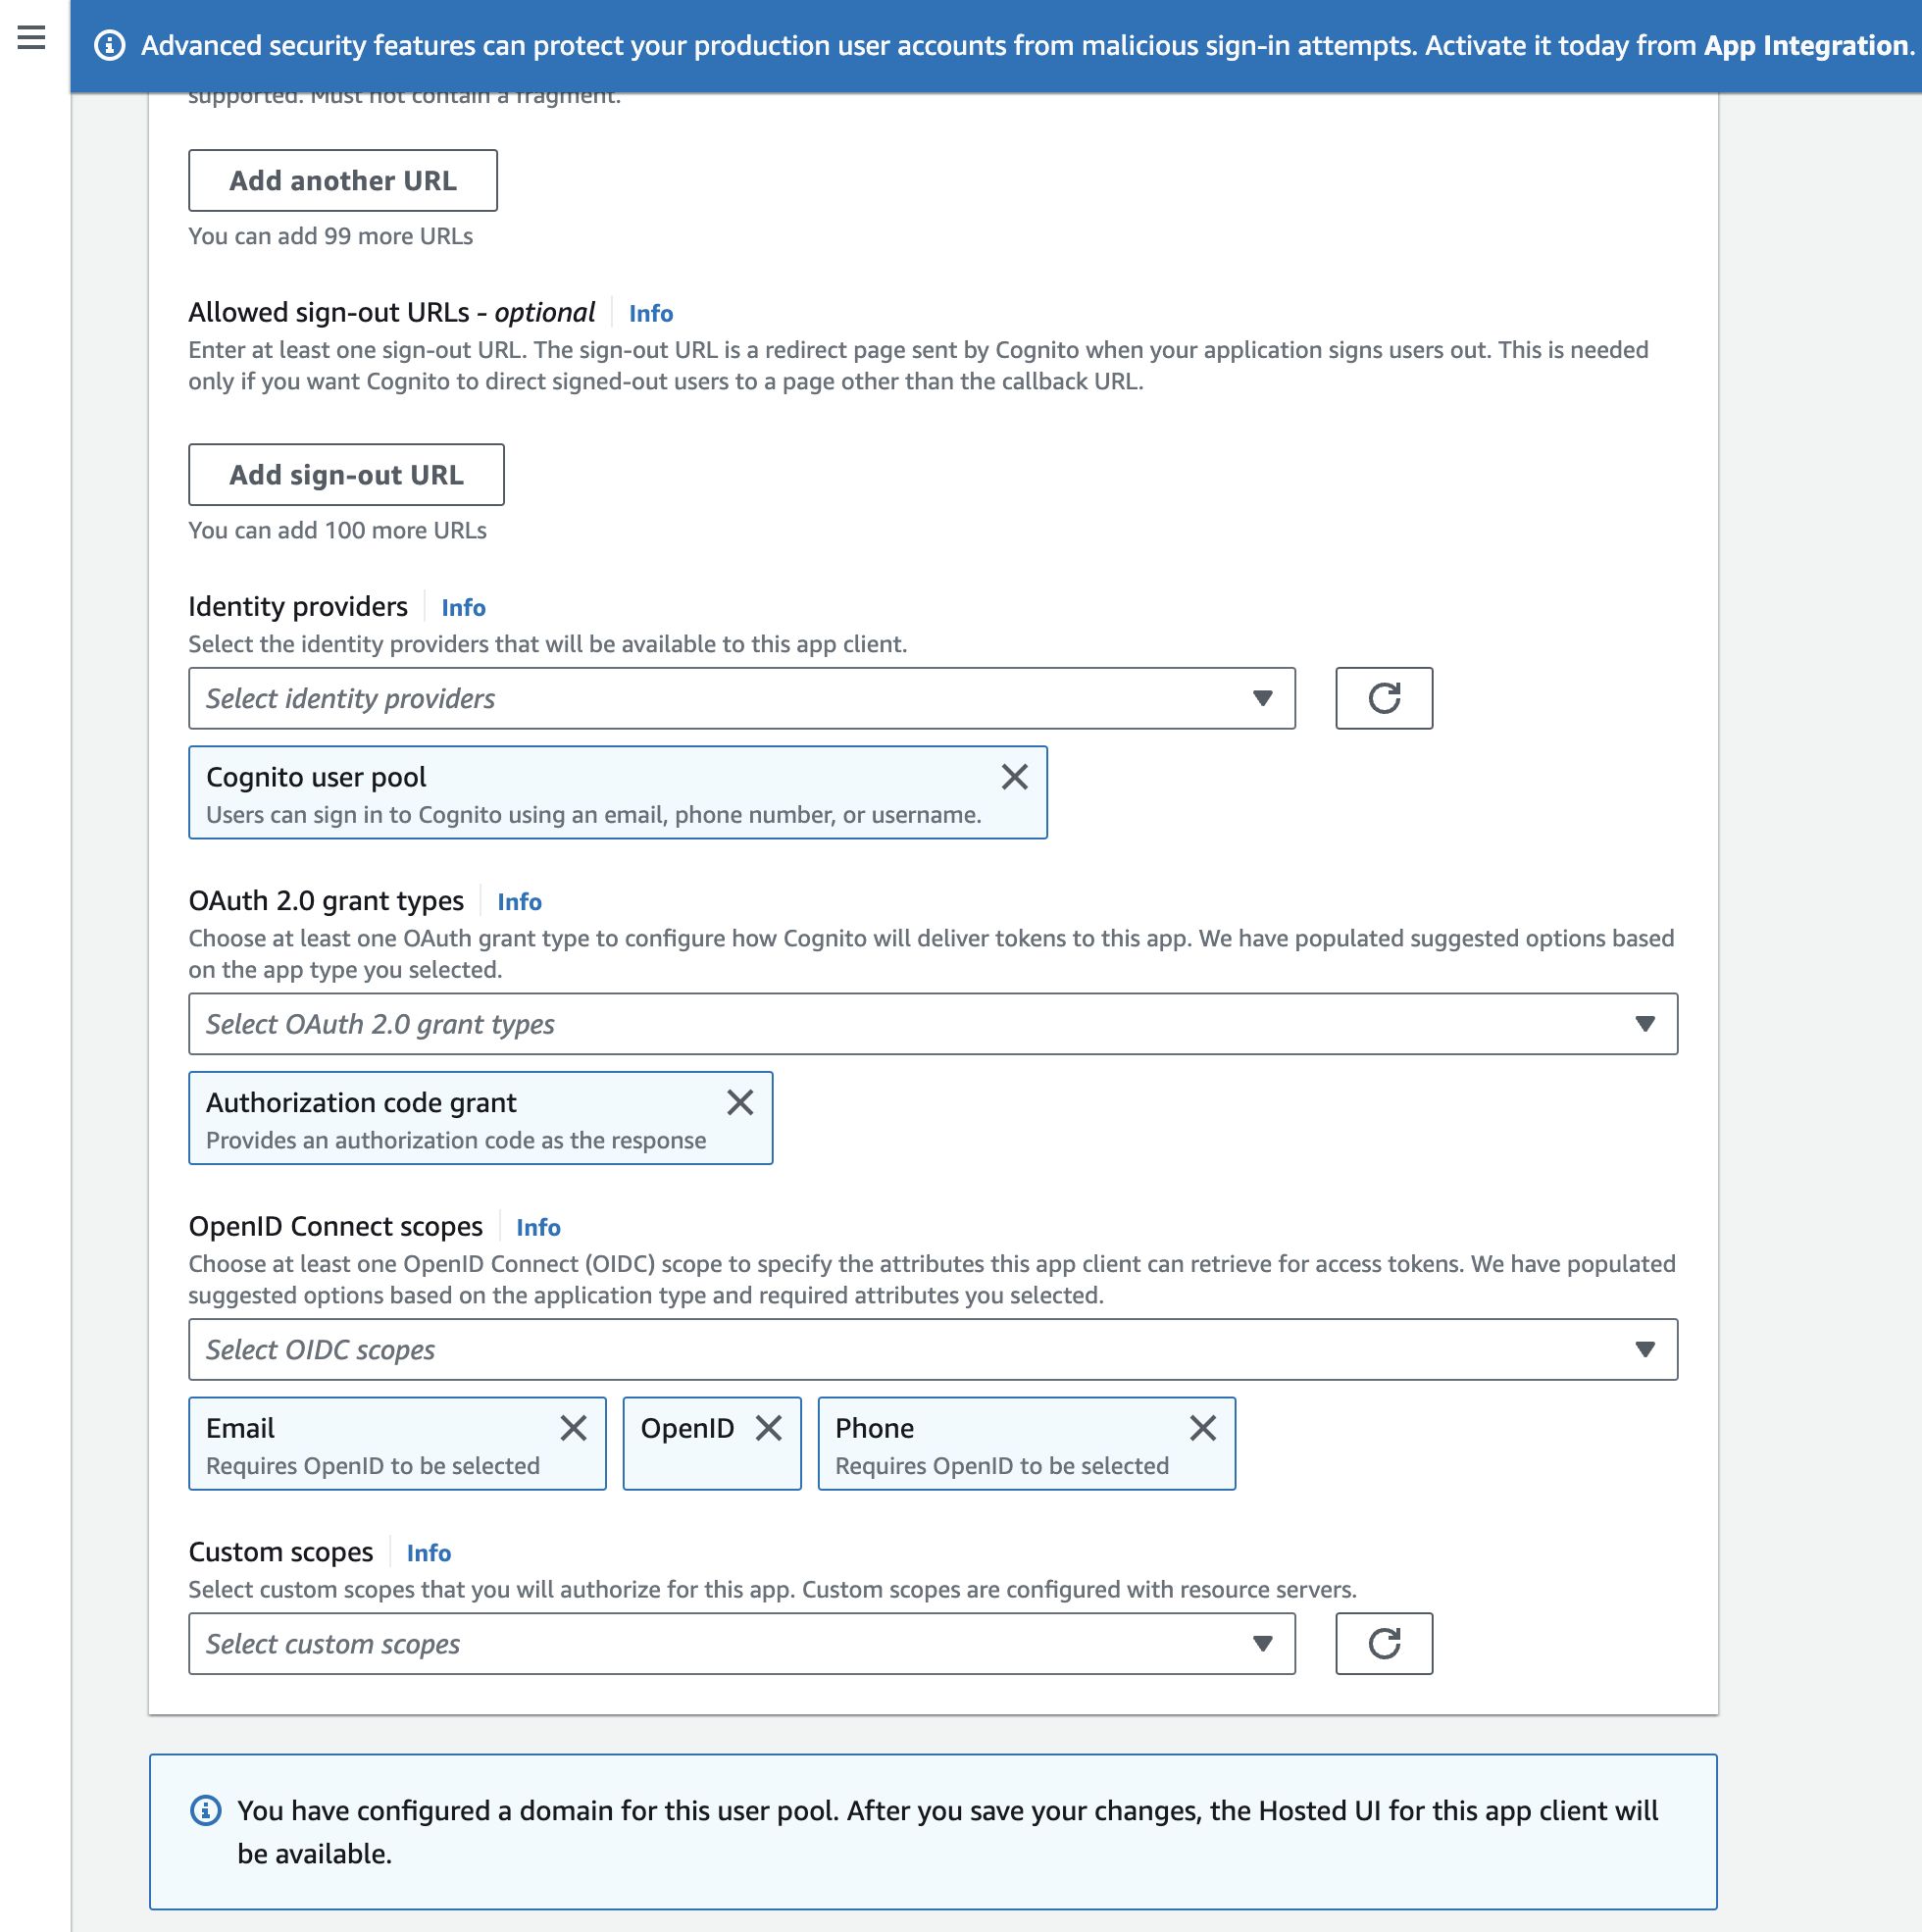 In the above configurations make sure the Oauth 2.0 grant type is set to Authorization code grant.
12. Click next and you will be taken to the Review and Create view where you can review all the settings and create the user pool.
In the above configurations make sure the Oauth 2.0 grant type is set to Authorization code grant.
12. Click next and you will be taken to the Review and Create view where you can review all the settings and create the user pool.
Setting up EKS cluster
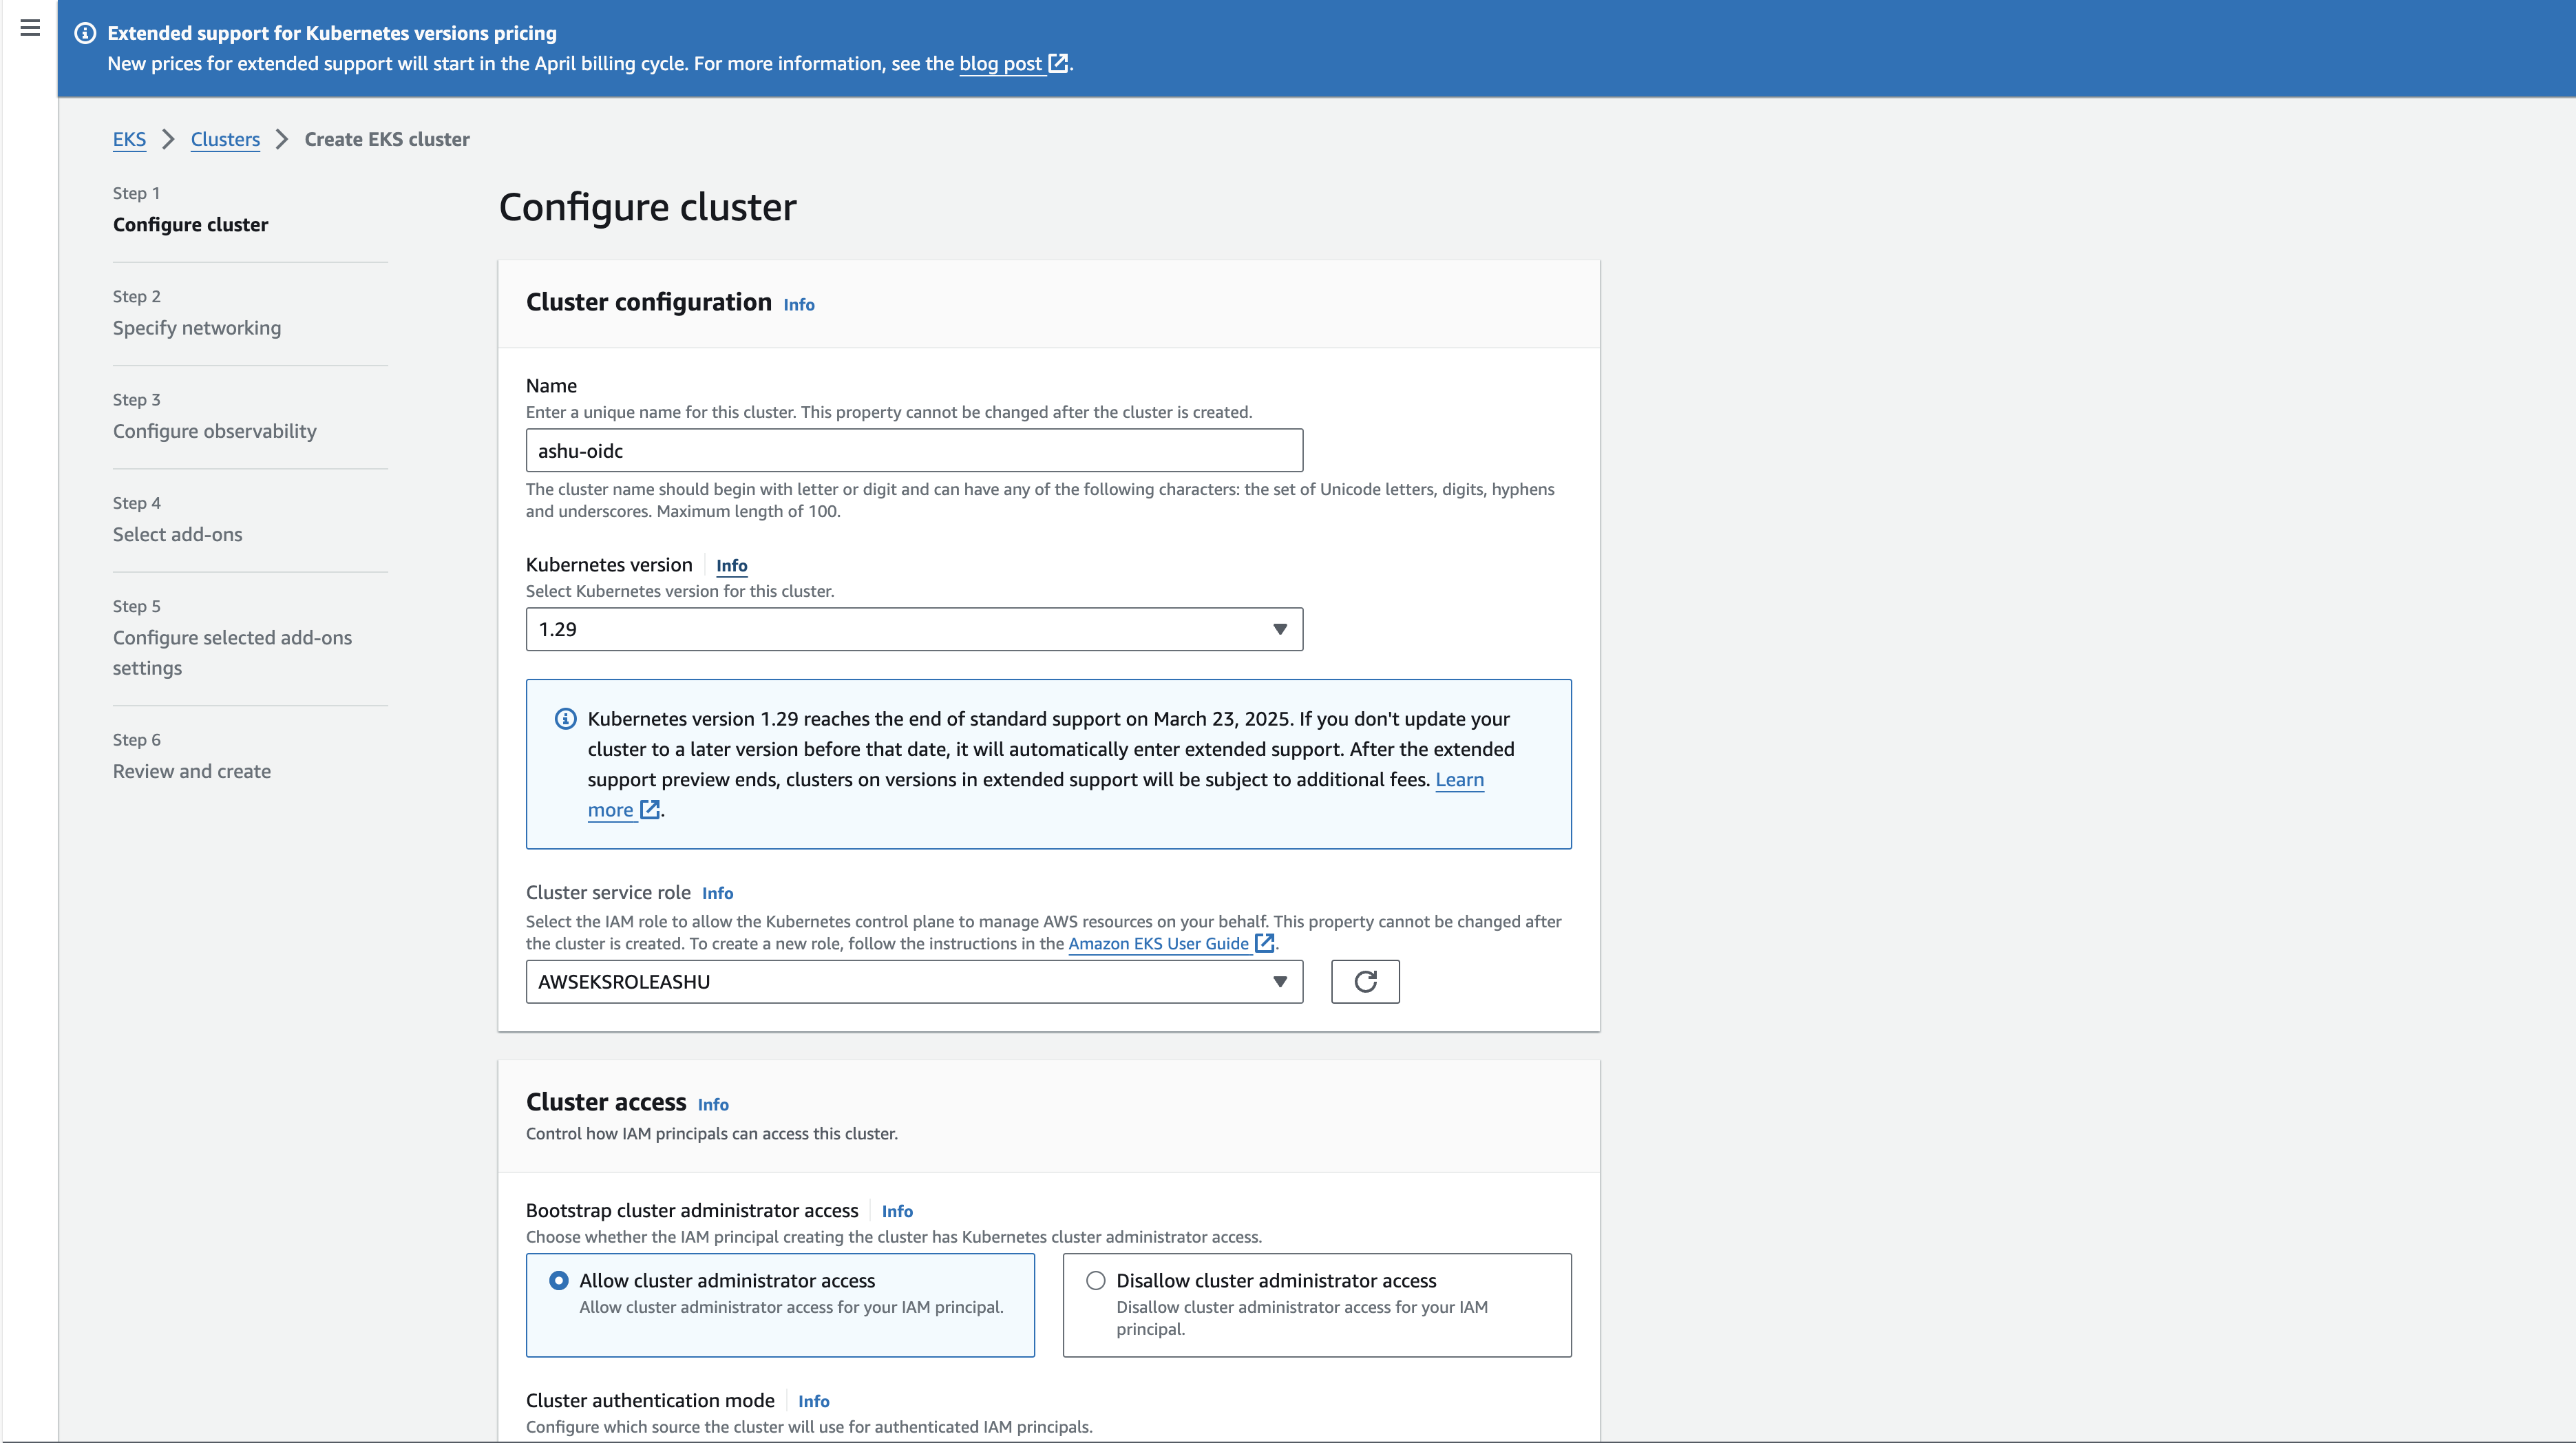
We will first start by creating an EKS cluster. For this tutorial we will use the AWS console to create the cluster but you can use the eksctl or AWS CLI as well.
- Go to the AWS console and navigate to the EKS service.
- Click on Create Cluster or Add Cluster to create a new cluster.

- On the Configure Cluster view, select the EKS platform version, Kubernetes version, and the IAM role that has the necessary permissions to create the cluster. You can chose these configurations based on your requirements.
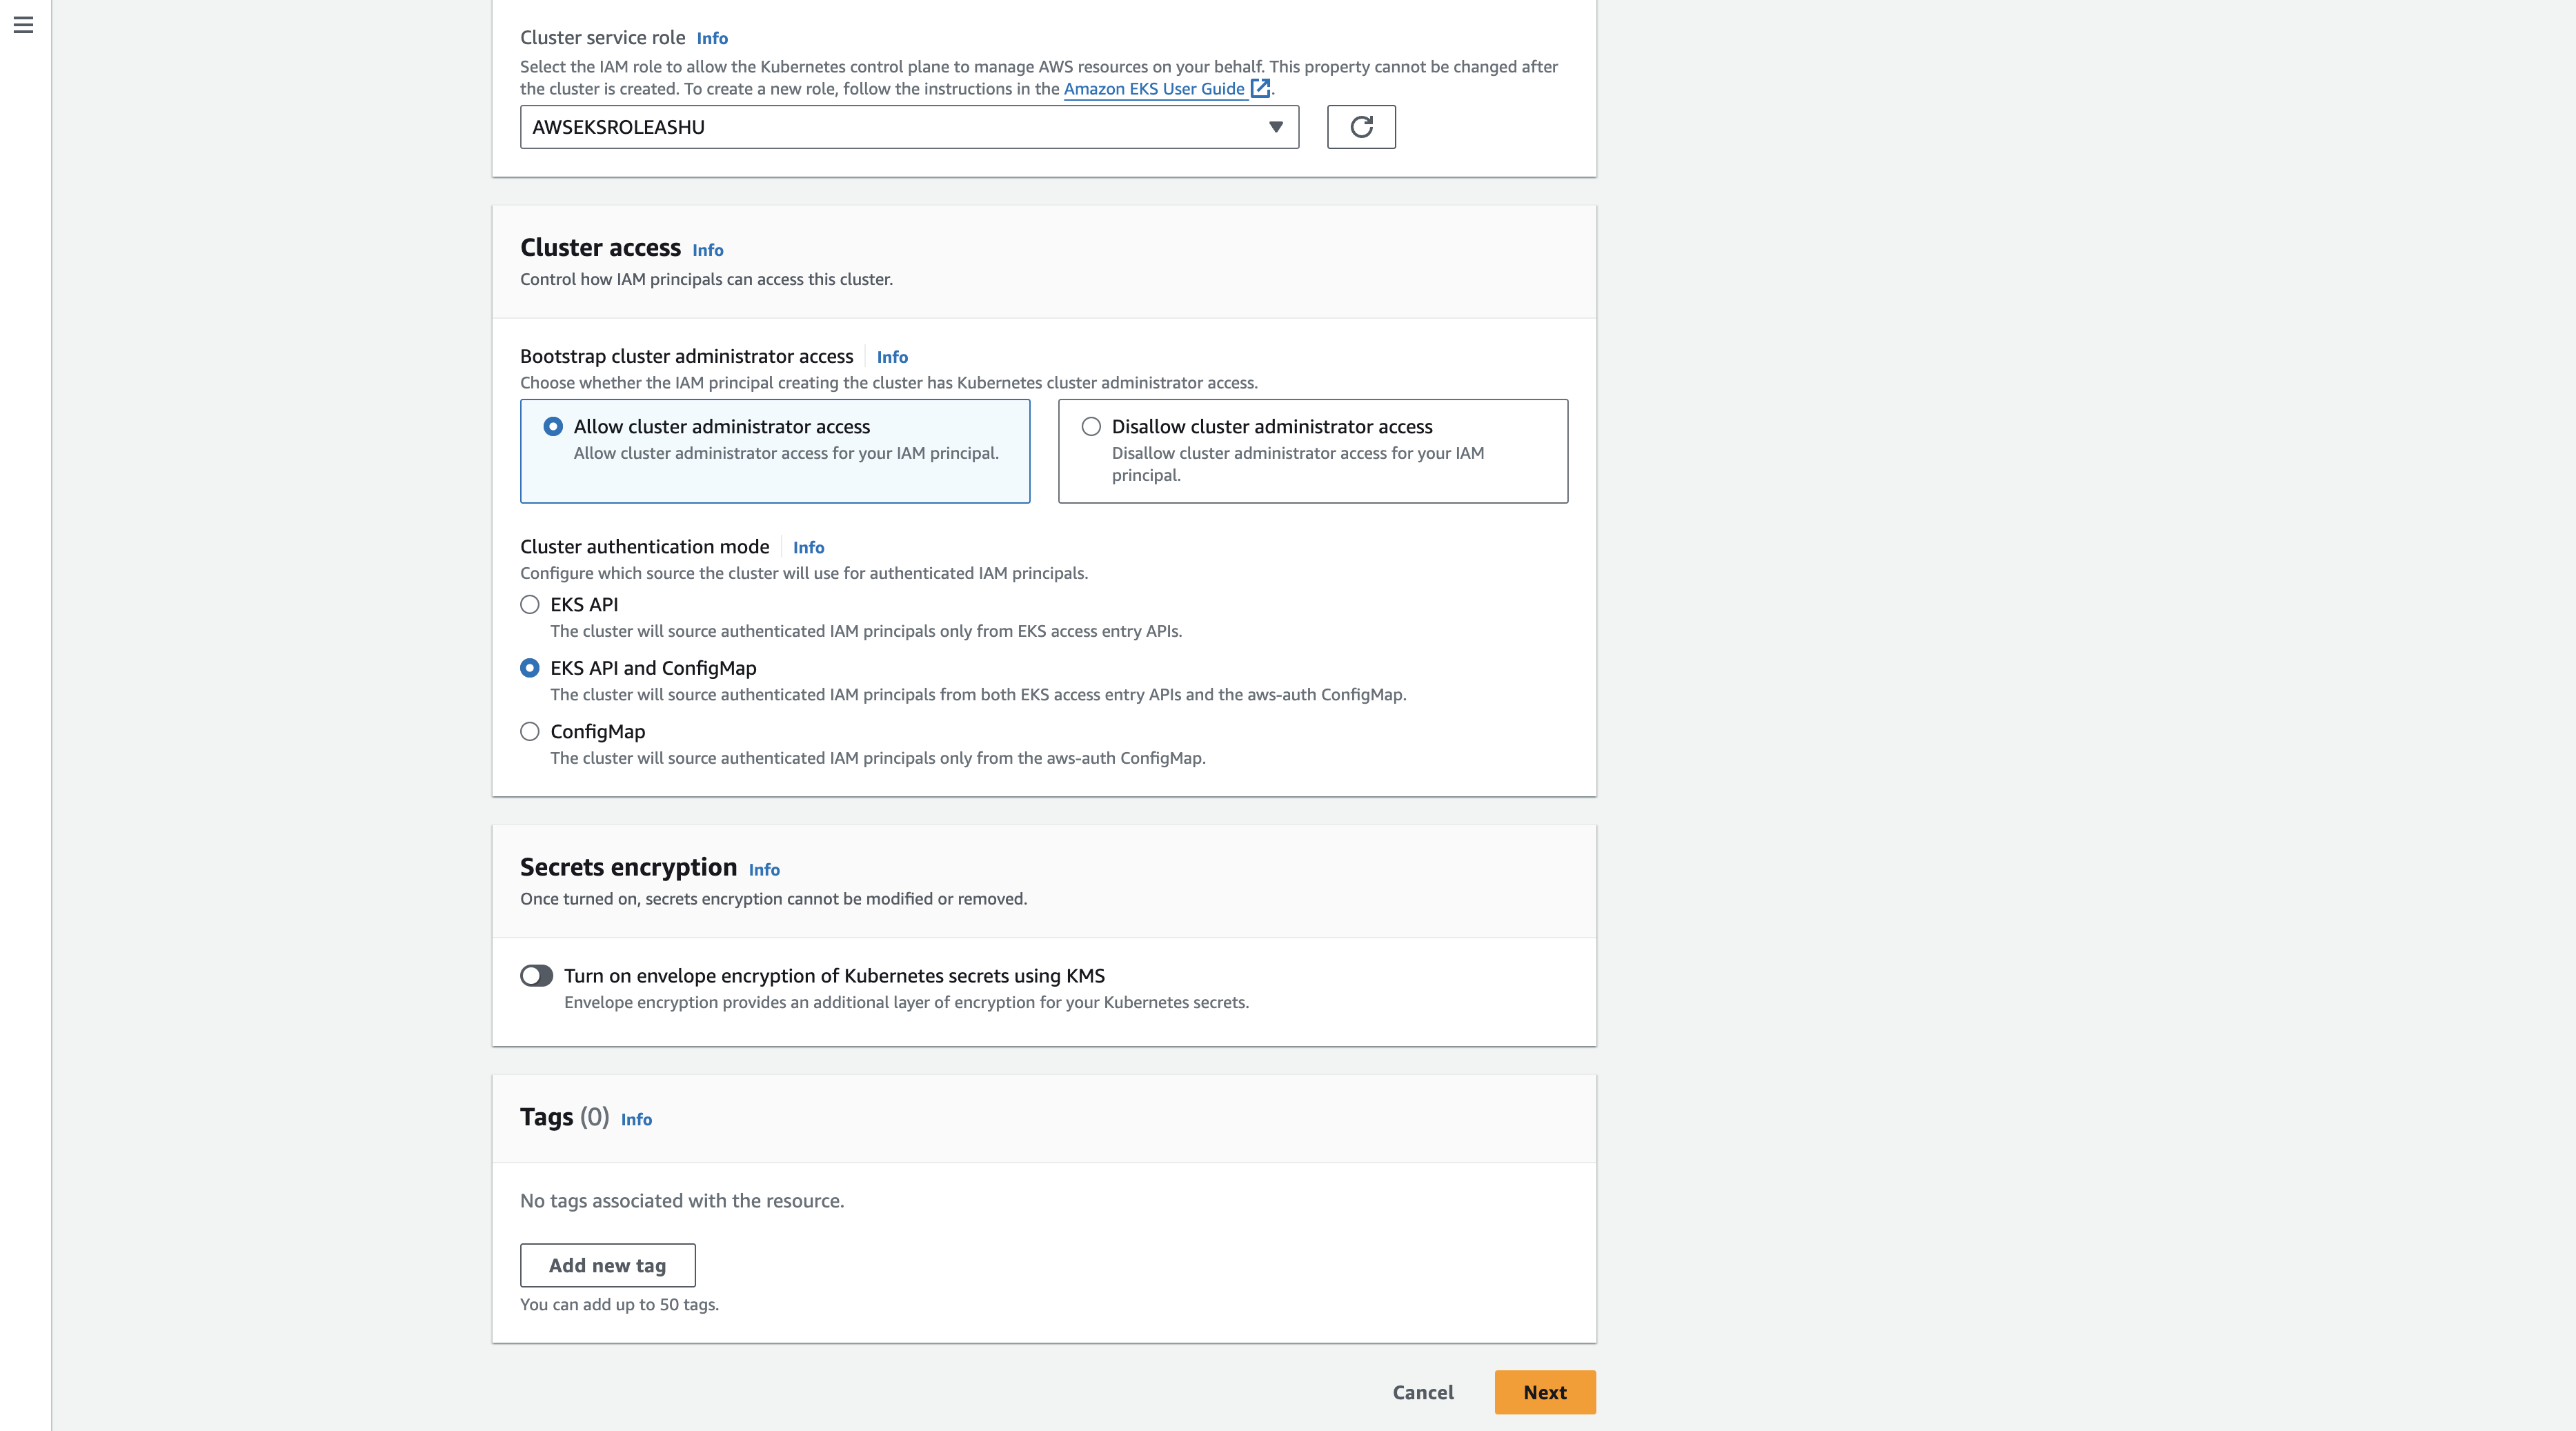
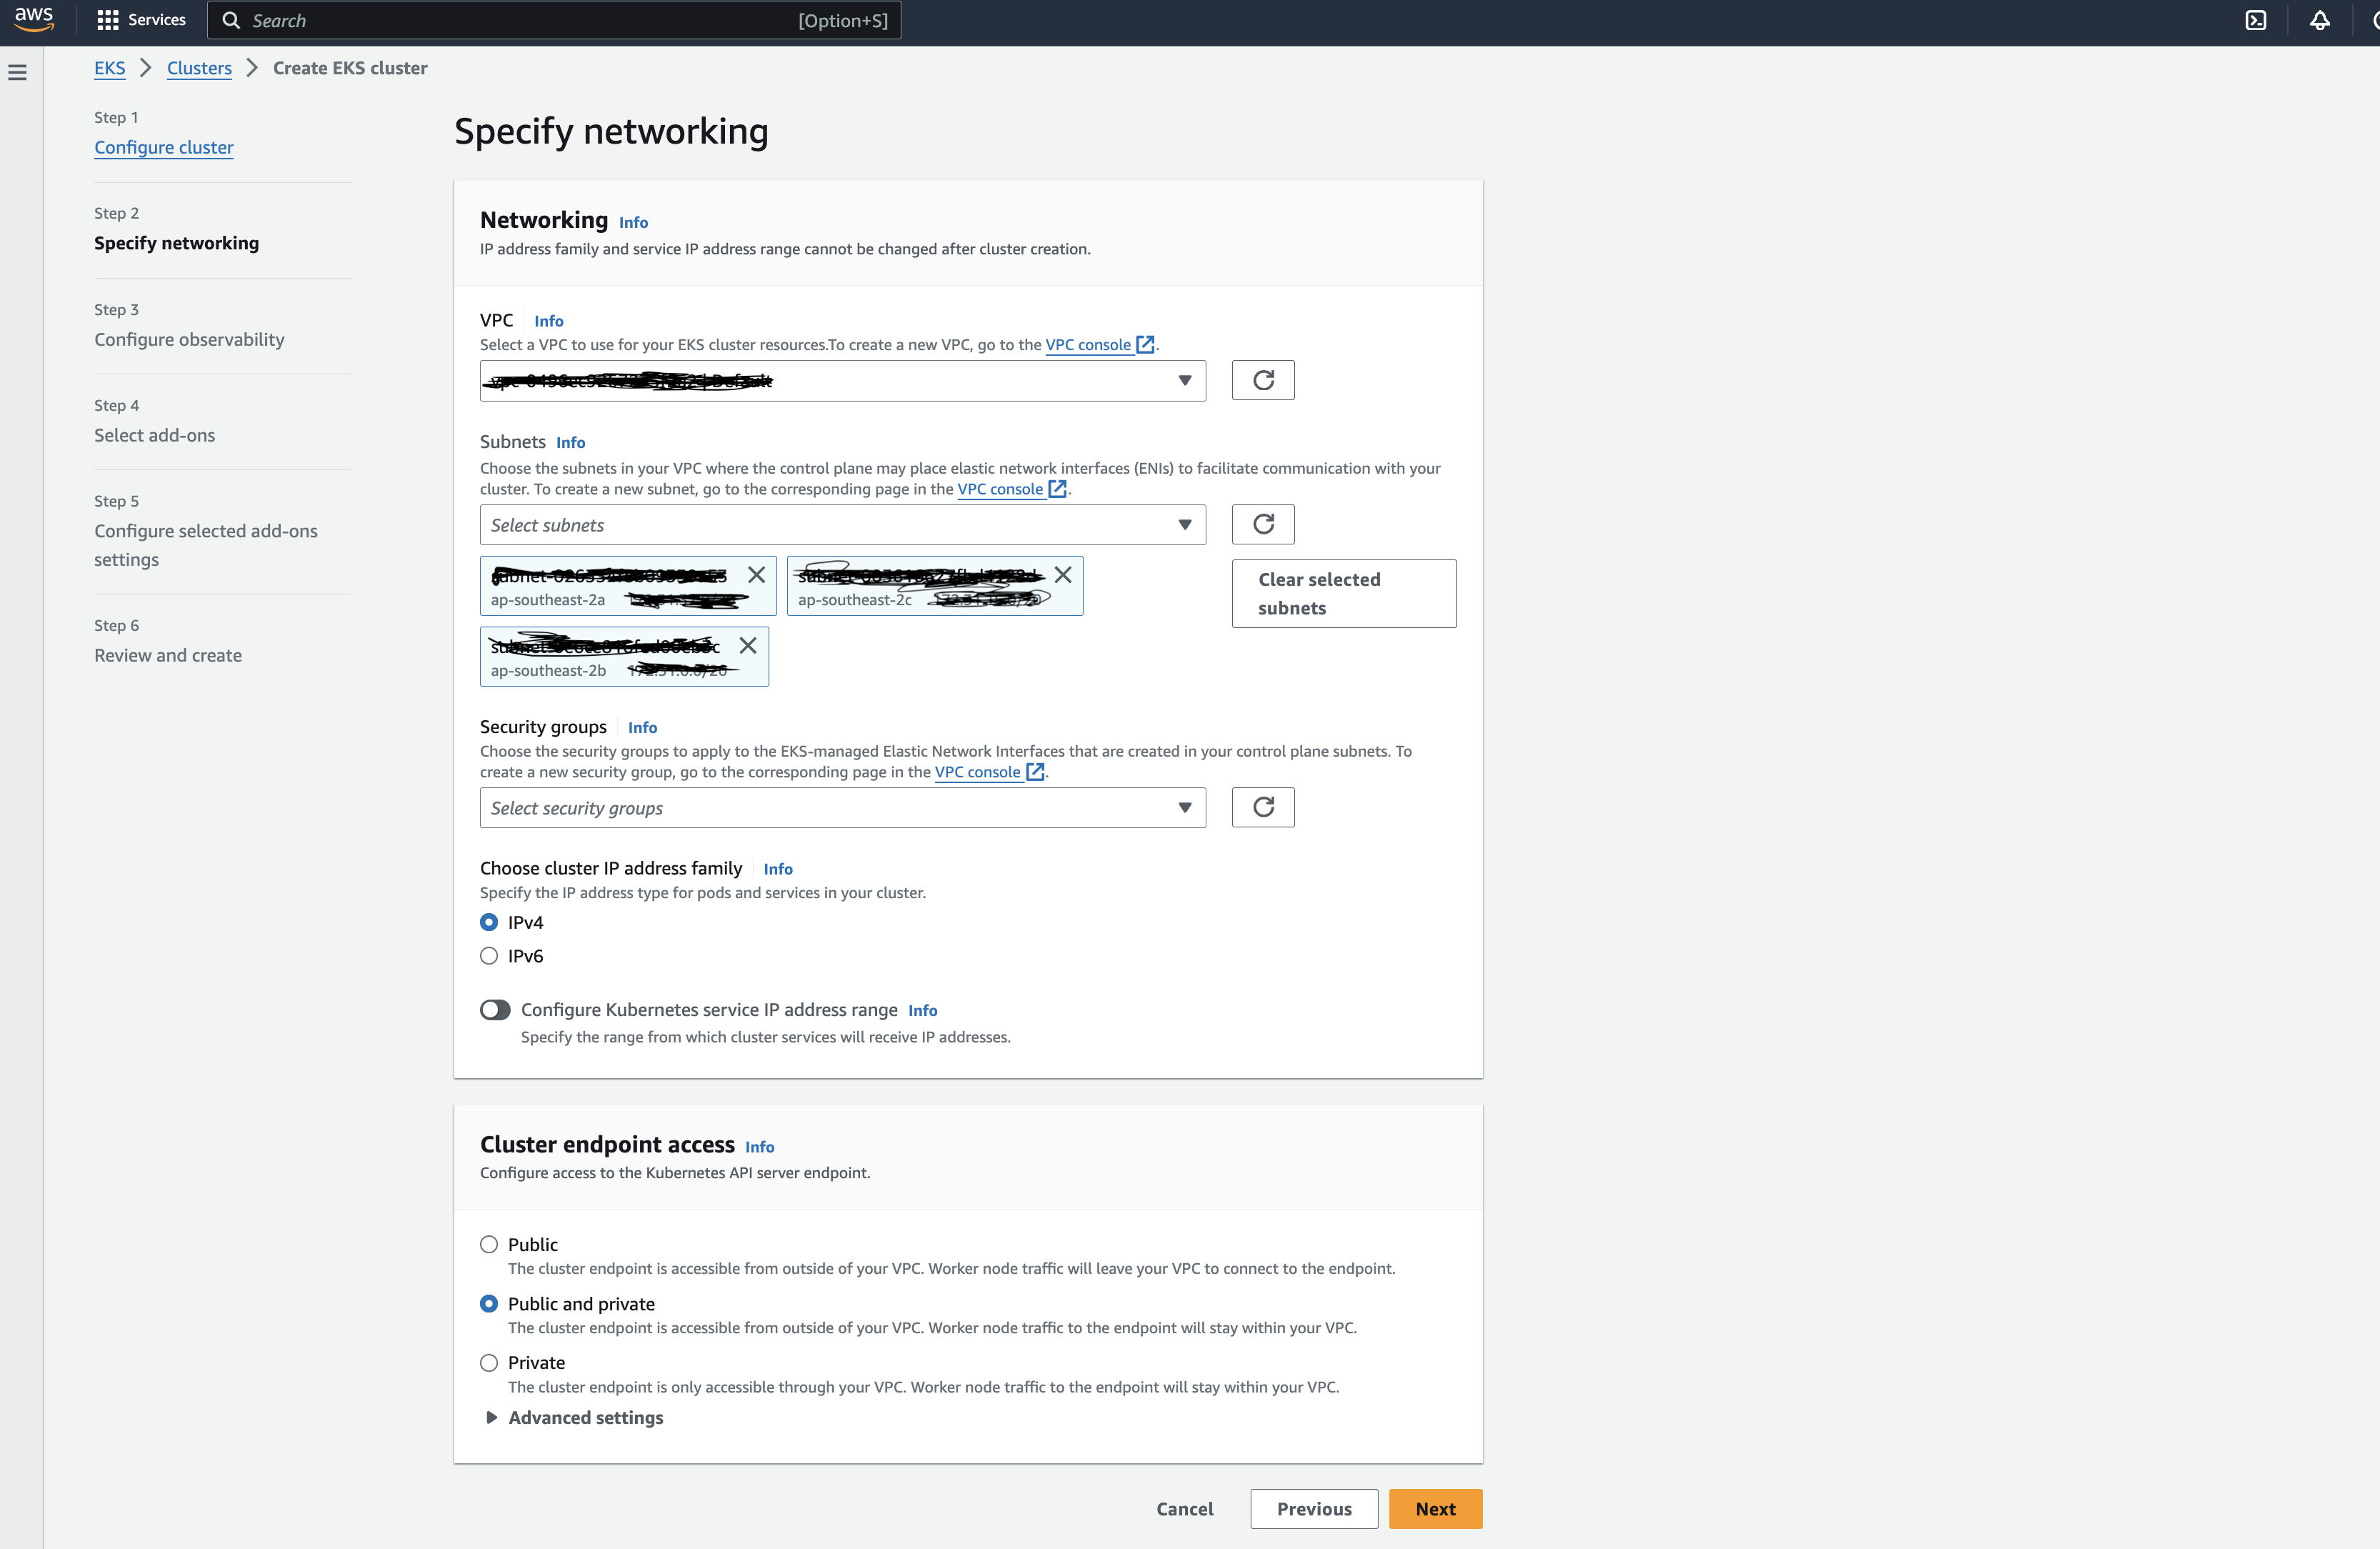
- Click next to go to the Configure Networking view
- You can configure the VPC, Subnets, and Security Groups for the cluster. For this tutorial we will use the default settings.
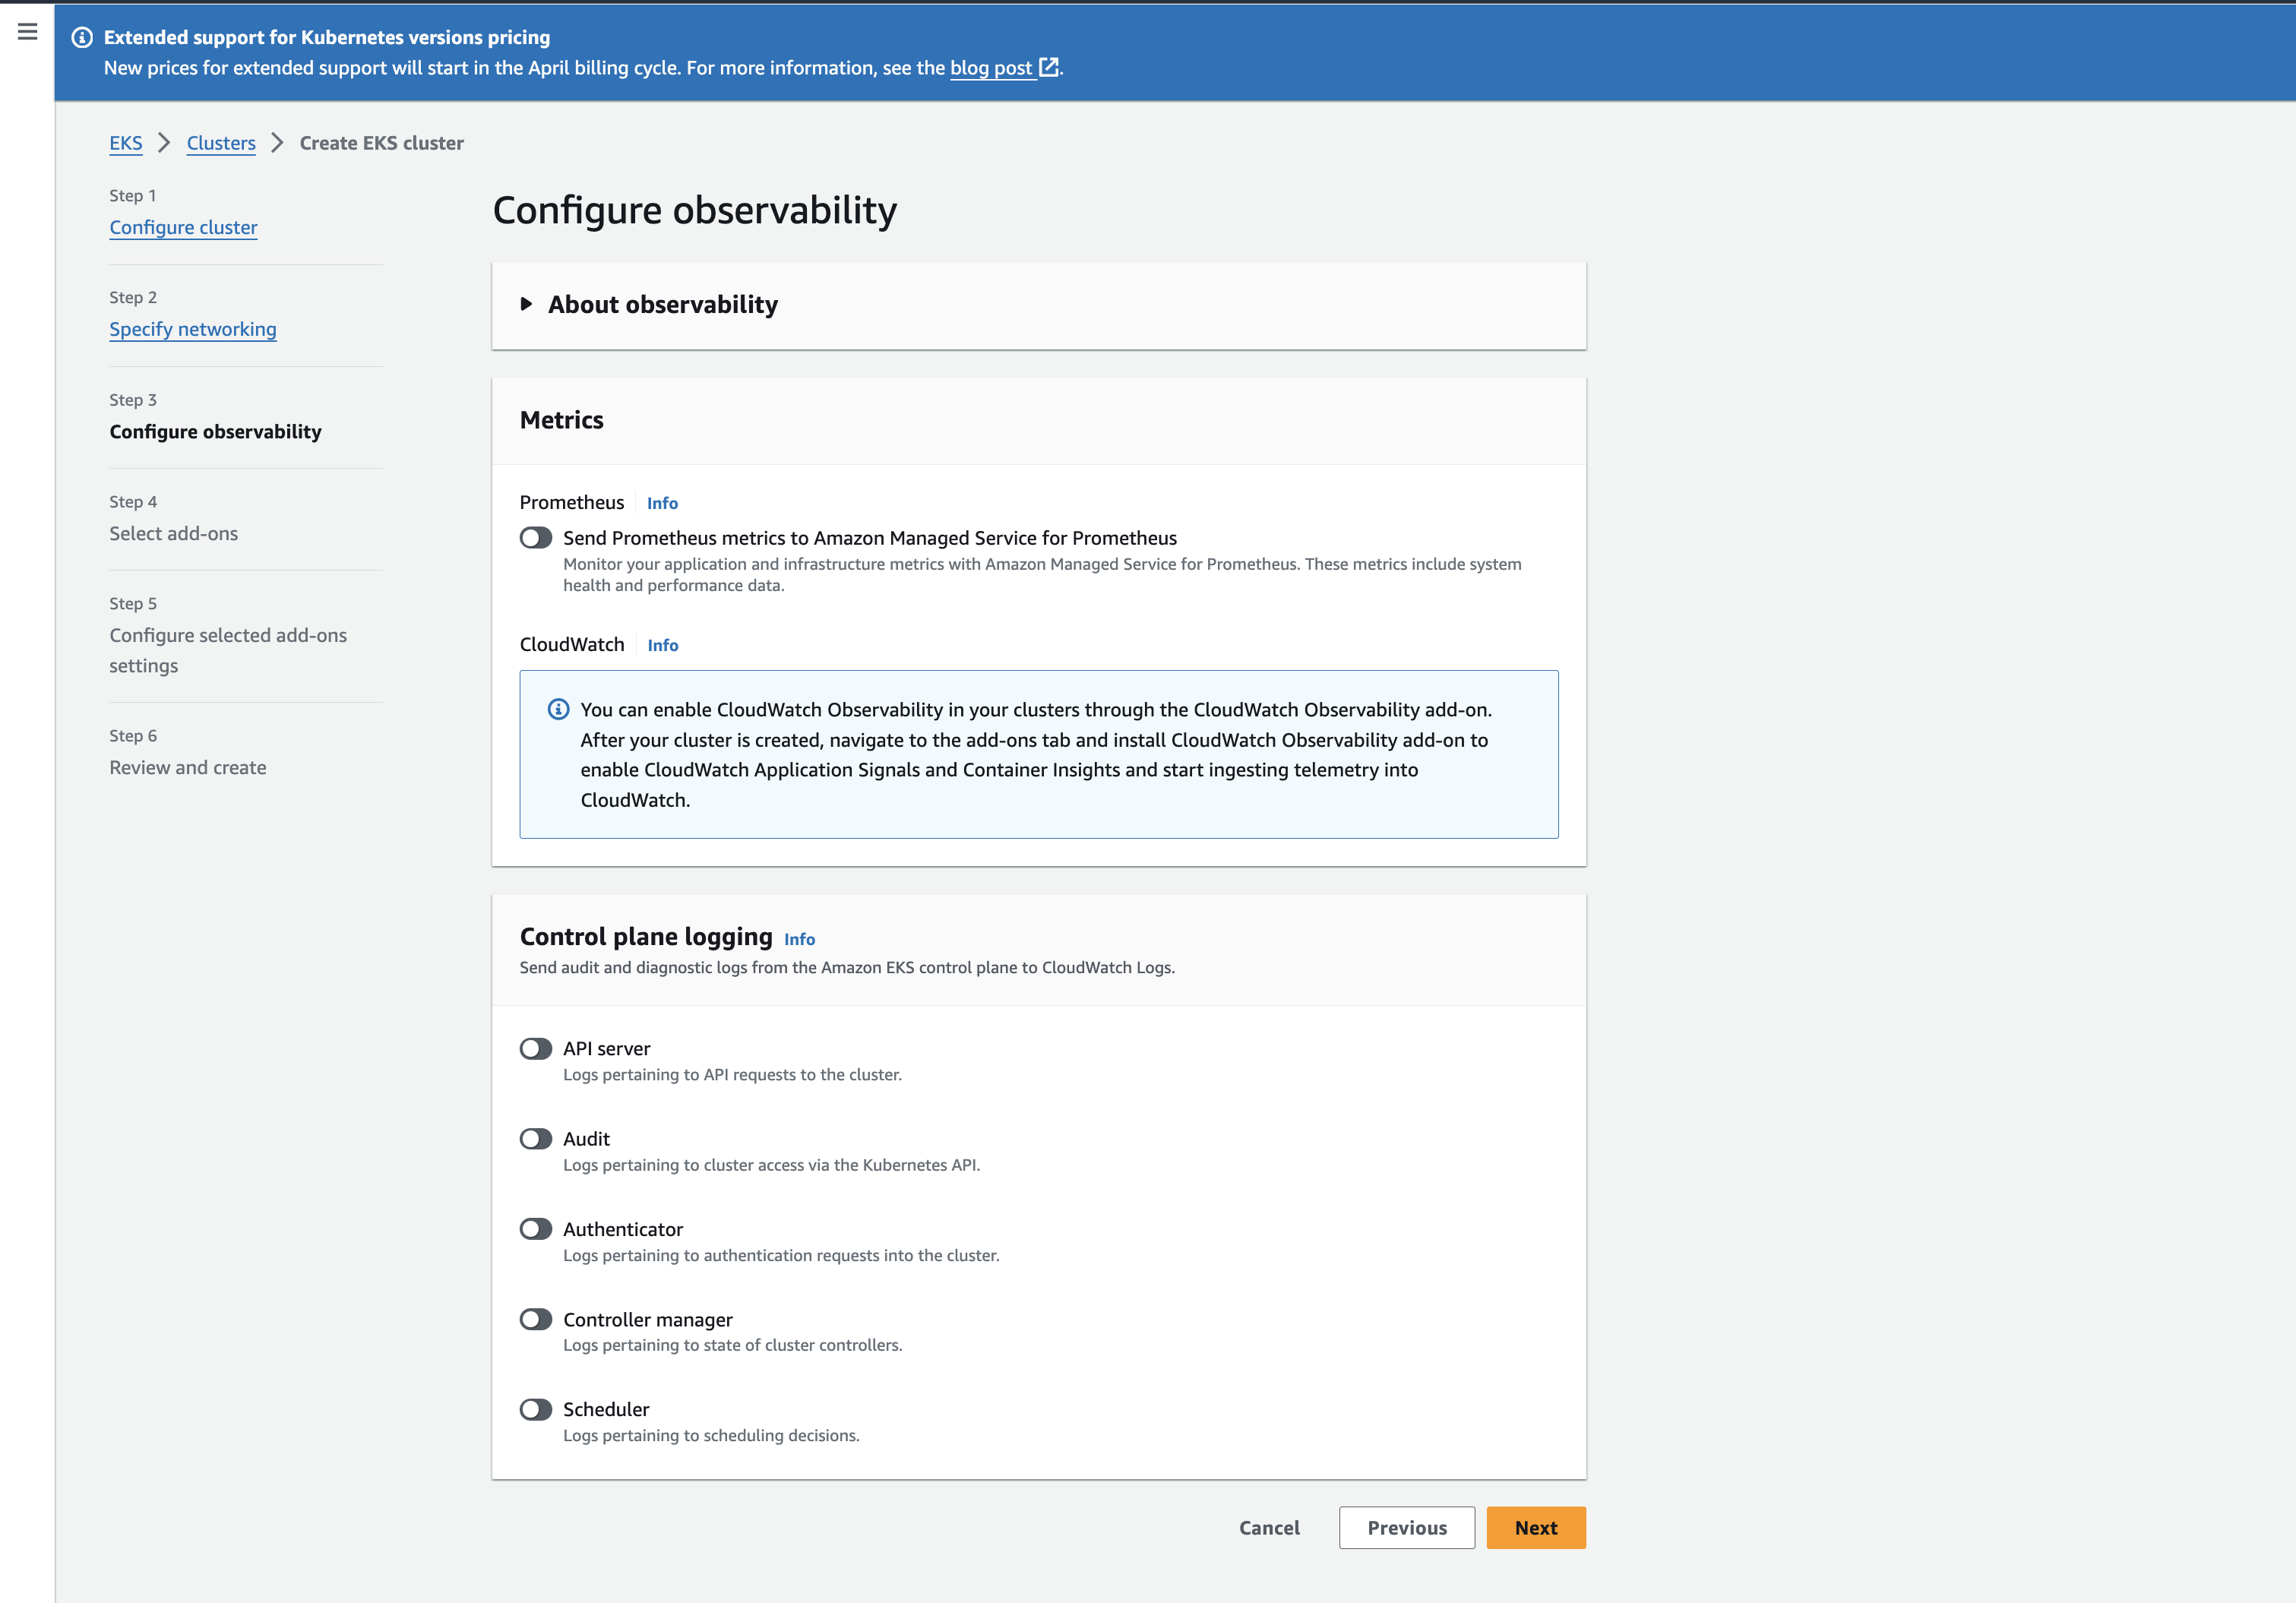
- Click next to go to the Configure Observability view, For this tutorial we will use the default settings.
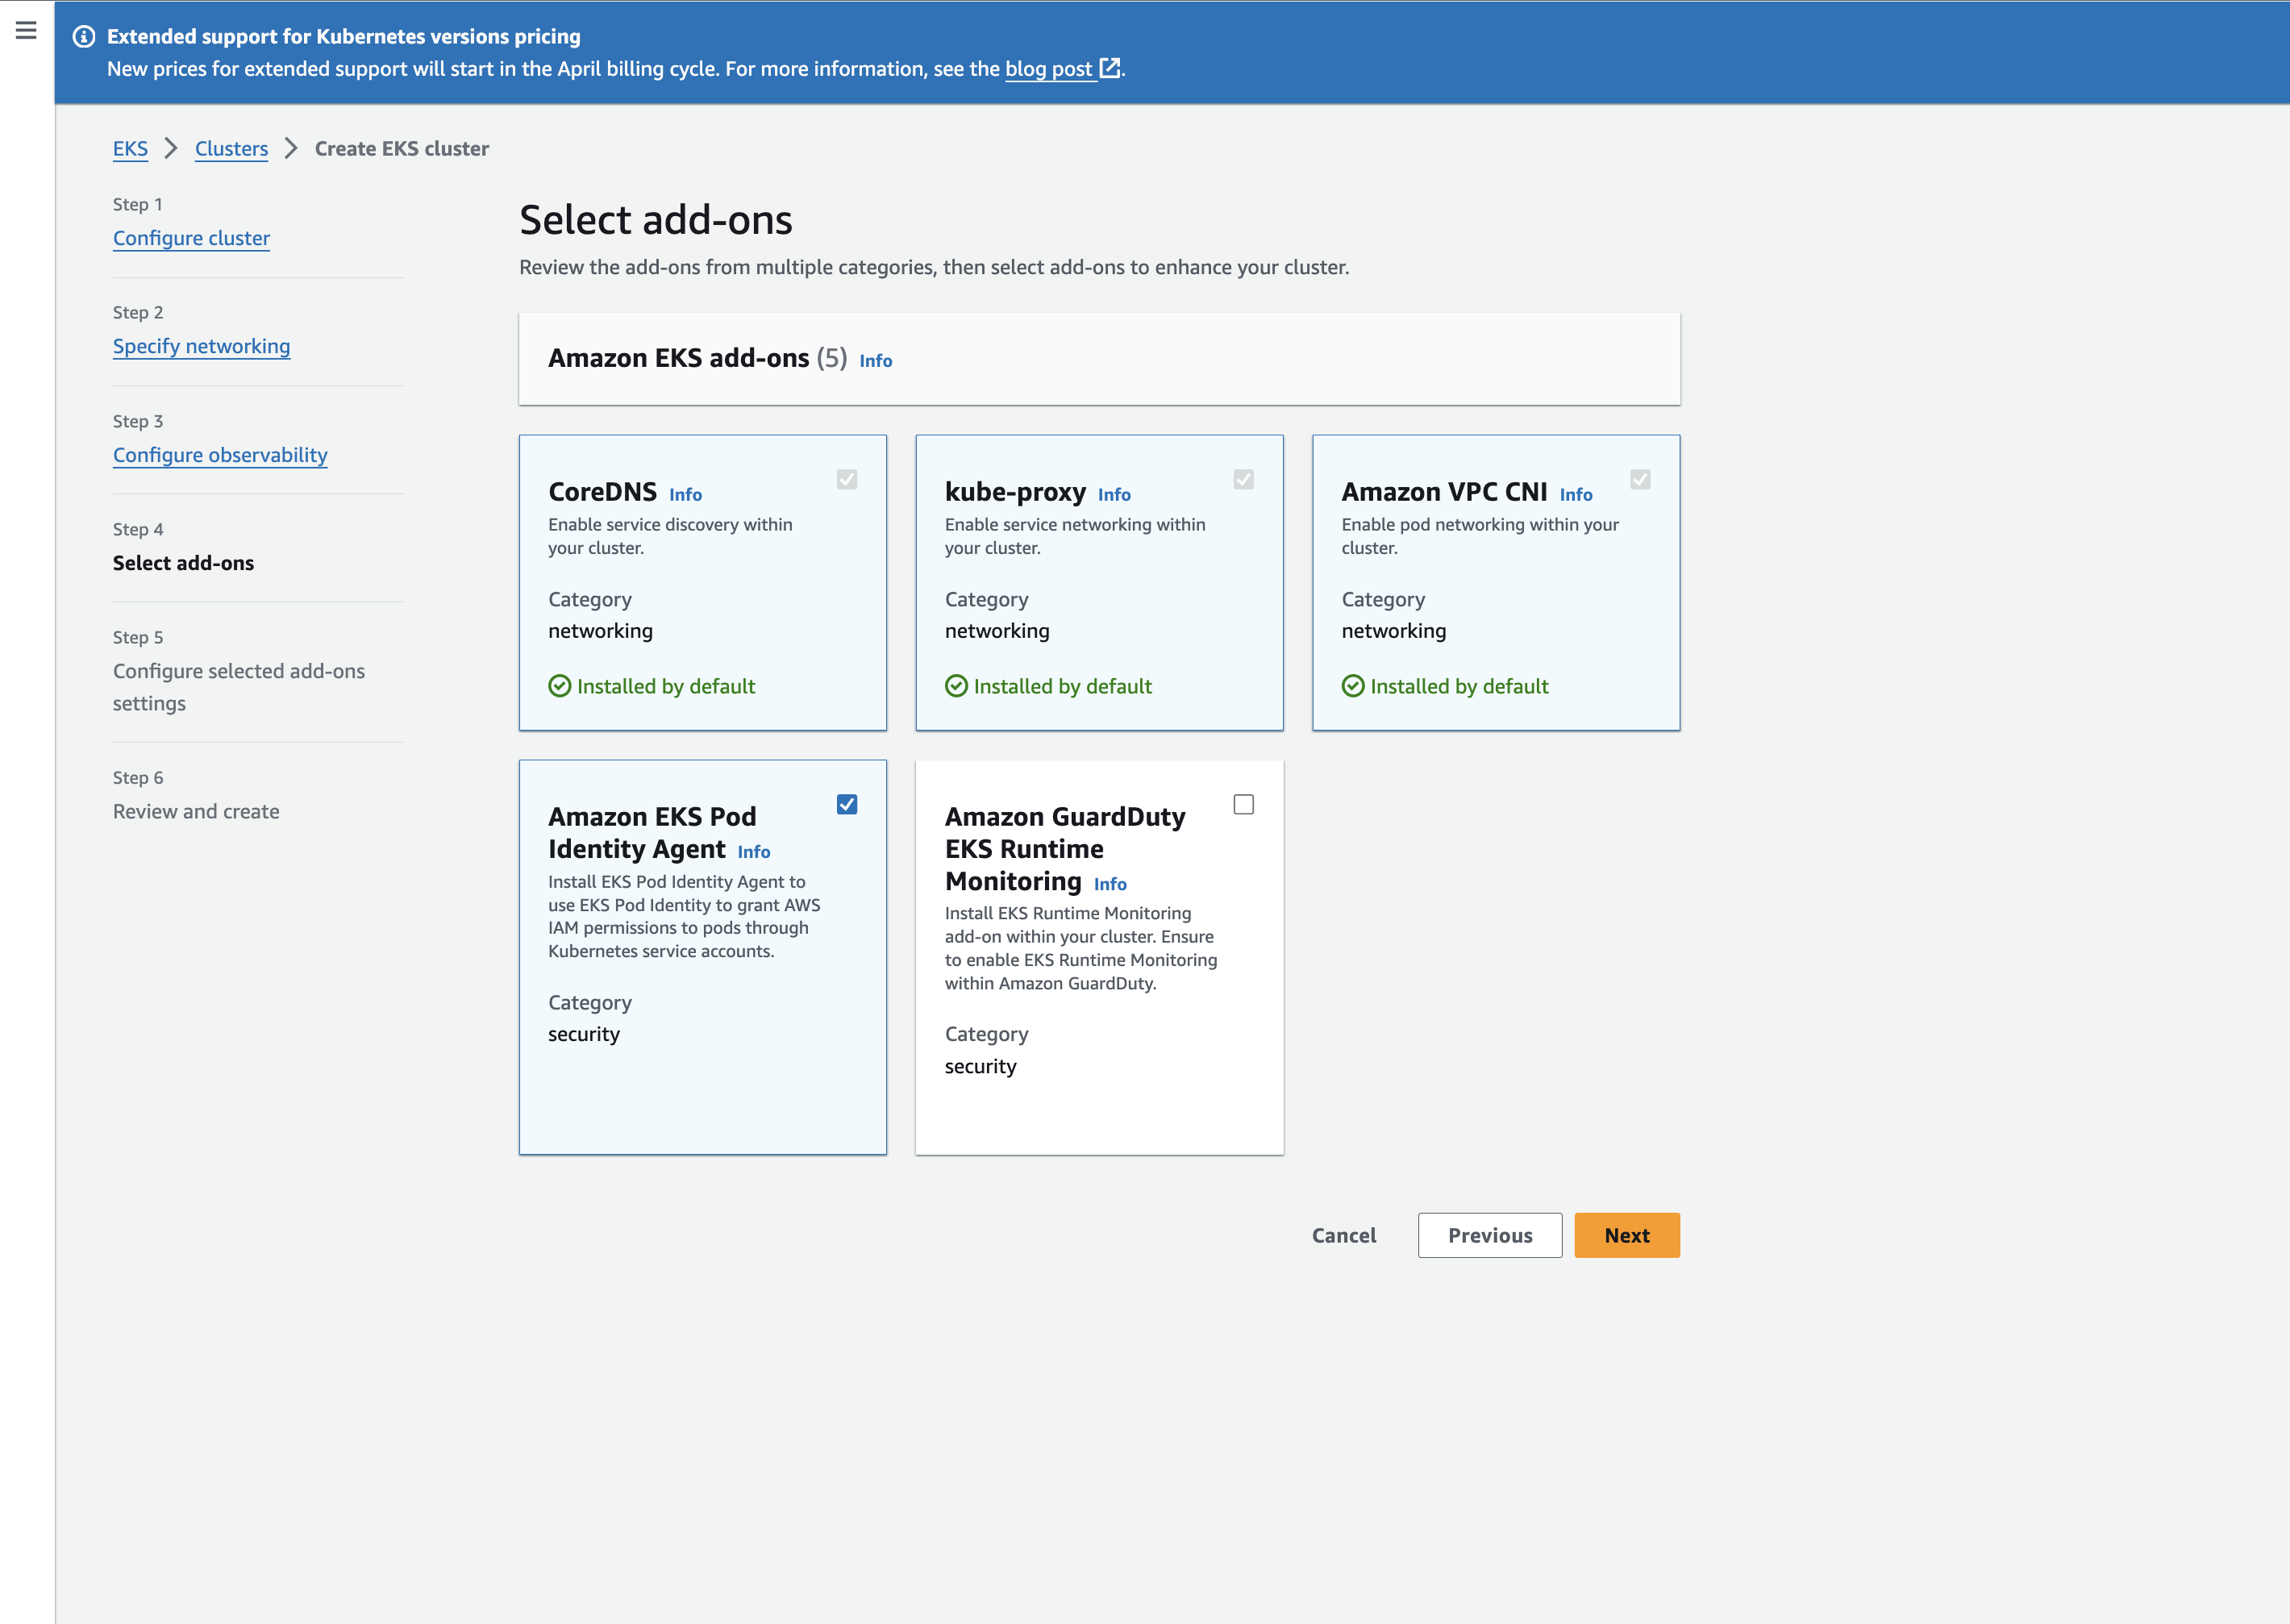
- Click next to go to the Select Add-ons view, For this tutorial we will use the default selected add-ons.
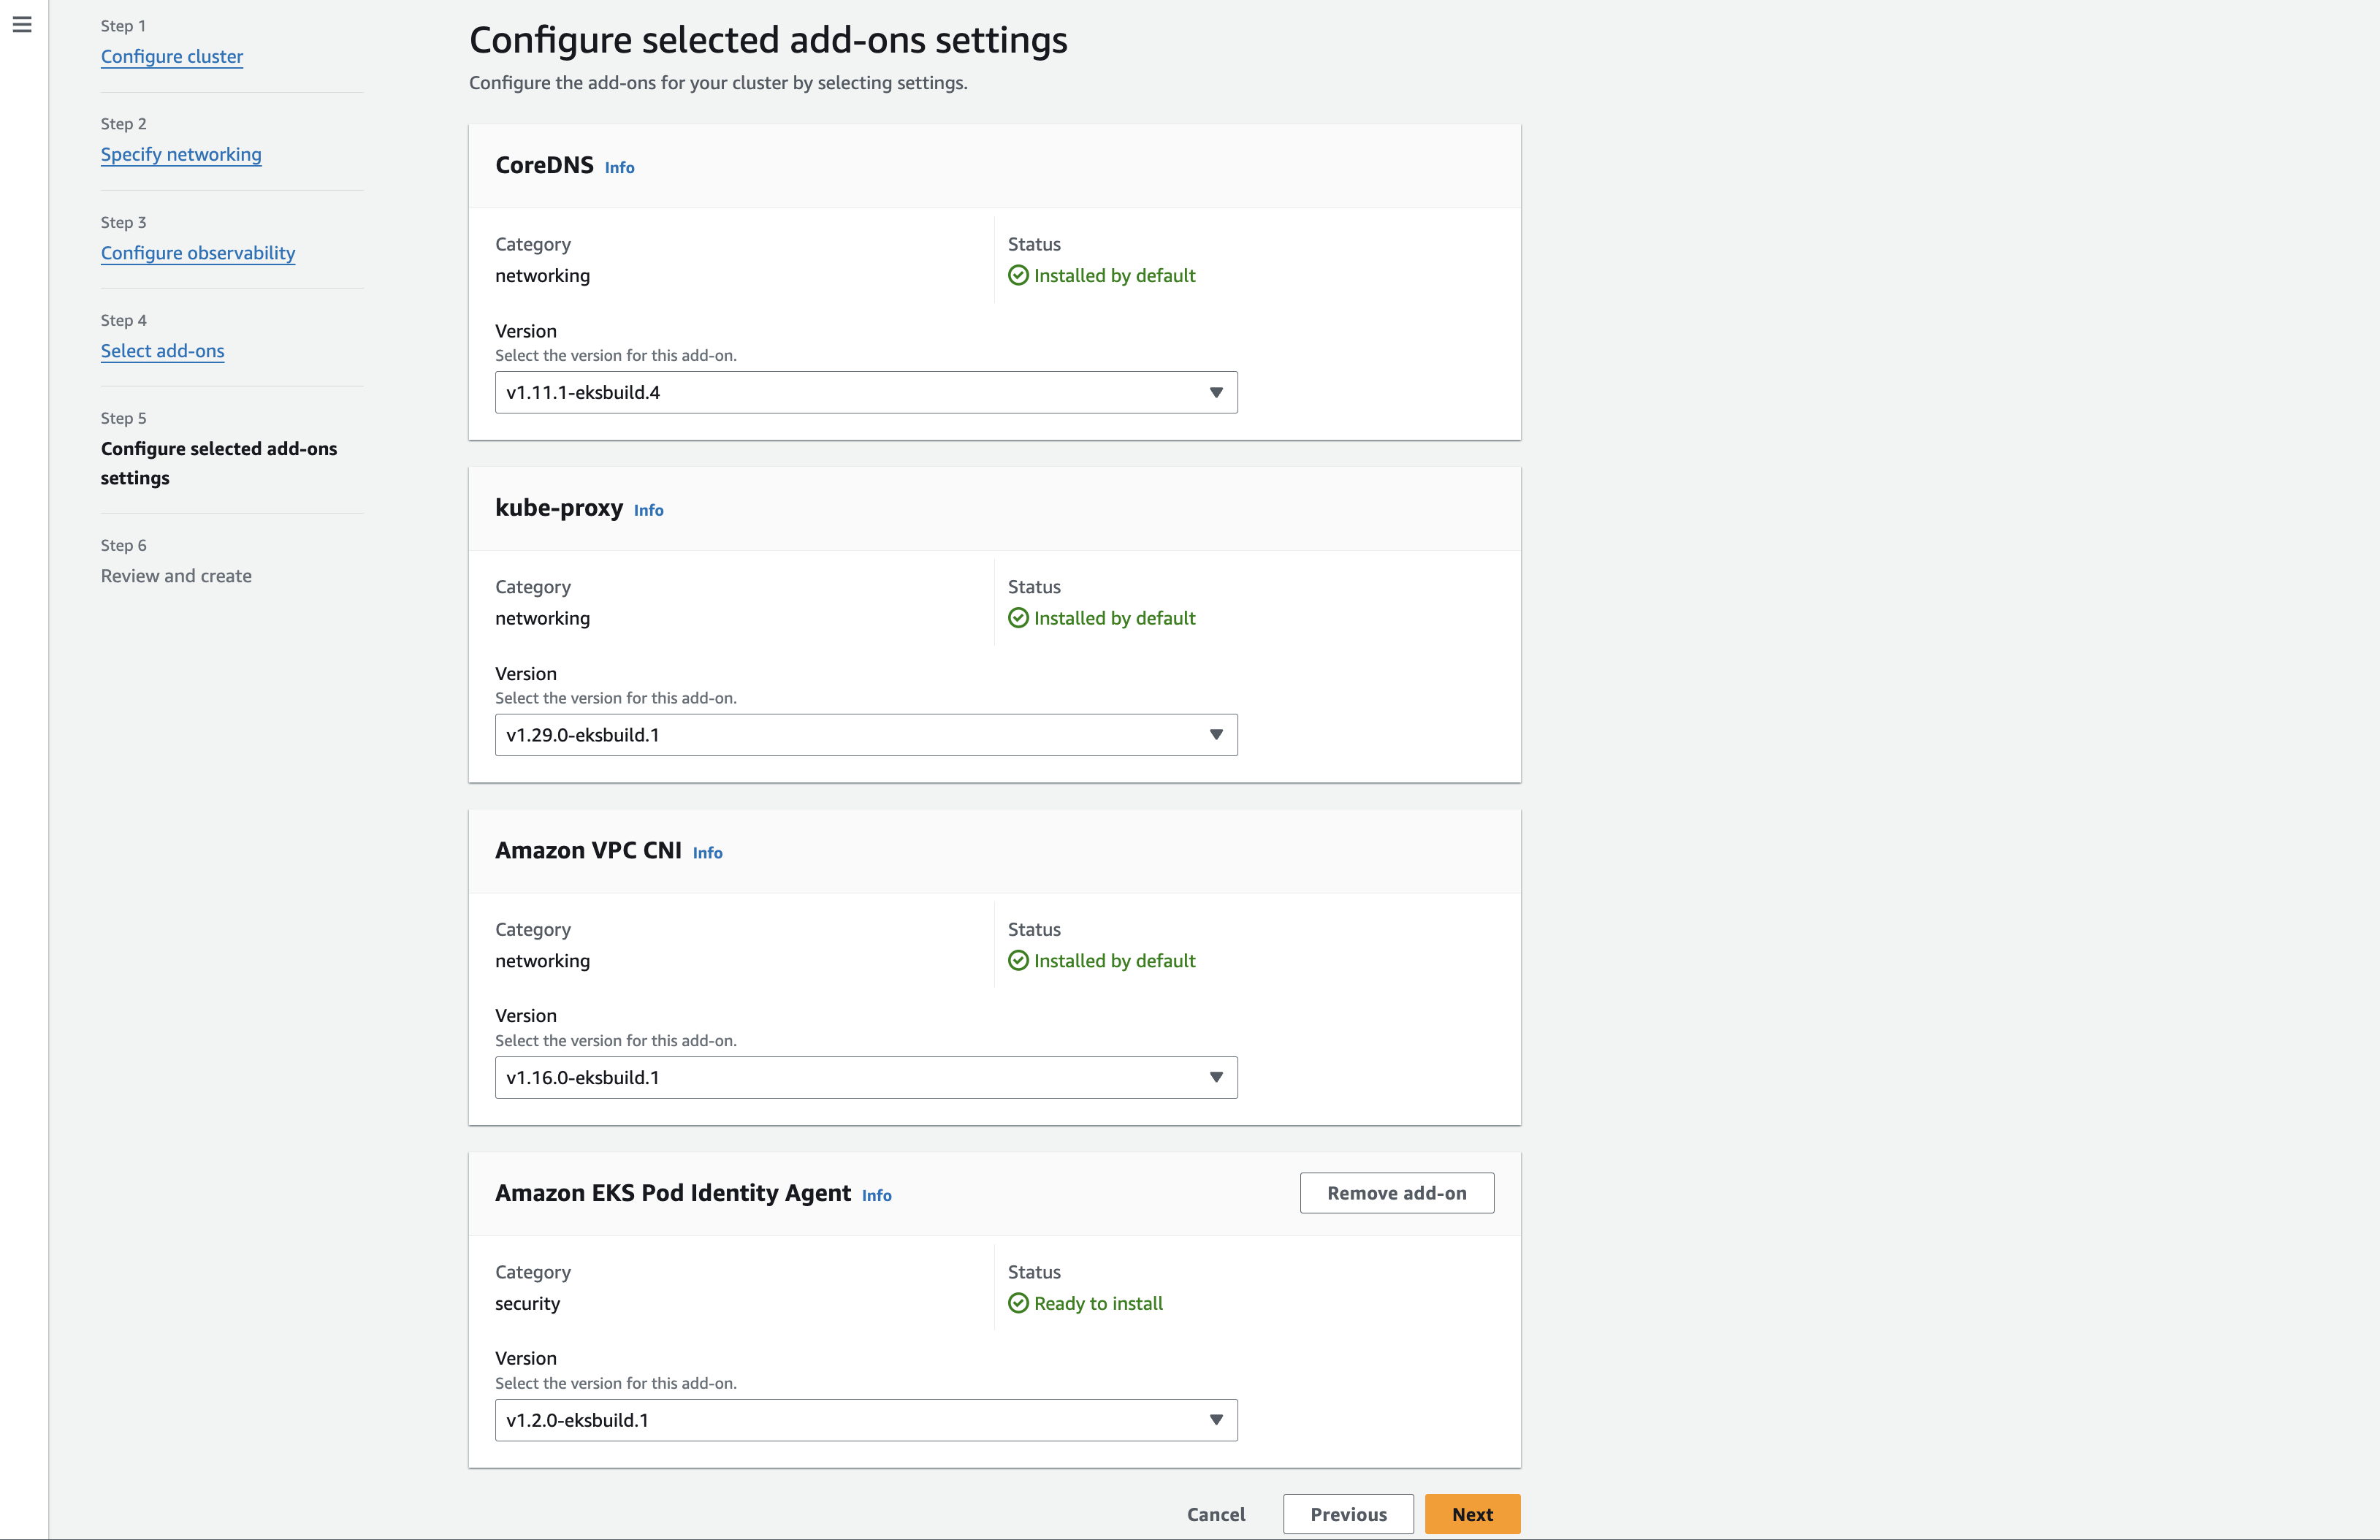
- Click next to go to the Configure selected add-ons view, For this tutorial we will use the default settings.
- Click next to go to the Review and Create view where you can review all the settings and create the cluster.
Configuring OIDC provider for EKS
After creating the EKS cluster, we need to configure the OIDC provider for the cluster. This will allow the cluster to authenticate users using Cognito.
- Go to the access tab on the cluster overview page of the cluster you created above and click on the Associate OIDC Identity provider.
- In the Associate OIDC Identity provider view
2.1 Enter a name for the Identity Provider Configuration
2.2 Enter the issuer URL which can be found in the cognito user pool view you created. It should be something like
https://cognito-idp.<YOUR_REGION_HERE>.amazonaws.com/USER_POOL_ID2.3 Client ID can be found in the app integration tab on the user pool overview page. 2.4 The other fields can be filled as shown in the image below.
Fetching EKS cluster locally to deploy Headlamp on it
Make Sure you have the AWS CLI installed and setup with the necessary permissions to interact with the EKS cluster.
- Installation steps for AWS CLI can be found here
- Signin to the AWS CLI can be done by following the steps here
After setting up the AWS CLI, you can fetch the kubeconfig for the EKS cluster by running the following command
aws eks --region <YOUR_REGION_HERE> update-kubeconfig --name <YOUR_CLUSTER_NAME_HERE>
Where <YOUR_REGION_HERE> is the region where the EKS cluster is created and <YOUR_CLUSTER_NAME_HERE> is the name of the EKS cluster.
Deploying Headlamp on the EKS cluster
- First make sure you have the Helm package manager installed on your local machine. There is a Helm installation guide if you need to install it.
- Your cluster should be running.
- Create a Cognito user through the AWS console. You will need the email for the next step.
- Inside Kubernetes we need to give users a "cluster-admin" ClusterRole. We do this by setting up a ClusterRoleBinding. So the cluster can authorize these users.
clusterRoleBinding.yaml
apiVersion: rbac.authorization.k8s.io/v1
kind: ClusterRoleBinding
metadata:
  name: admin-user-clusterrolebinding
subjects:
  - kind: User
    name: admin@example.com
    apiGroup: rbac.authorization.k8s.io
roleRef:
  kind: ClusterRole
  name: cluster-admin
  apiGroup: rbac.authorization.k8s.io
Create the ClusterRoleBinding by running the following command:
kubectl apply -f clusterRoleBinding.yaml
- Create a
values.yamlfile and add the following OIDC configuration to it:
config:
  oidc:
  clientID: "<YOUR-CLIENT-ID>"
  clientSecret: "<YOUR-CLIENT-SECRET>"
  issuerURL: "https://cognito-idp.<YOUR_REGION_HERE>.amazonaws.com/<USER_POOL_ID>"
  scopes: "profile,email,openid"
Replace <YOUR-CLIENT-ID>,<YOUR-CLIENT-SECRET>,<YOUR_REGION_HERE, <USER_POOL_ID> with your specific Cognito user pool app configuration details.
ℹ️ Additional Notes for Other OIDC Providers and Ingress Setups
If you're using an OIDC provider other than Cognito (such as JumpCloud, Auth0, or Okta), or if you're deploying Headlamp behind an ingress controller or load balancer (like AWS NLB or ALB), please review the following:
5.1. Redirect URI construction:
Headlamp automatically builds theredirect_uriusing theHostandX-Forwarded-Protoheaders. If theX-Forwarded-Protoheader is missing, the URI may default tohttp, which can cause a mismatch with the URI registered in your identity provider.If you're using NGINX ingress, you can ensure the correct header is forwarded by adding:
nginx.ingress.kubernetes.io/configuration-snippet: |
  proxy_set_header X-Forwarded-Proto $scheme;
5.2. Registering the correct redirect URI:
In your identity provider, make sure to register the exact redirect URI that Headlamp will use. This is typically:https://<your-headlamp-domain>/oidc-callback5.3. EKS OIDC trust configuration:
Even if you're not using Cognito, you must still associate your OIDC provider with your EKS cluster. This allows Kubernetes to validate tokens issued by your provider. Follow the same steps shown earlier in the "Configuring OIDC provider for EKS" section, using your provider's issuer URL and client ID.
- Save the
values.yamlfile and Install Headlamp using helm with the following commands:
helm repo add headlamp https://kubernetes-sigs.github.io/headlamp/
helm install headlamp-oidc headlamp/headlamp -f values.yaml --namespace=headlamp --create-namespace
This will install Headlamp in the headlamp namespace with the OIDC configuration from the values.yaml file.
- After a successful installation, you can access Headlamp by port-forwarding to the pod:
Make sure the portforwarding is done to a port that you also set as the callback URL in the Cognito user pool configuration. So in our case if the callback URL is http://localhost:8000/oidc-callback then we should port forward to 8000.
kubectl port-forward svc/headlamp-oidc 8000:80 -n headlamp
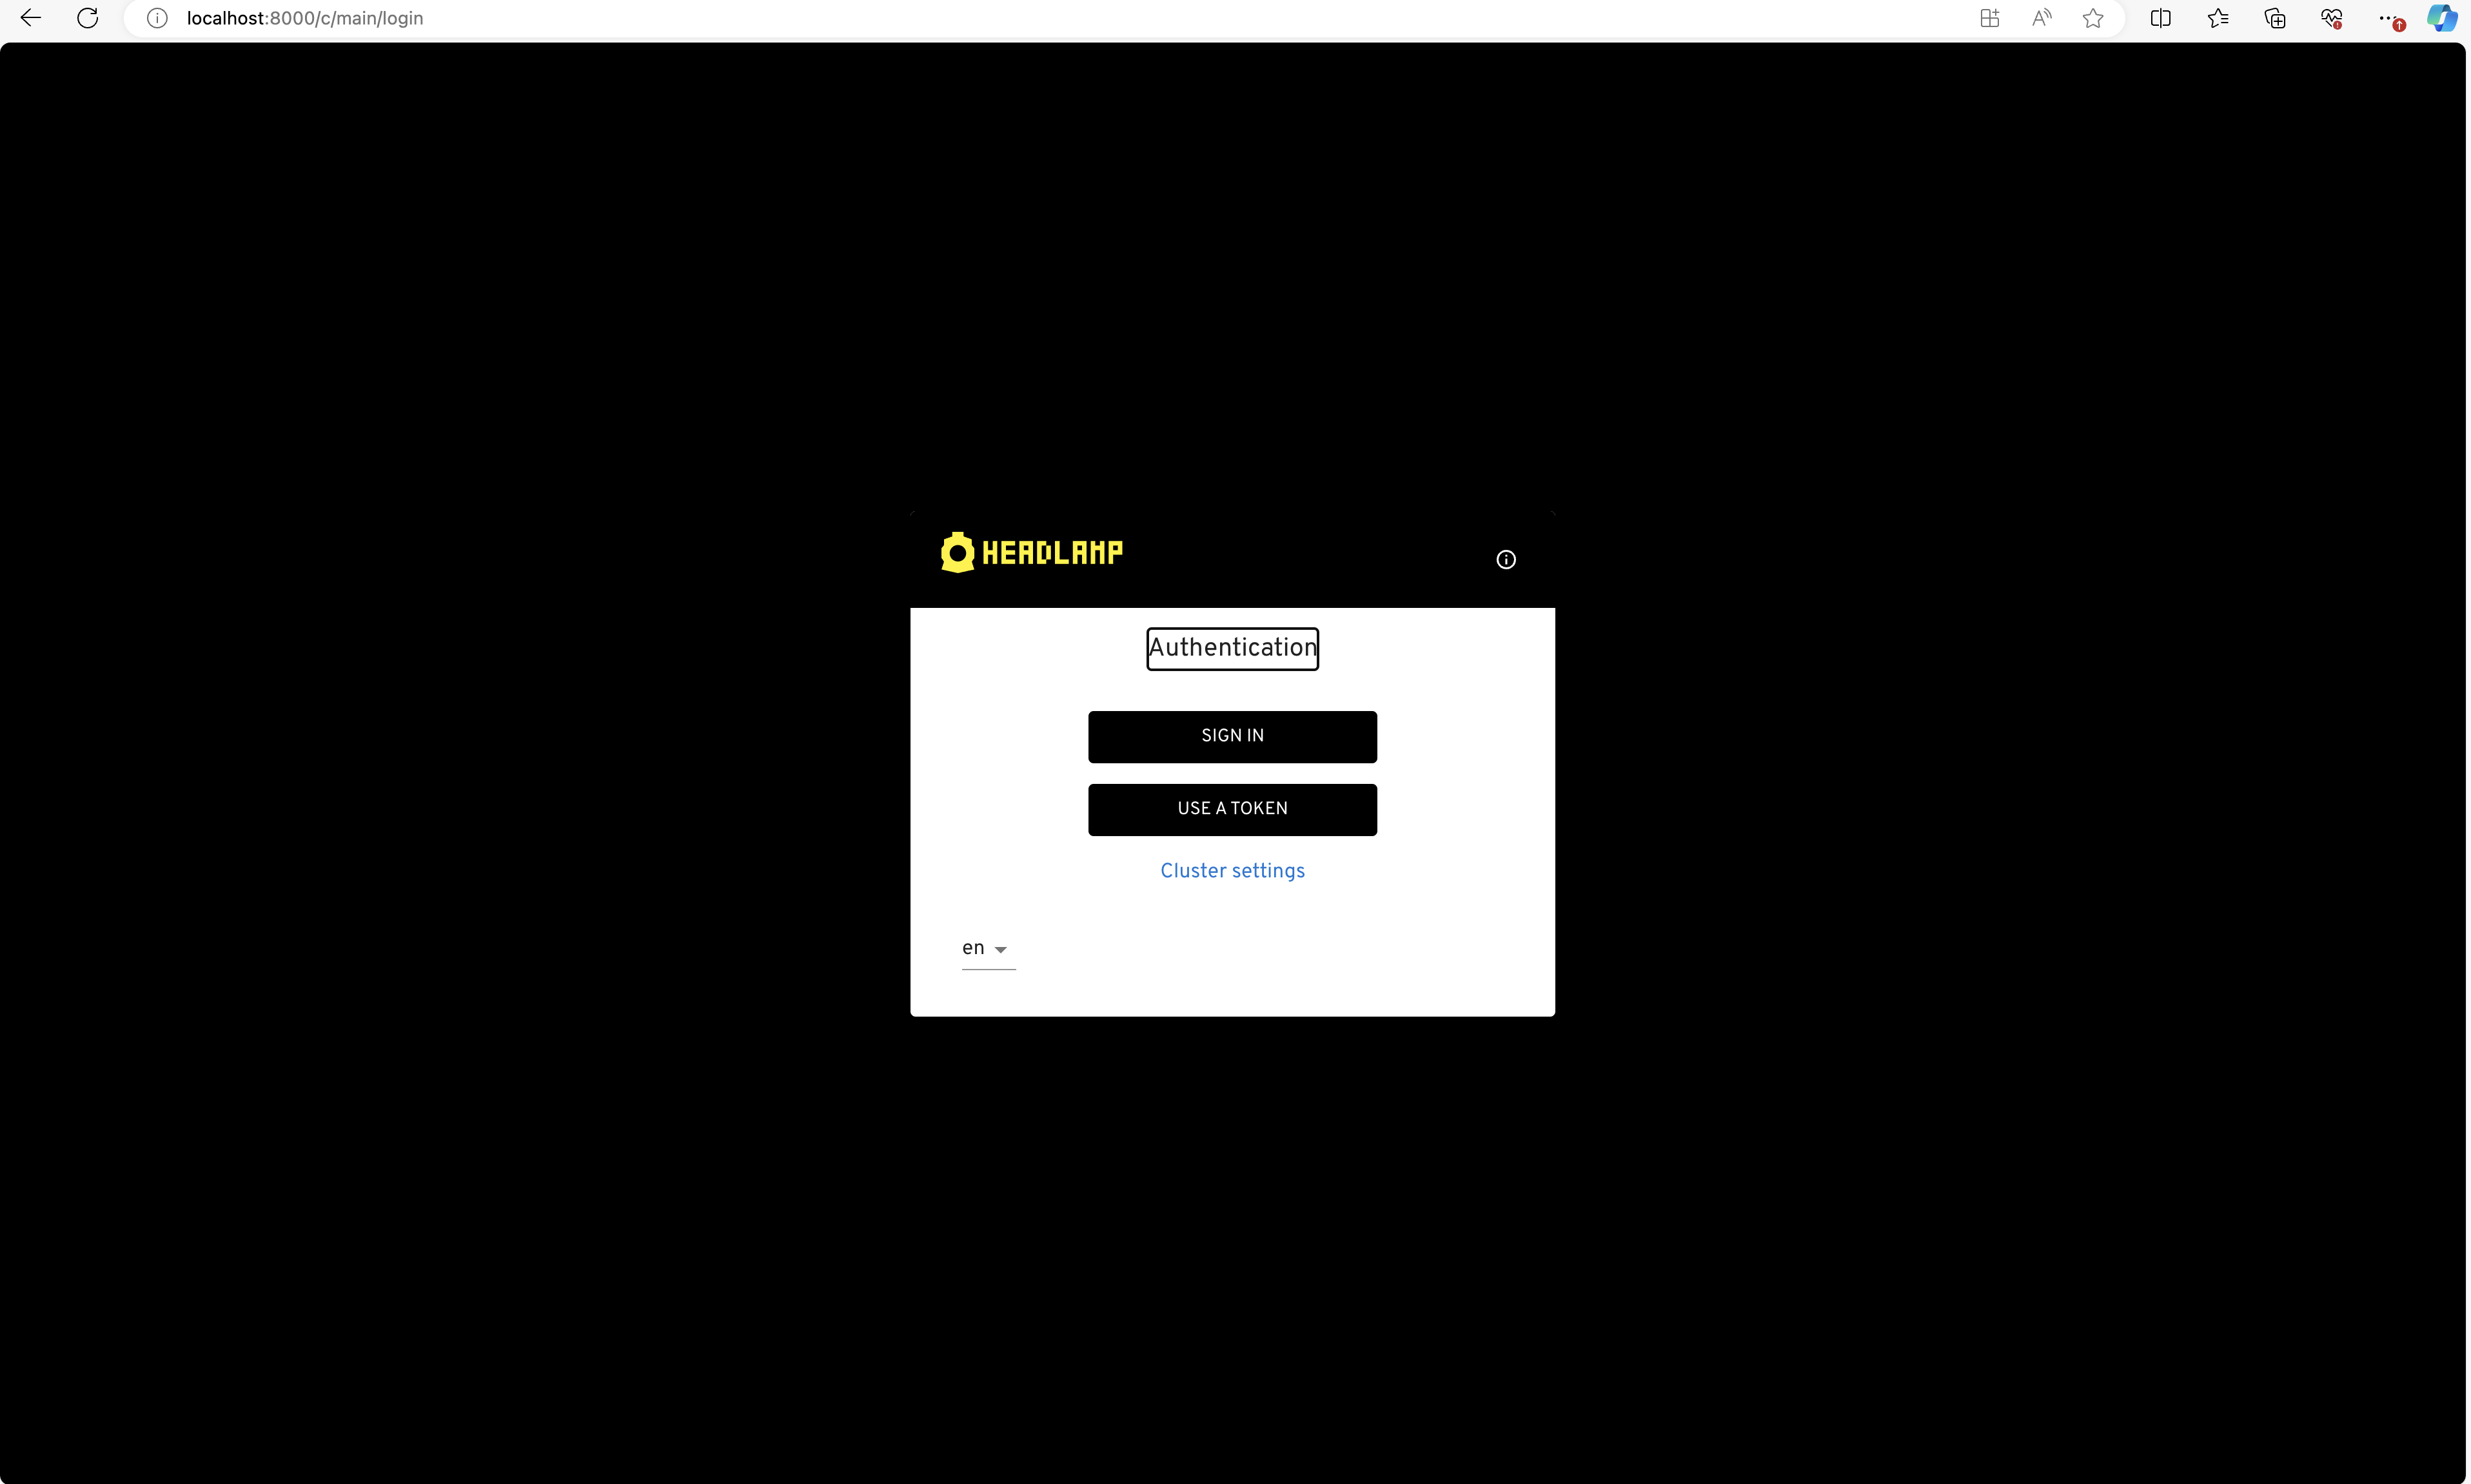
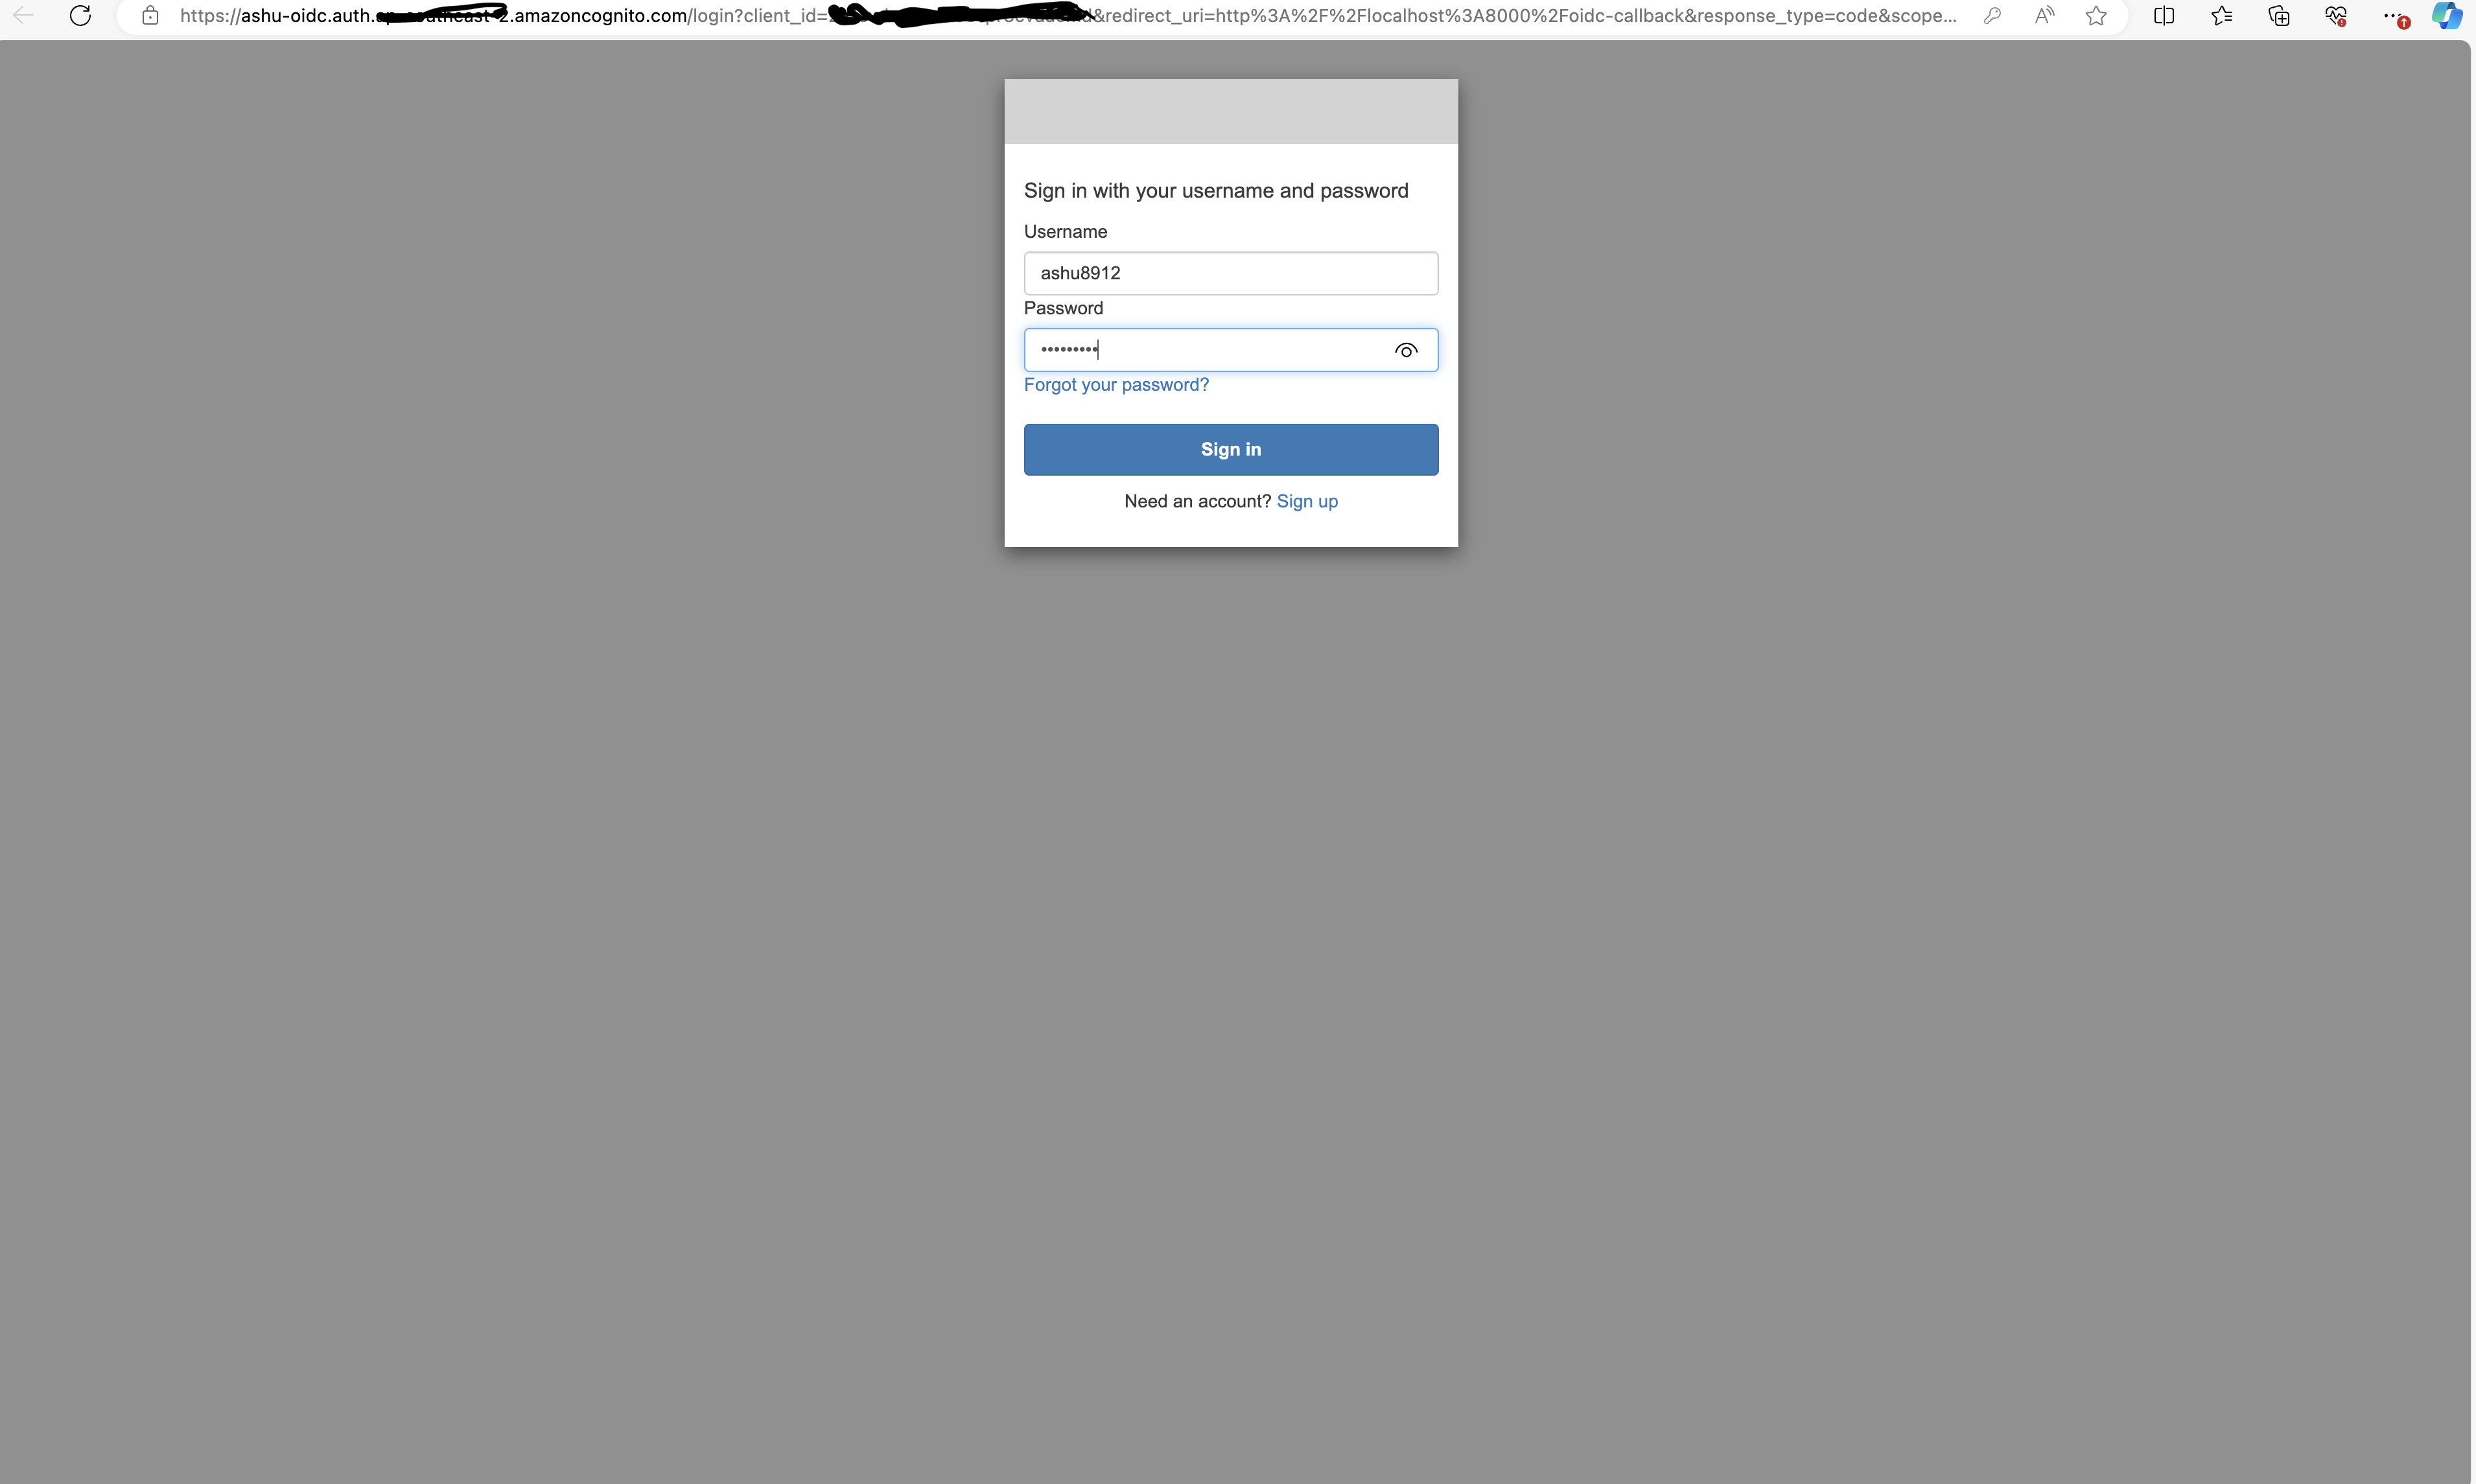
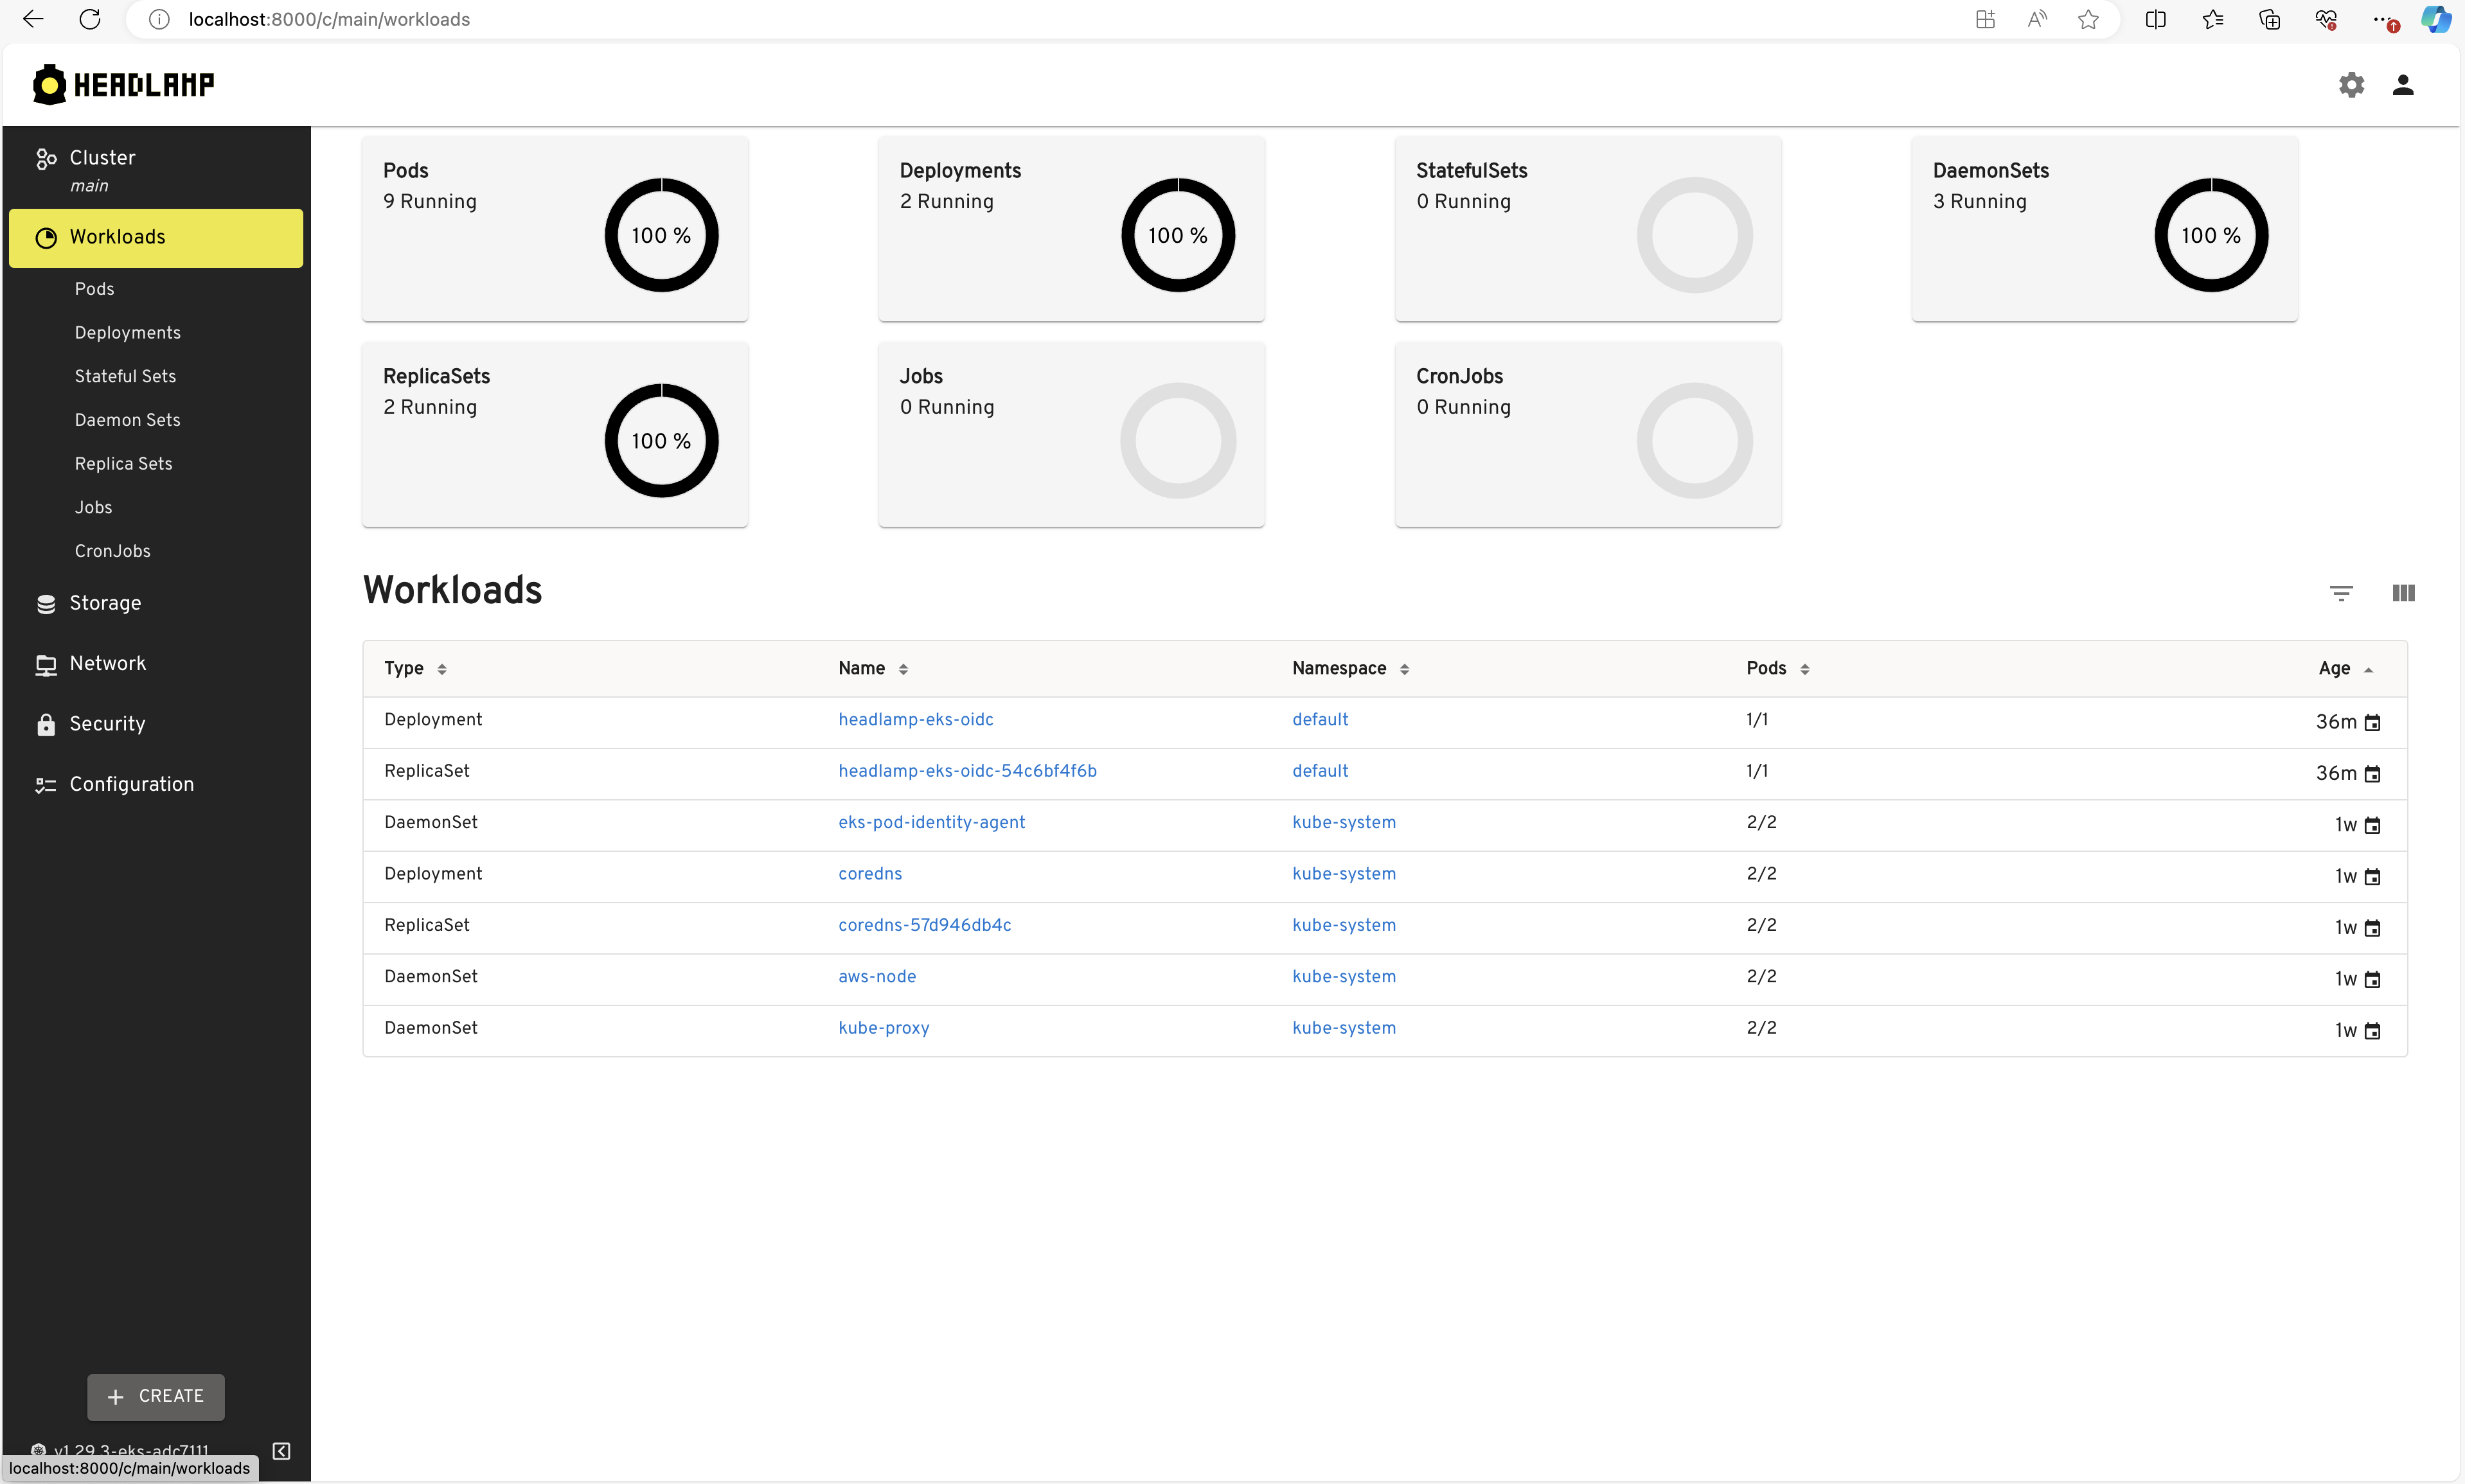
- Open your web browser and go to http://localhost:8000. Click on "sign-in." After completing the login flow successfully, you'll gain access to your Kubernetes cluster using Headlamp.