AKS Cluster Setup with Azure Entra Login and RBAC Using OAuth2Proxy
This guide walks you through configuring Headlamp in an AKS cluster using OAuth2Proxy for authentication via Azure Entra ID (Microsoft Entra ID) and RBAC.
We'll cover:
- Setting up AKS with OIDC
- Creating an Azure App Registration
- Deploying Headlamp via Helm
- Setting up OAuth2Proxy
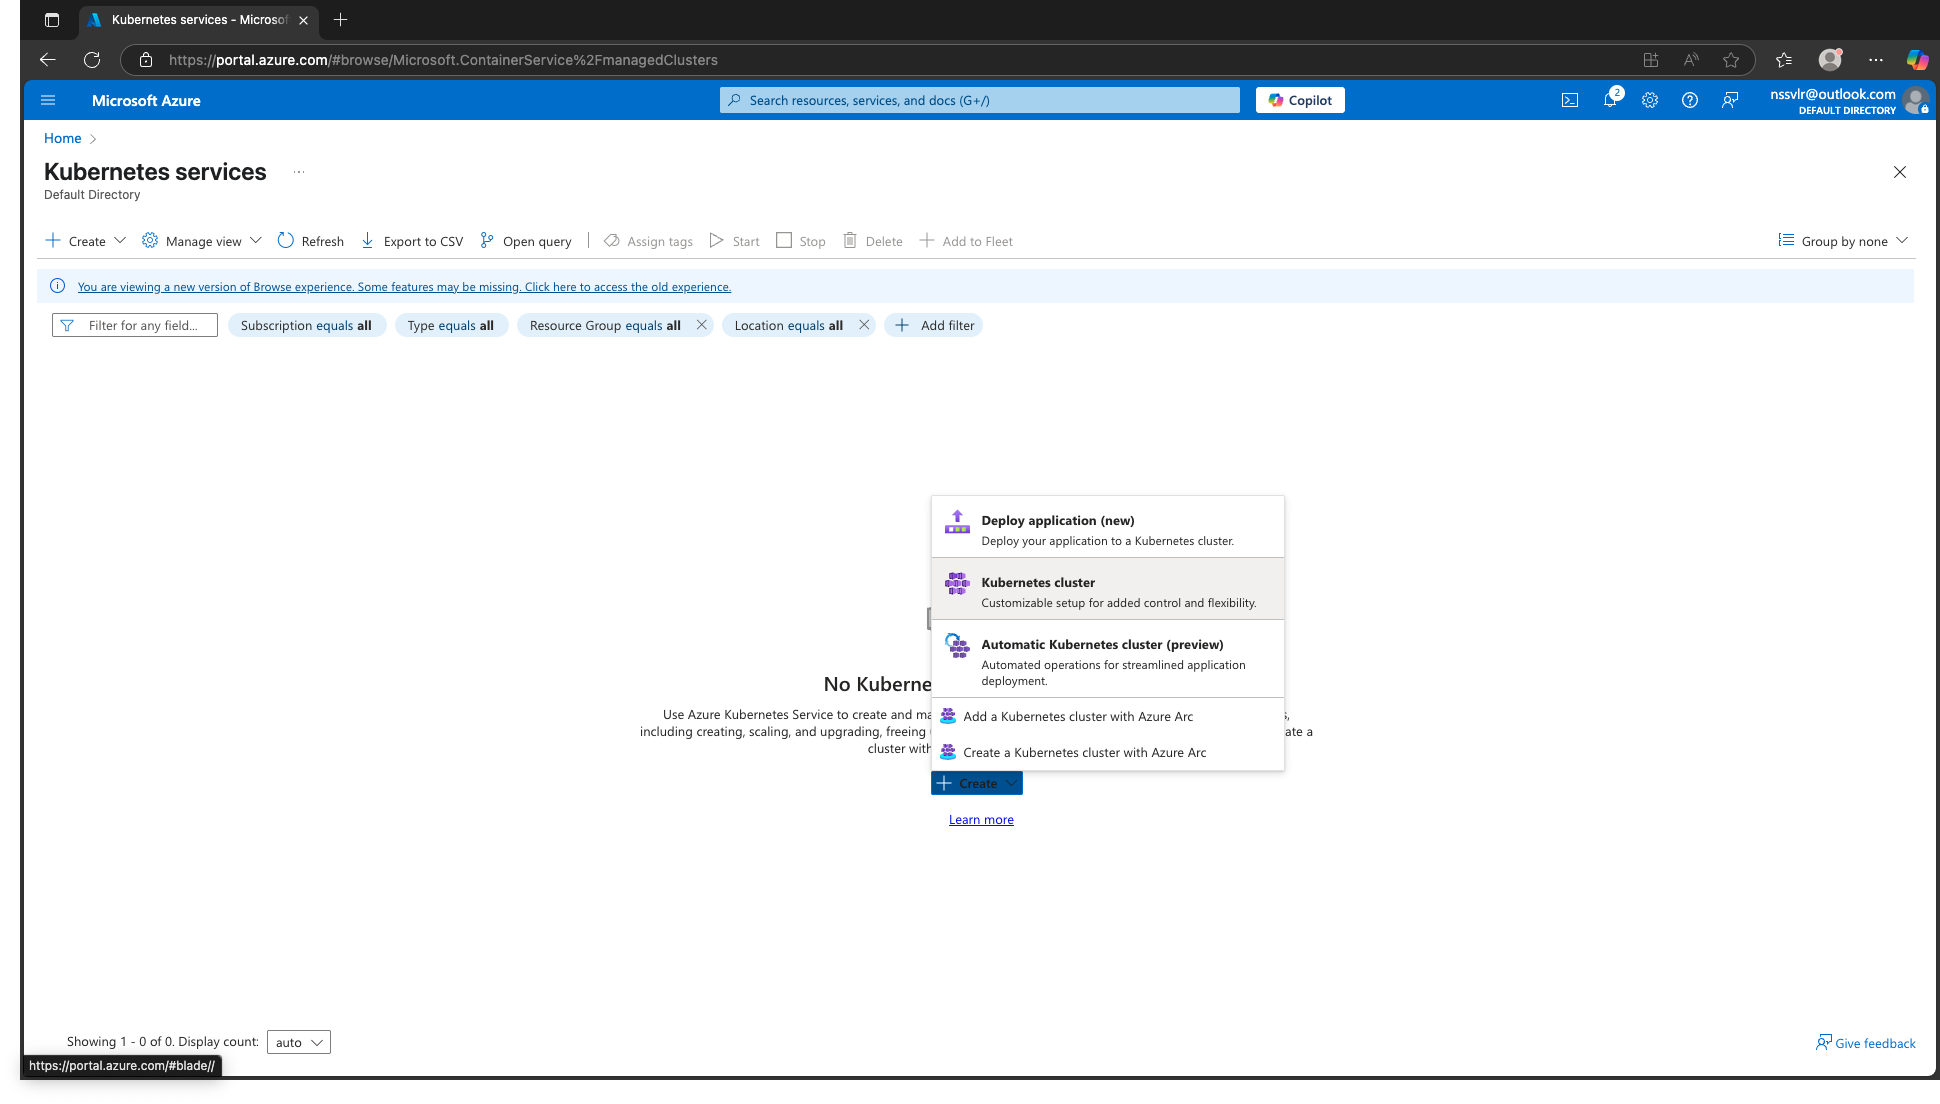
Step 1: Set Up AKS Cluster with OIDC Enabled
- Go to Kubernetes Services in the Azure portal and click Create Cluster.
- In the Authentication and Authorization step:
- Select Microsoft Entra ID authentication.
- Enable Kubernetes RBAC.
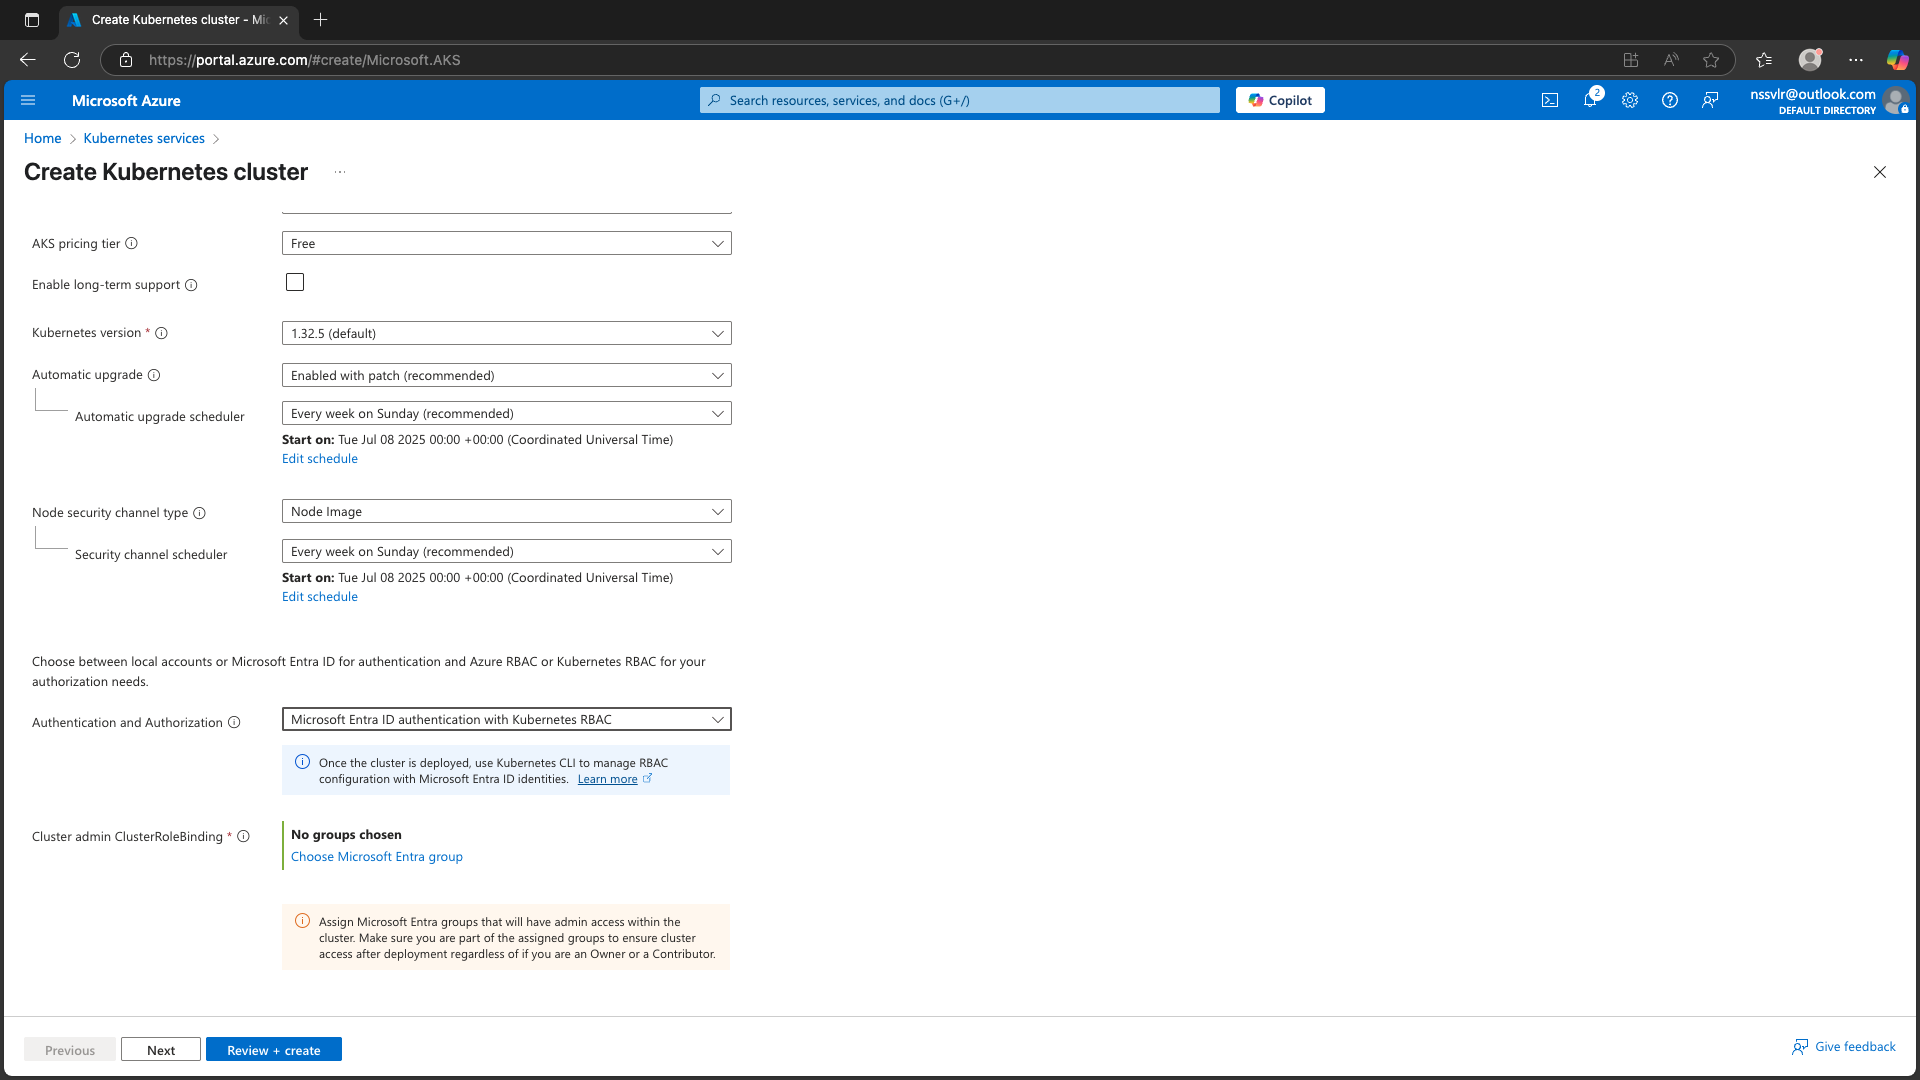
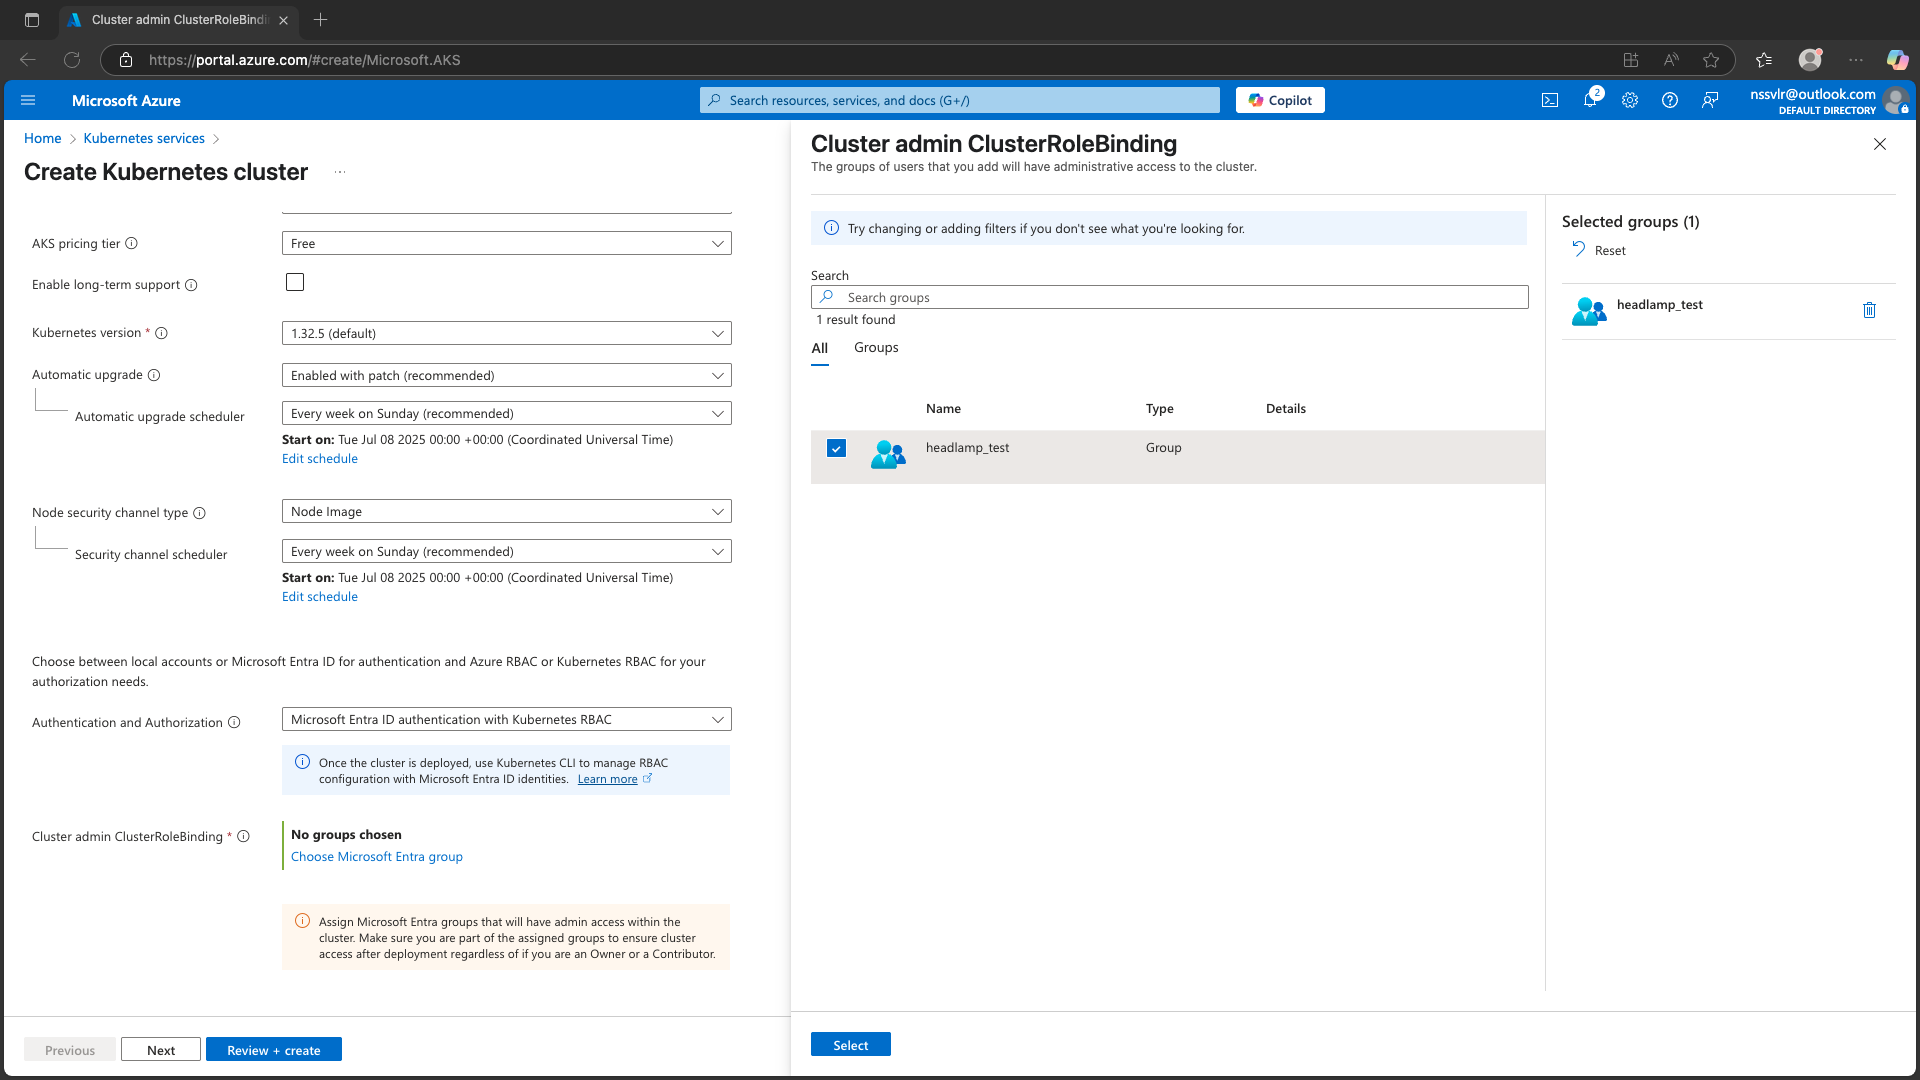
- Under Cluster Admin ClusterRoleBinding, choose an Entra group that should have cluster-admin privileges.
- Continue with your preferred settings for the agent pool, networking, etc., and create the cluster.
Make sure to enable OIDC Issuer while creating the cluster.
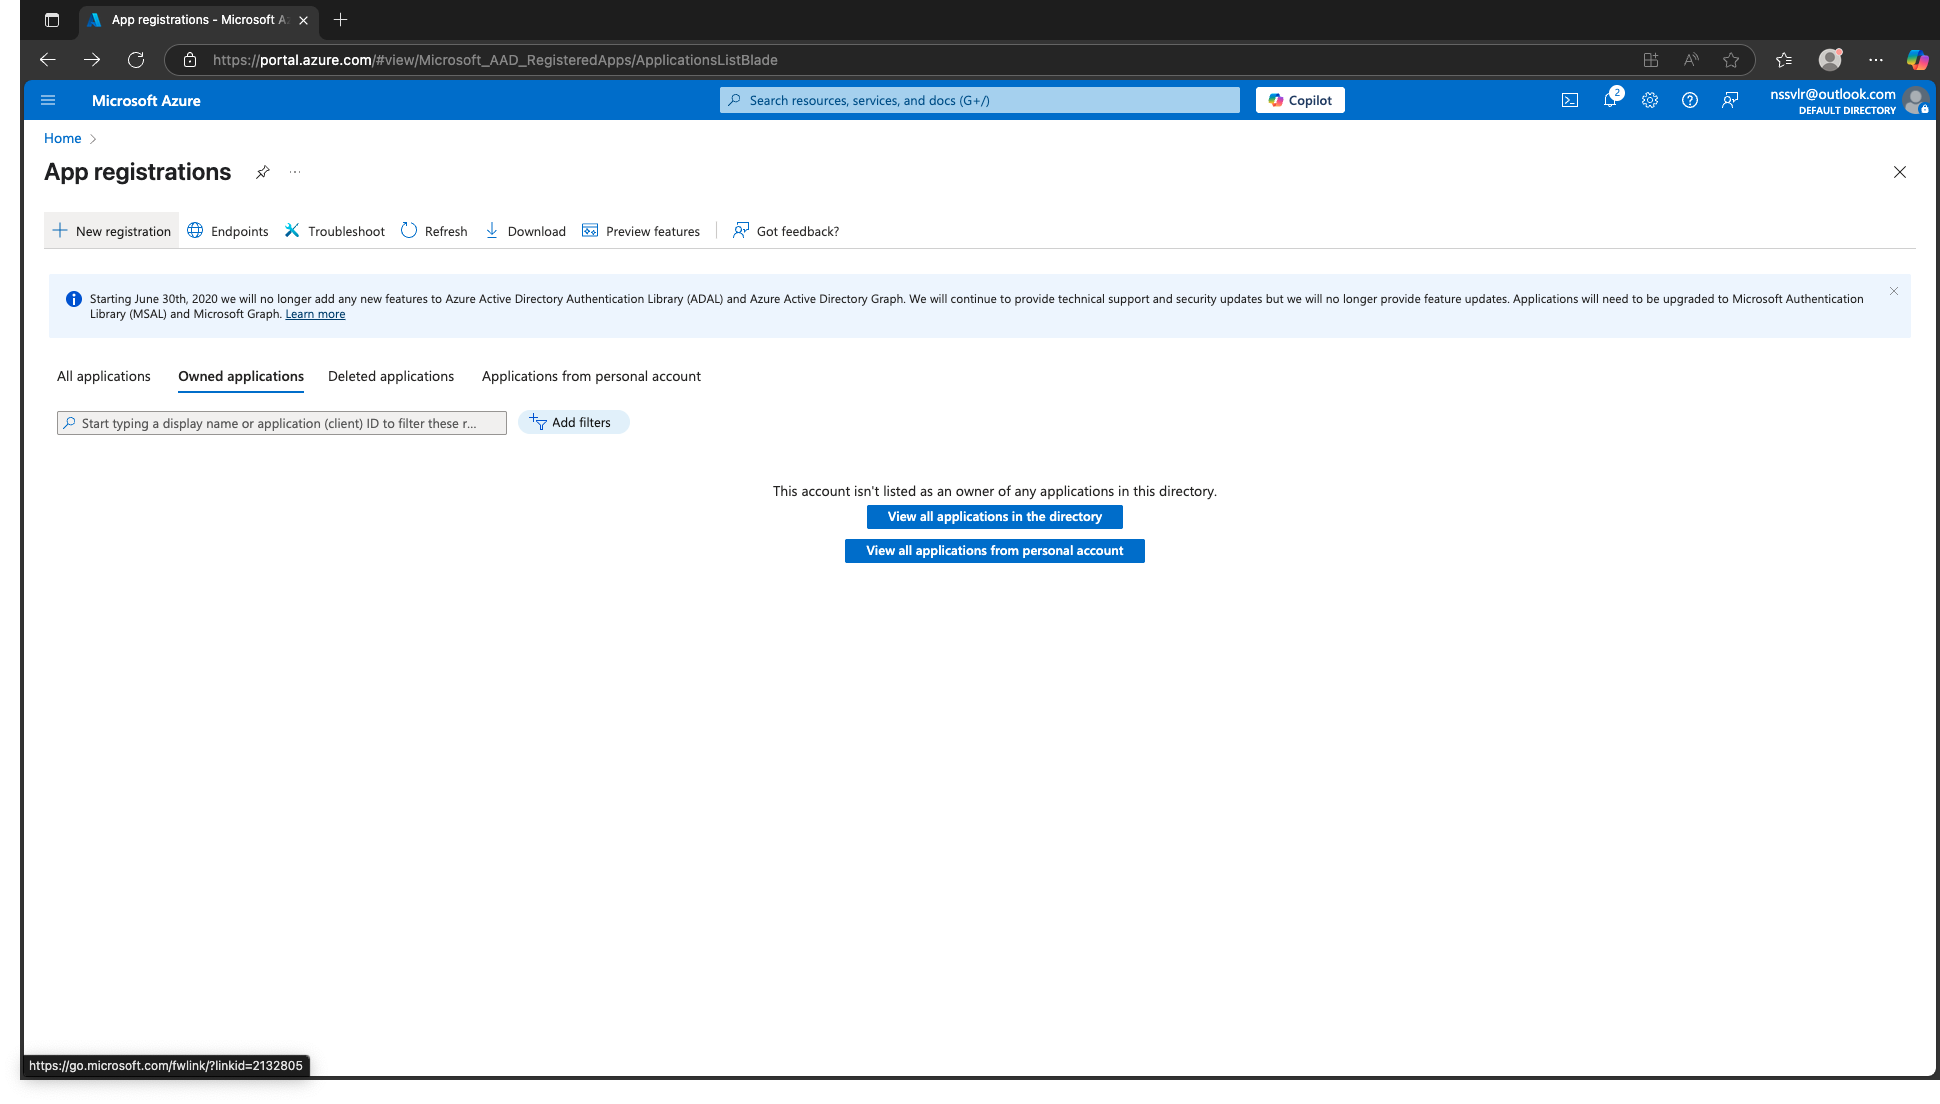
Step 2: Create an Azure App Registration
- In the Azure portal, navigate to Microsoft Entra ID > App registrations.
-
Click + New registration.
-
Provide:
- Name of your choice.
- Supported account type (usually Accounts in this organizational directory only).
- Redirect URI: For local testing, you can use:
http://localhost:8000/oidc-callback

-
Click Register.
-
Record the Application (client) ID and Directory (tenant) ID.
Step 3: Configure API Permissions for OAuth2Proxy
- Go to API permissions → Add a permission.
- Choose Microsoft Graph → Delegated permissions.
- Add:
openid,profile,email. - Click Grant admin consent.
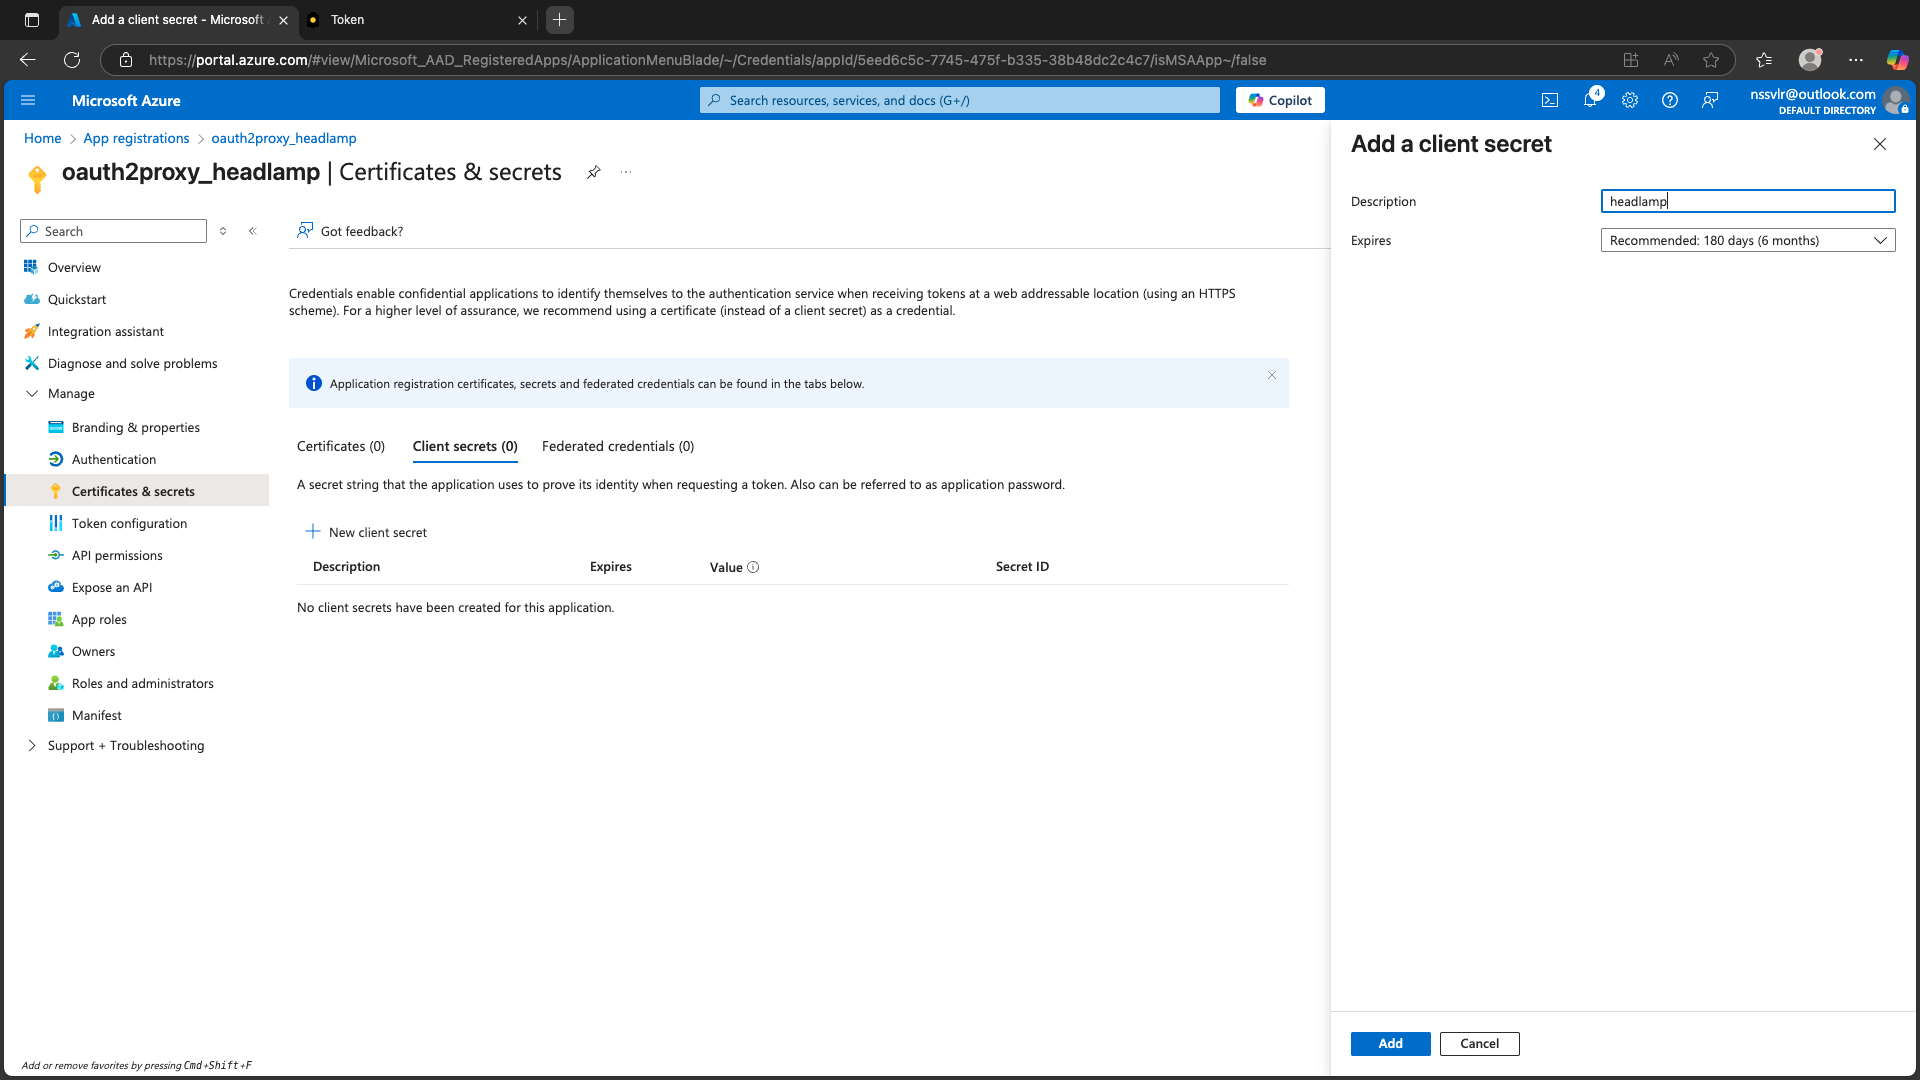
Step 4: Create a Client Secret for OAuth2Proxy
- Go to Certificates & secrets → New client secret.
- Add and copy the value.
Step 5: Deploy Headlamp to AKS
Prerequisites:
- Install Helm
- Download kubeconfig for the AKS cluster
Add Headlamp Helm repo:
helm repo add headlamp https://kubernetes-sigs.github.io/headlamp/
helm repo update
Create a values.yaml for any customizations (optional) and deploy:
helm install my-headlamp headlamp/headlamp --namespace kube-system
Verify Headlamp is running:
kubectl get pods -n kube-system
Port-forward to access the UI:
kubectl port-forward svc/my-headlamp 8000:80 -n kube-system
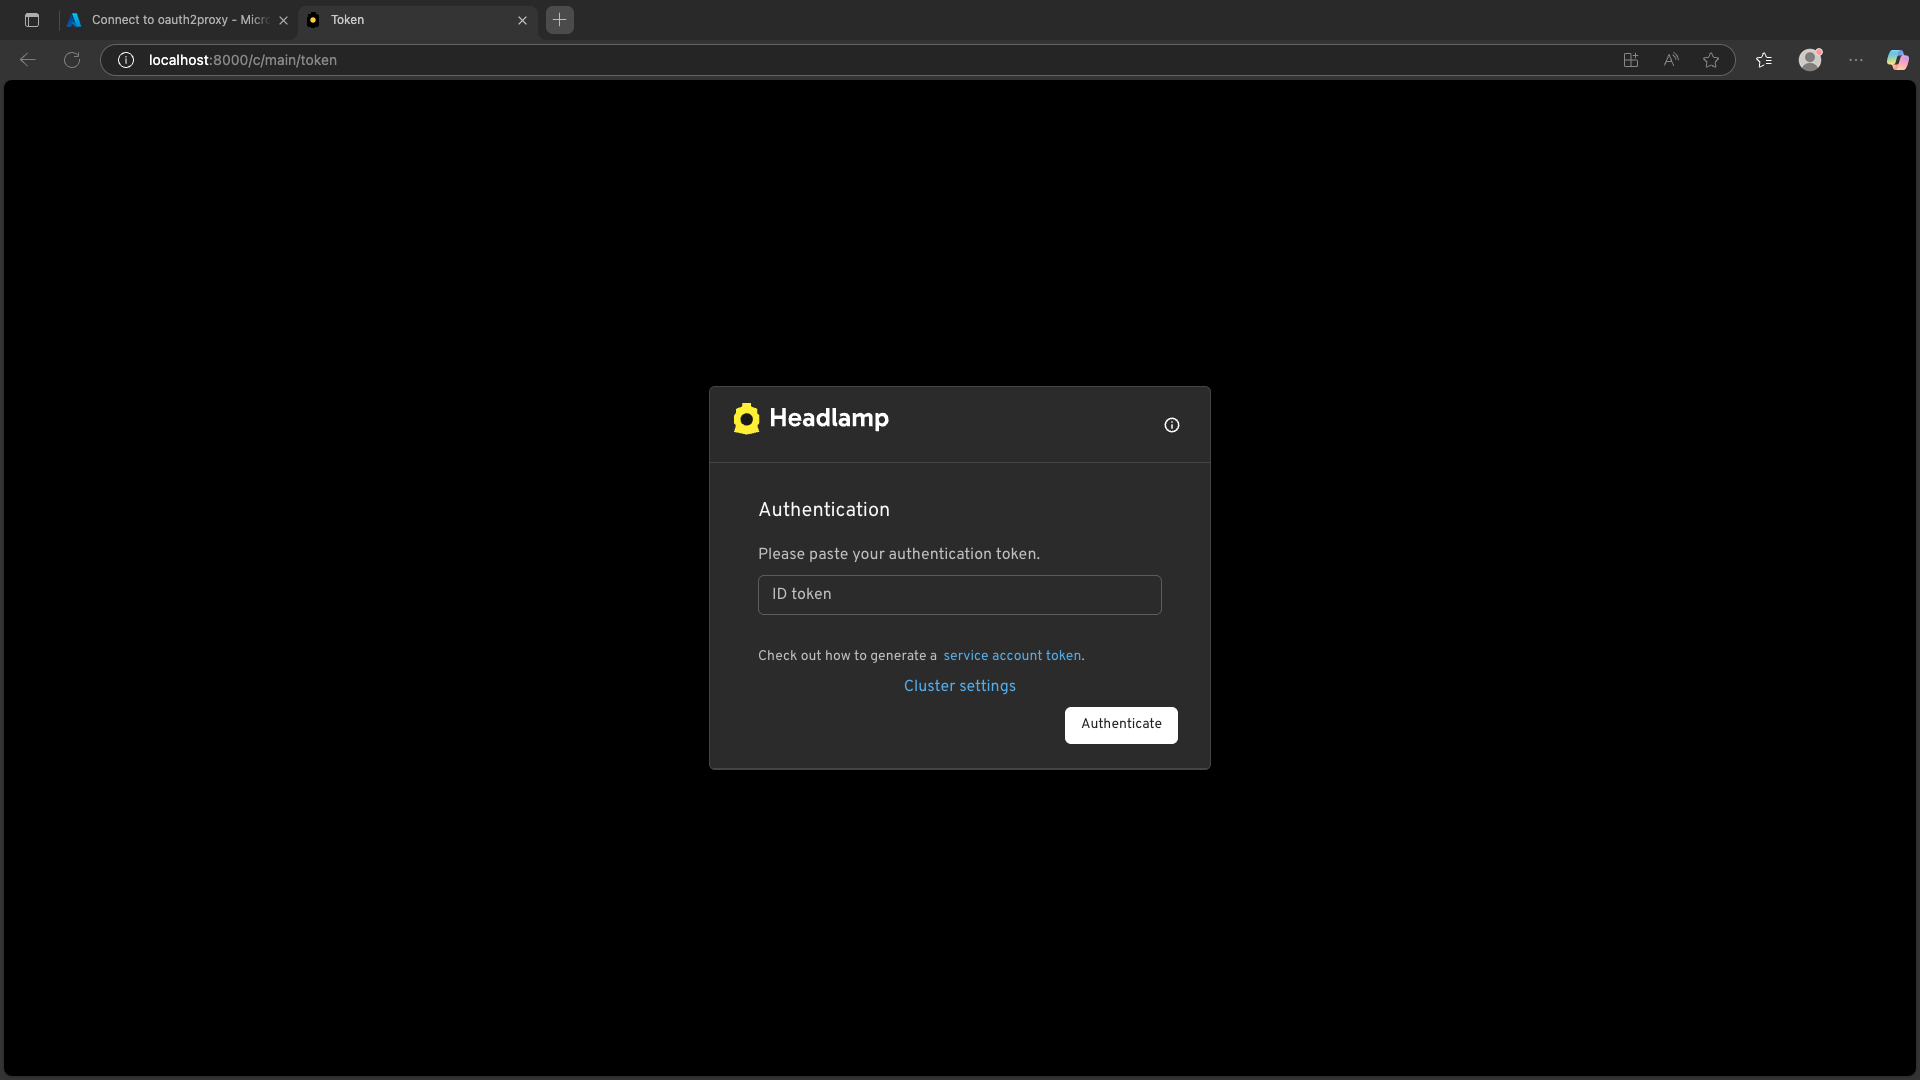
Headlamp should now show an Authentication screen.
Step 6: Deploy OAuth2Proxy via Helm
Add the Helm repo:
helm repo add oauth2-proxy https://oauth2-proxy.github.io/manifests
helm repo update
Prepare your values.yaml
Below is an example configuration you can start with. Be sure to replace placeholders like <Client-ID>, <Client-Secret>, <Tenant-ID>, etc.
config:
  configFile: |-
    email_domains = ["*"]
    cookie_secret = <Cookie-Secret>

alphaConfig:
  enabled: true
  configFile: |-
    injectRequestHeaders:
      - name: Authorization
        values:
          - claim: access_token
            prefix: 'Bearer '
    providers:
      - clientID: <Client-ID>
        clientSecret: <Client-Secret>
        id: entra
        oidcConfig:
          issuerURL: https://login.microsoftonline.com/<Tenant-ID>/v2.0
          audienceClaims:
            - aud
          emailClaim: email
          insecureAllowUnverifiedEmail: true
        provider: oidc
        scope: 6dae42f8-4368-4678-94ff-3960e28e3630/user.read openid email profile User.Read
    upstreamConfig:
      upstreams:
        - id: main
          path: /
          uri: http://<your-headlamp-service-name>.<your-headlamp-namespace>.svc.cluster.local
Deploy OAuth2Proxy:
helm install my-release oauth2-proxy/oauth2-proxy -f values.yaml
Verify it's up:
kubectl get pods
Step 7: Set Kubernetes RBAC Policies Based on Azure Entra Groups
apiVersion: rbac.authorization.k8s.io/v1
kind: ClusterRoleBinding
metadata:
  name: read-only-binding
subjects:
- kind: Group
  apiGroup: rbac.authorization.k8s.io
  name: "<AzureEntraGroupObjectID>"
roleRef:
  kind: ClusterRole
  name: view
  apiGroup: rbac.authorization.k8s.io
Apply:
kubectl apply -f your-rbac-binding.yaml
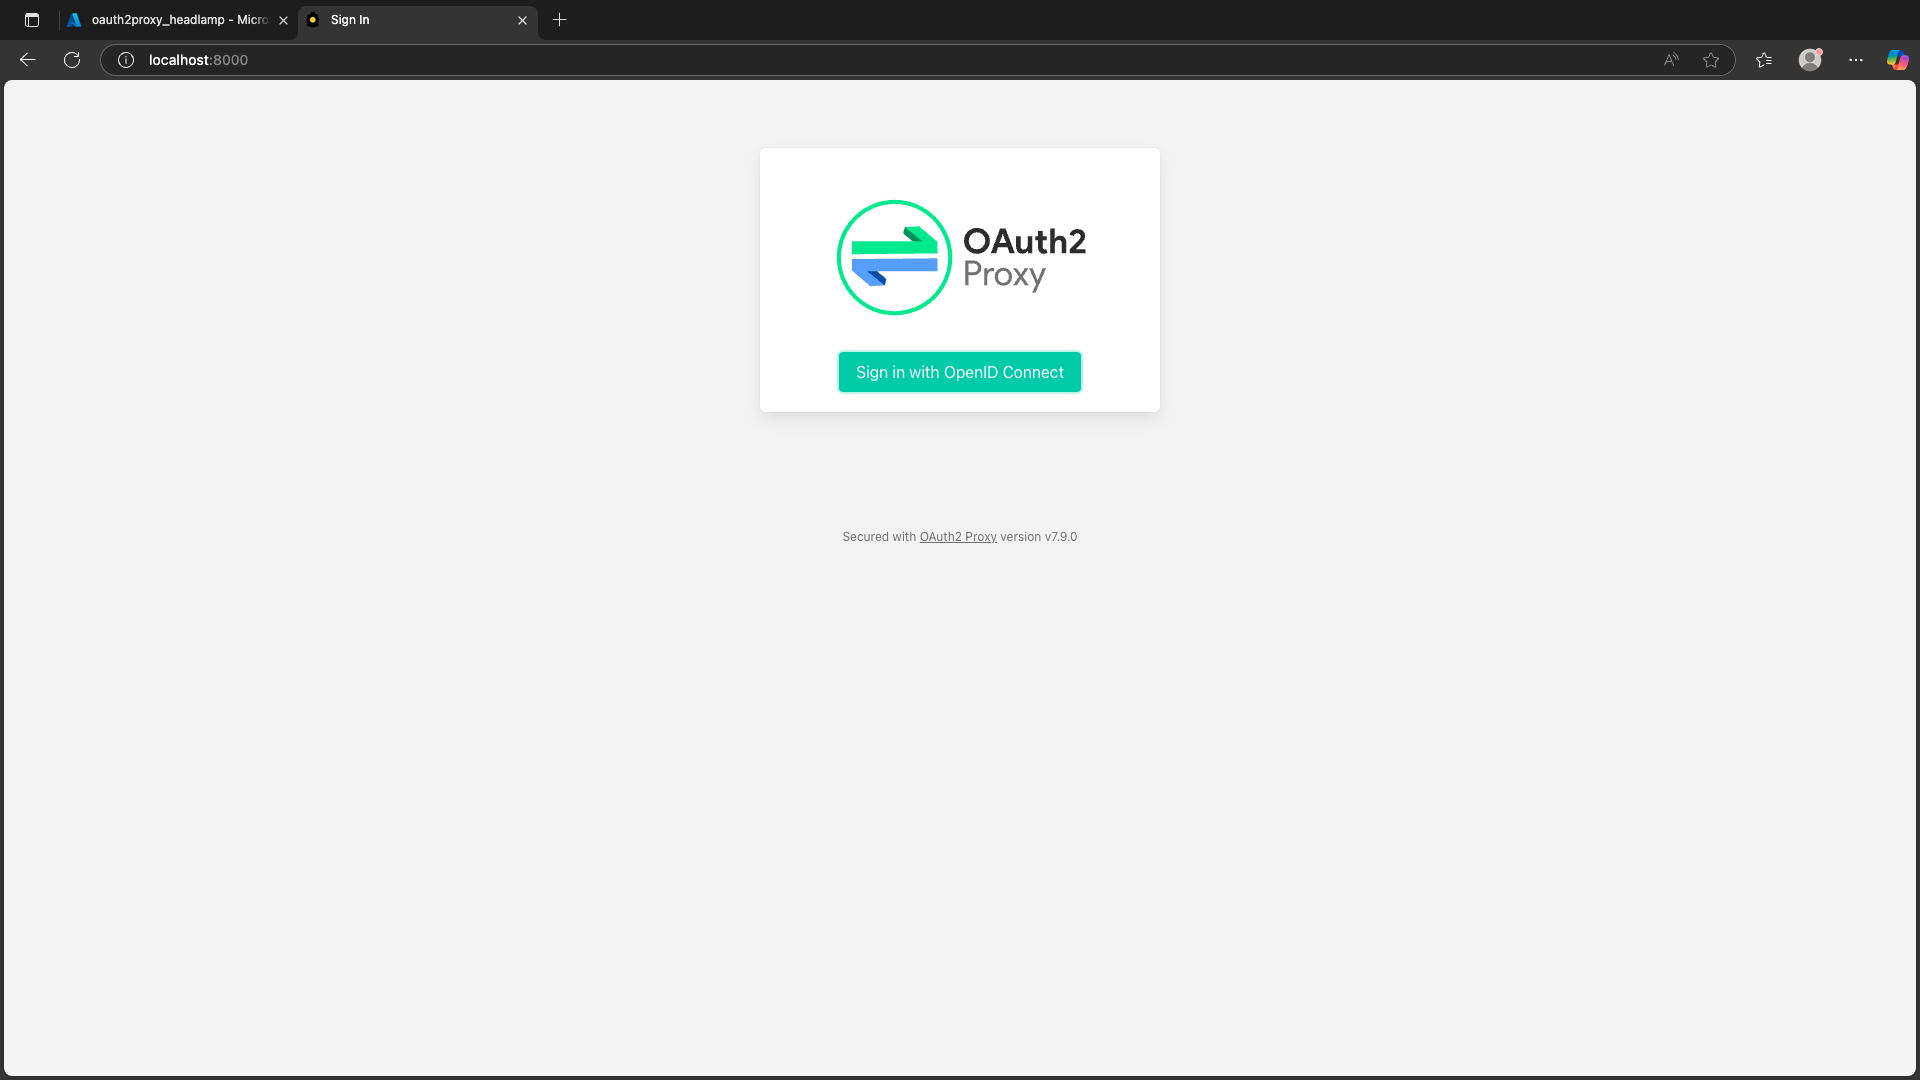
Step 8: Login Flow
- Navigate to the port-forwarded Headlamp UI.
- Click Sign in.
- Follow the Entra login prompt.
Note: In a development environment, OAuth2Proxy may try to redirect to https:// by default. For local testing, ensure your redirect URI and settings use http://.
Once authenticated, you'll be redirected back to Headlamp and should have access to your cluster UI.
Step 9: Test Authentication Flow
- Access your protected endpoint.
- Login via Entra.
- Validate RBAC access.