Running Headlamp from Source
This tutorial guides you through building and running Headlamp from source code. By the end, you'll have Headlamp running locally in development mode—ready for plugin development or contributing to the project.
Table of Contents
- Introduction
- Prerequisites
- Clone the Repository
- Repository Structure
- Install Dependencies
- Build the Code
- Run in Development Mode
- Run the Desktop App
- Connect to a Kubernetes Cluster
- Troubleshooting
- Next Steps
Introduction
Headlamp is an open-source, extensible Kubernetes web UI. It provides:
- A clean, modern interface for managing Kubernetes clusters
- Multi-cluster support
- A powerful plugin system for customization
- Desktop and in-cluster deployment options
Headlamp has three main components:
| Component | Technology | Purpose |
|---|---|---|
| Frontend | TypeScript, React | The web UI you interact with |
| Backend | Go | API server that proxies requests to Kubernetes |
| Desktop App | Electron | Native app wrapper for macOS, Windows, Linux |
Building from source lets you modify Headlamp, develop plugins with live reload, and contribute to the project.
Prerequisites
Install these tools before proceeding:
Required
| Tool | Version | Installation |
|---|---|---|
| Git | Latest | git-scm.com |
| Node.js | ≥20.11.1 LTS | nodejs.org or use nvm |
| npm | ≥10.0.0 | Included with Node.js |
| Go | ≥1.24 | go.dev/doc/install |
Optional (for testing with a cluster)
| Tool | Purpose | Installation |
|---|---|---|
| minikube | Local Kubernetes cluster | minikube.sigs.k8s.io |
| kubectl | Kubernetes CLI | kubernetes.io/docs/tasks/tools |
Verify Installation
# Check versions
node --version    # Should be v20.11.1 or higher
npm --version     # Should be 10.0.0 or higher
go version        # Should be go1.24 or higher
git --version     # Any recent version
Clone the Repository
Option A: Fork First (for contributors)
- Fork the repo at github.com/kubernetes-sigs/headlamp
- Clone your fork:
git clone https://github.com/YOUR_USERNAME/headlamp.git
cd headlamp
Option B: Clone Directly
git clone https://github.com/kubernetes-sigs/headlamp.git
cd headlamp
Repository Structure
Headlamp is organized as a monorepo with three main components: a React frontend for the UI, a Go backend that proxies requests to Kubernetes, and an Electron app for the desktop version. All build commands are orchestrated from the root package.json.
headlamp/
├── frontend/          # React/TypeScript web UI
│   ├── src/           # Source code, components, and tests
│   └── package.json   # Frontend dependencies
│
├── backend/           # Go server
│   ├── cmd/           # Main application entry point
│   ├── pkg/           # Reusable packages (auth, cache, helm, etc.)
│   └── go.mod         # Go dependencies
│
├── app/               # Electron desktop application
│   ├── electron/      # Main process code
│   └── package.json   # App dependencies
│
├── plugins/           # Plugin system
│   ├── examples/      # Example plugins to learn from
│   └── headlamp-plugin/  # Plugin development tools
│
├── docs/              # Documentation (markdown)
├── package.json       # Root scripts for building/running
└── README.md          # Project overview
Key insight: The root package.json contains npm scripts that orchestrate building and running all components. You'll use commands like npm run backend:build and npm run frontend:start from the root directory.
Install Dependencies
From the repository root, install all dependencies:
# Install root dependencies
npm install

# Install frontend dependencies
npm run frontend:install

# Install app dependencies (only needed if running desktop app)
npm run app:install
Note: Go dependencies are fetched automatically during the build step. No separate install is needed for the backend.
Quick install everything:
npm run install:all
Build the Code
Build Everything
npm run build
This runs backend:build and frontend:build sequentially.
Build Individually
# Build backend only (compiles Go → backend/headlamp-server binary)
npm run backend:build

# Build frontend only (compiles TypeScript → frontend/build/)
npm run frontend:build
Note: Building creates the artifacts but doesn't run them. See the next section to start Headlamp.
Run in Development Mode
Option 1: Run Both Together (Recommended)
npm start
This starts both backend and frontend with live reload. You'll see color-coded output:
- 🔵 Blue: Backend logs
- 🟢 Green: Frontend logs
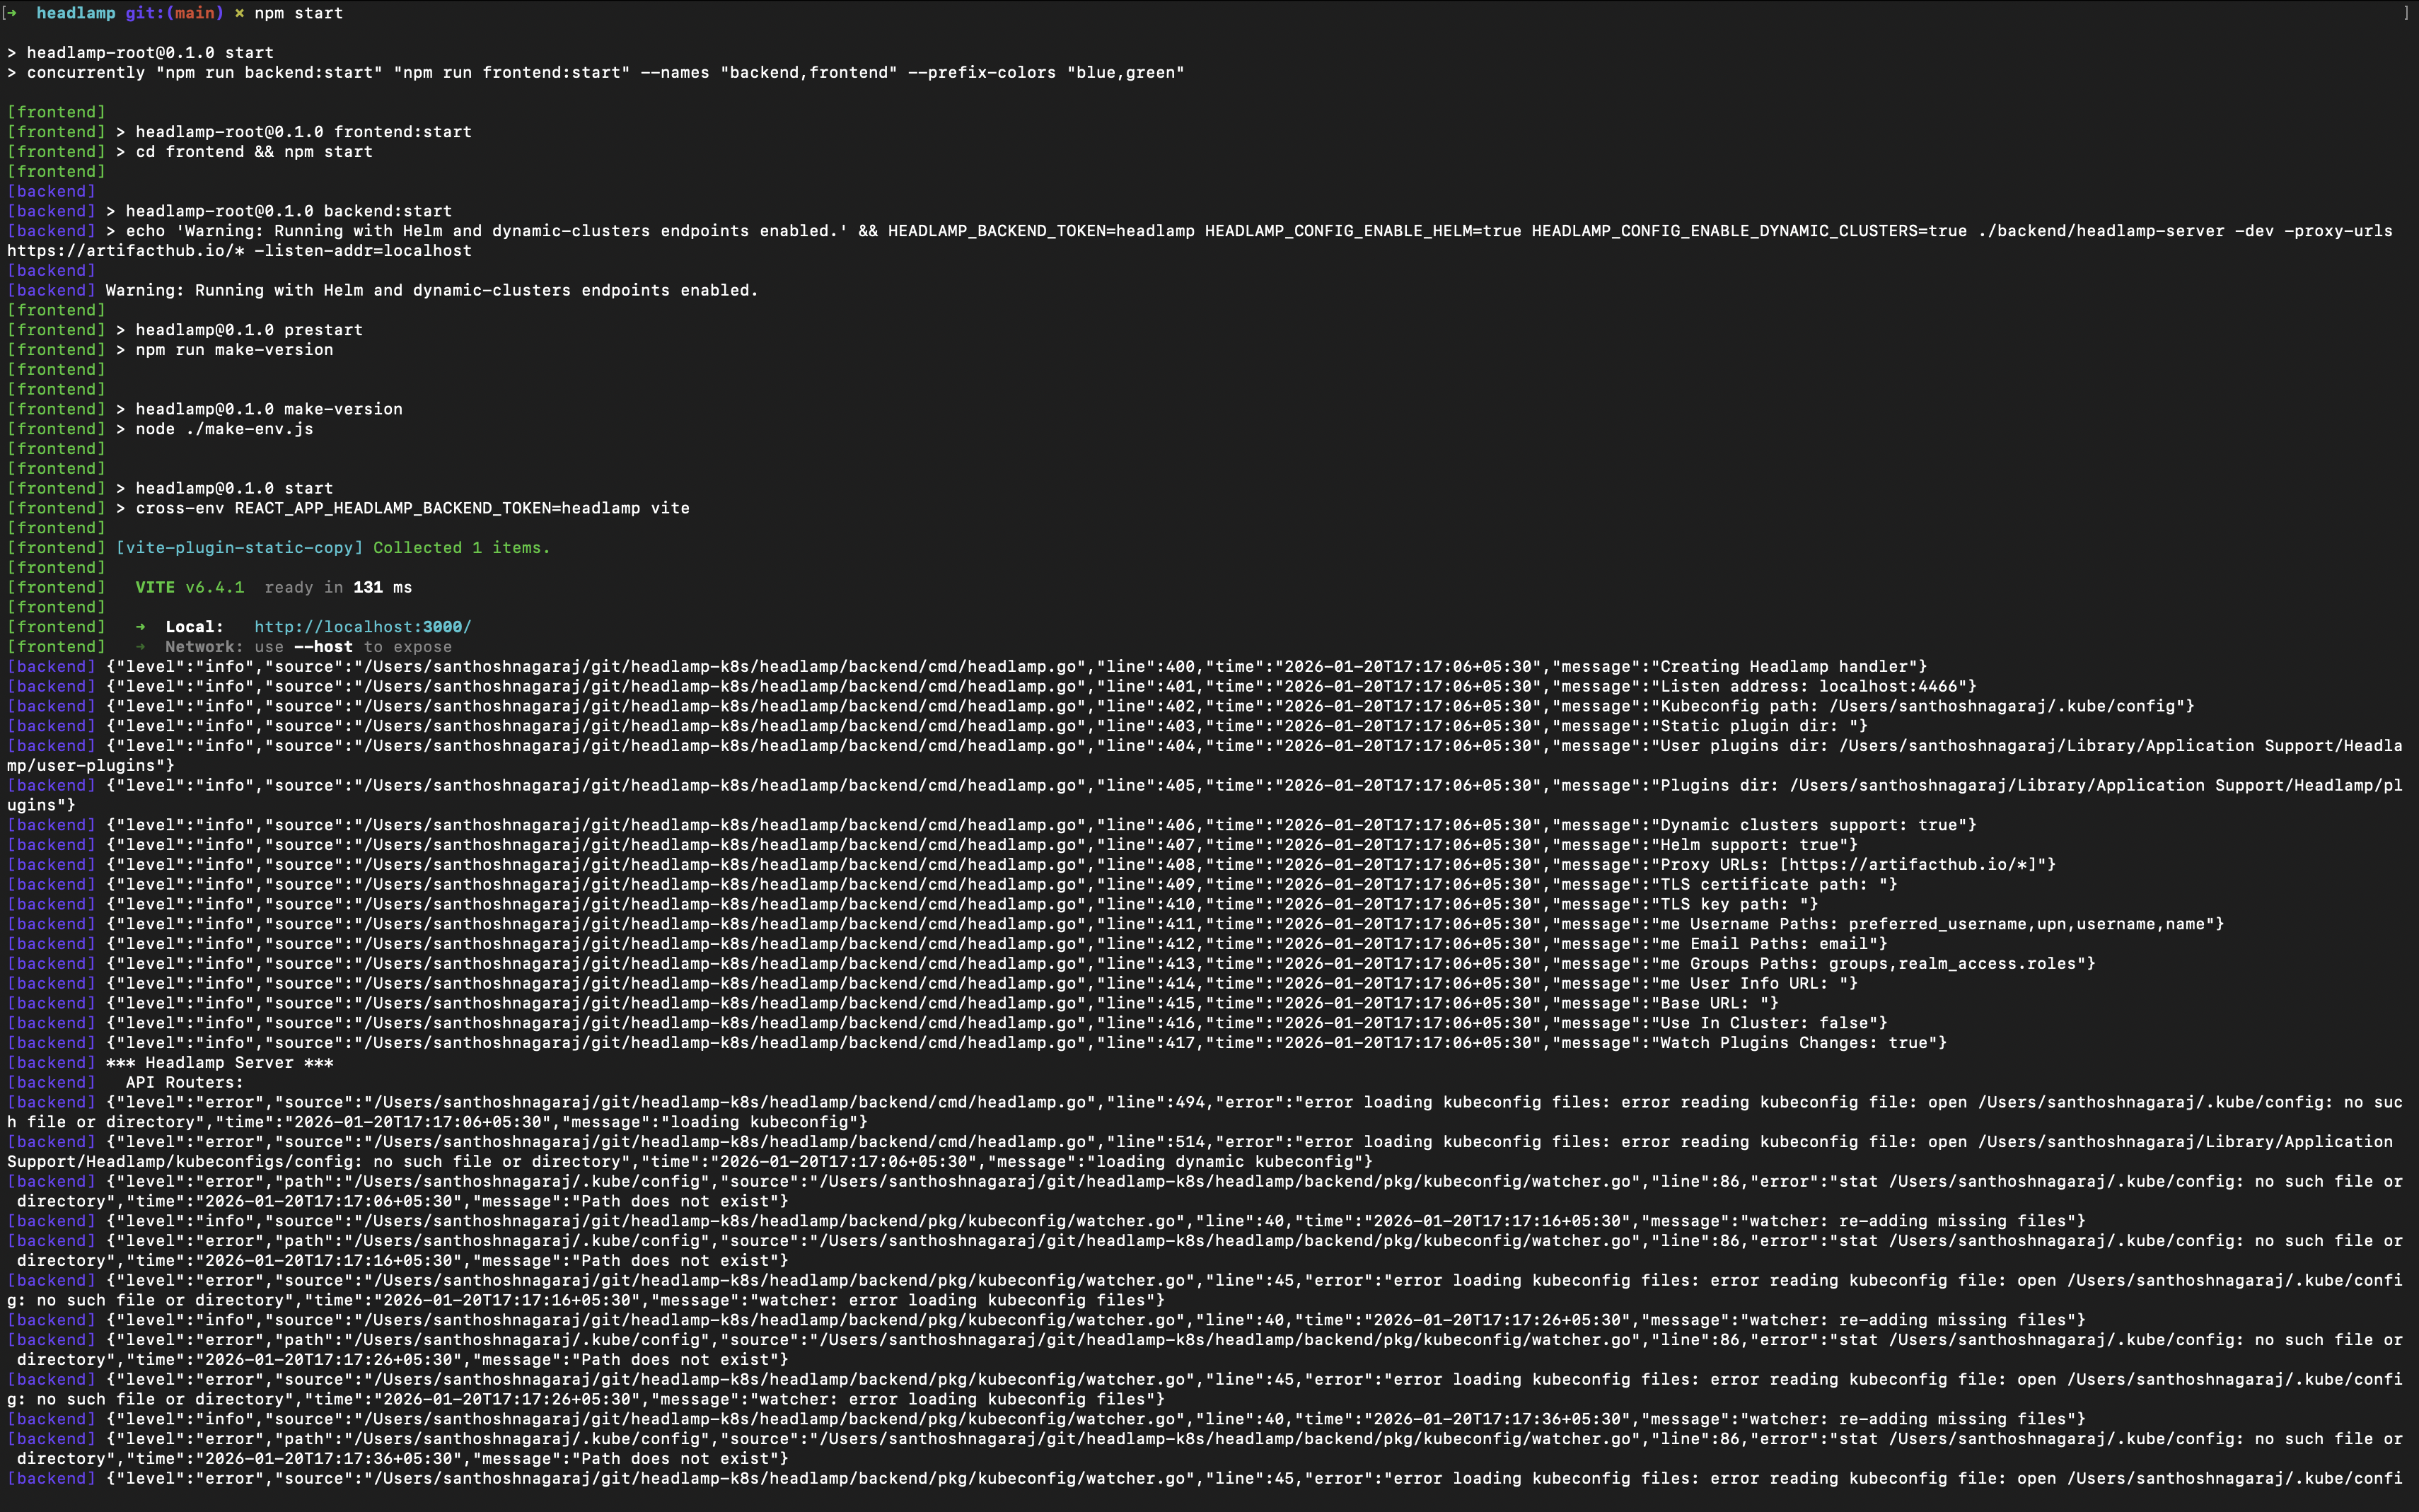
Access points:
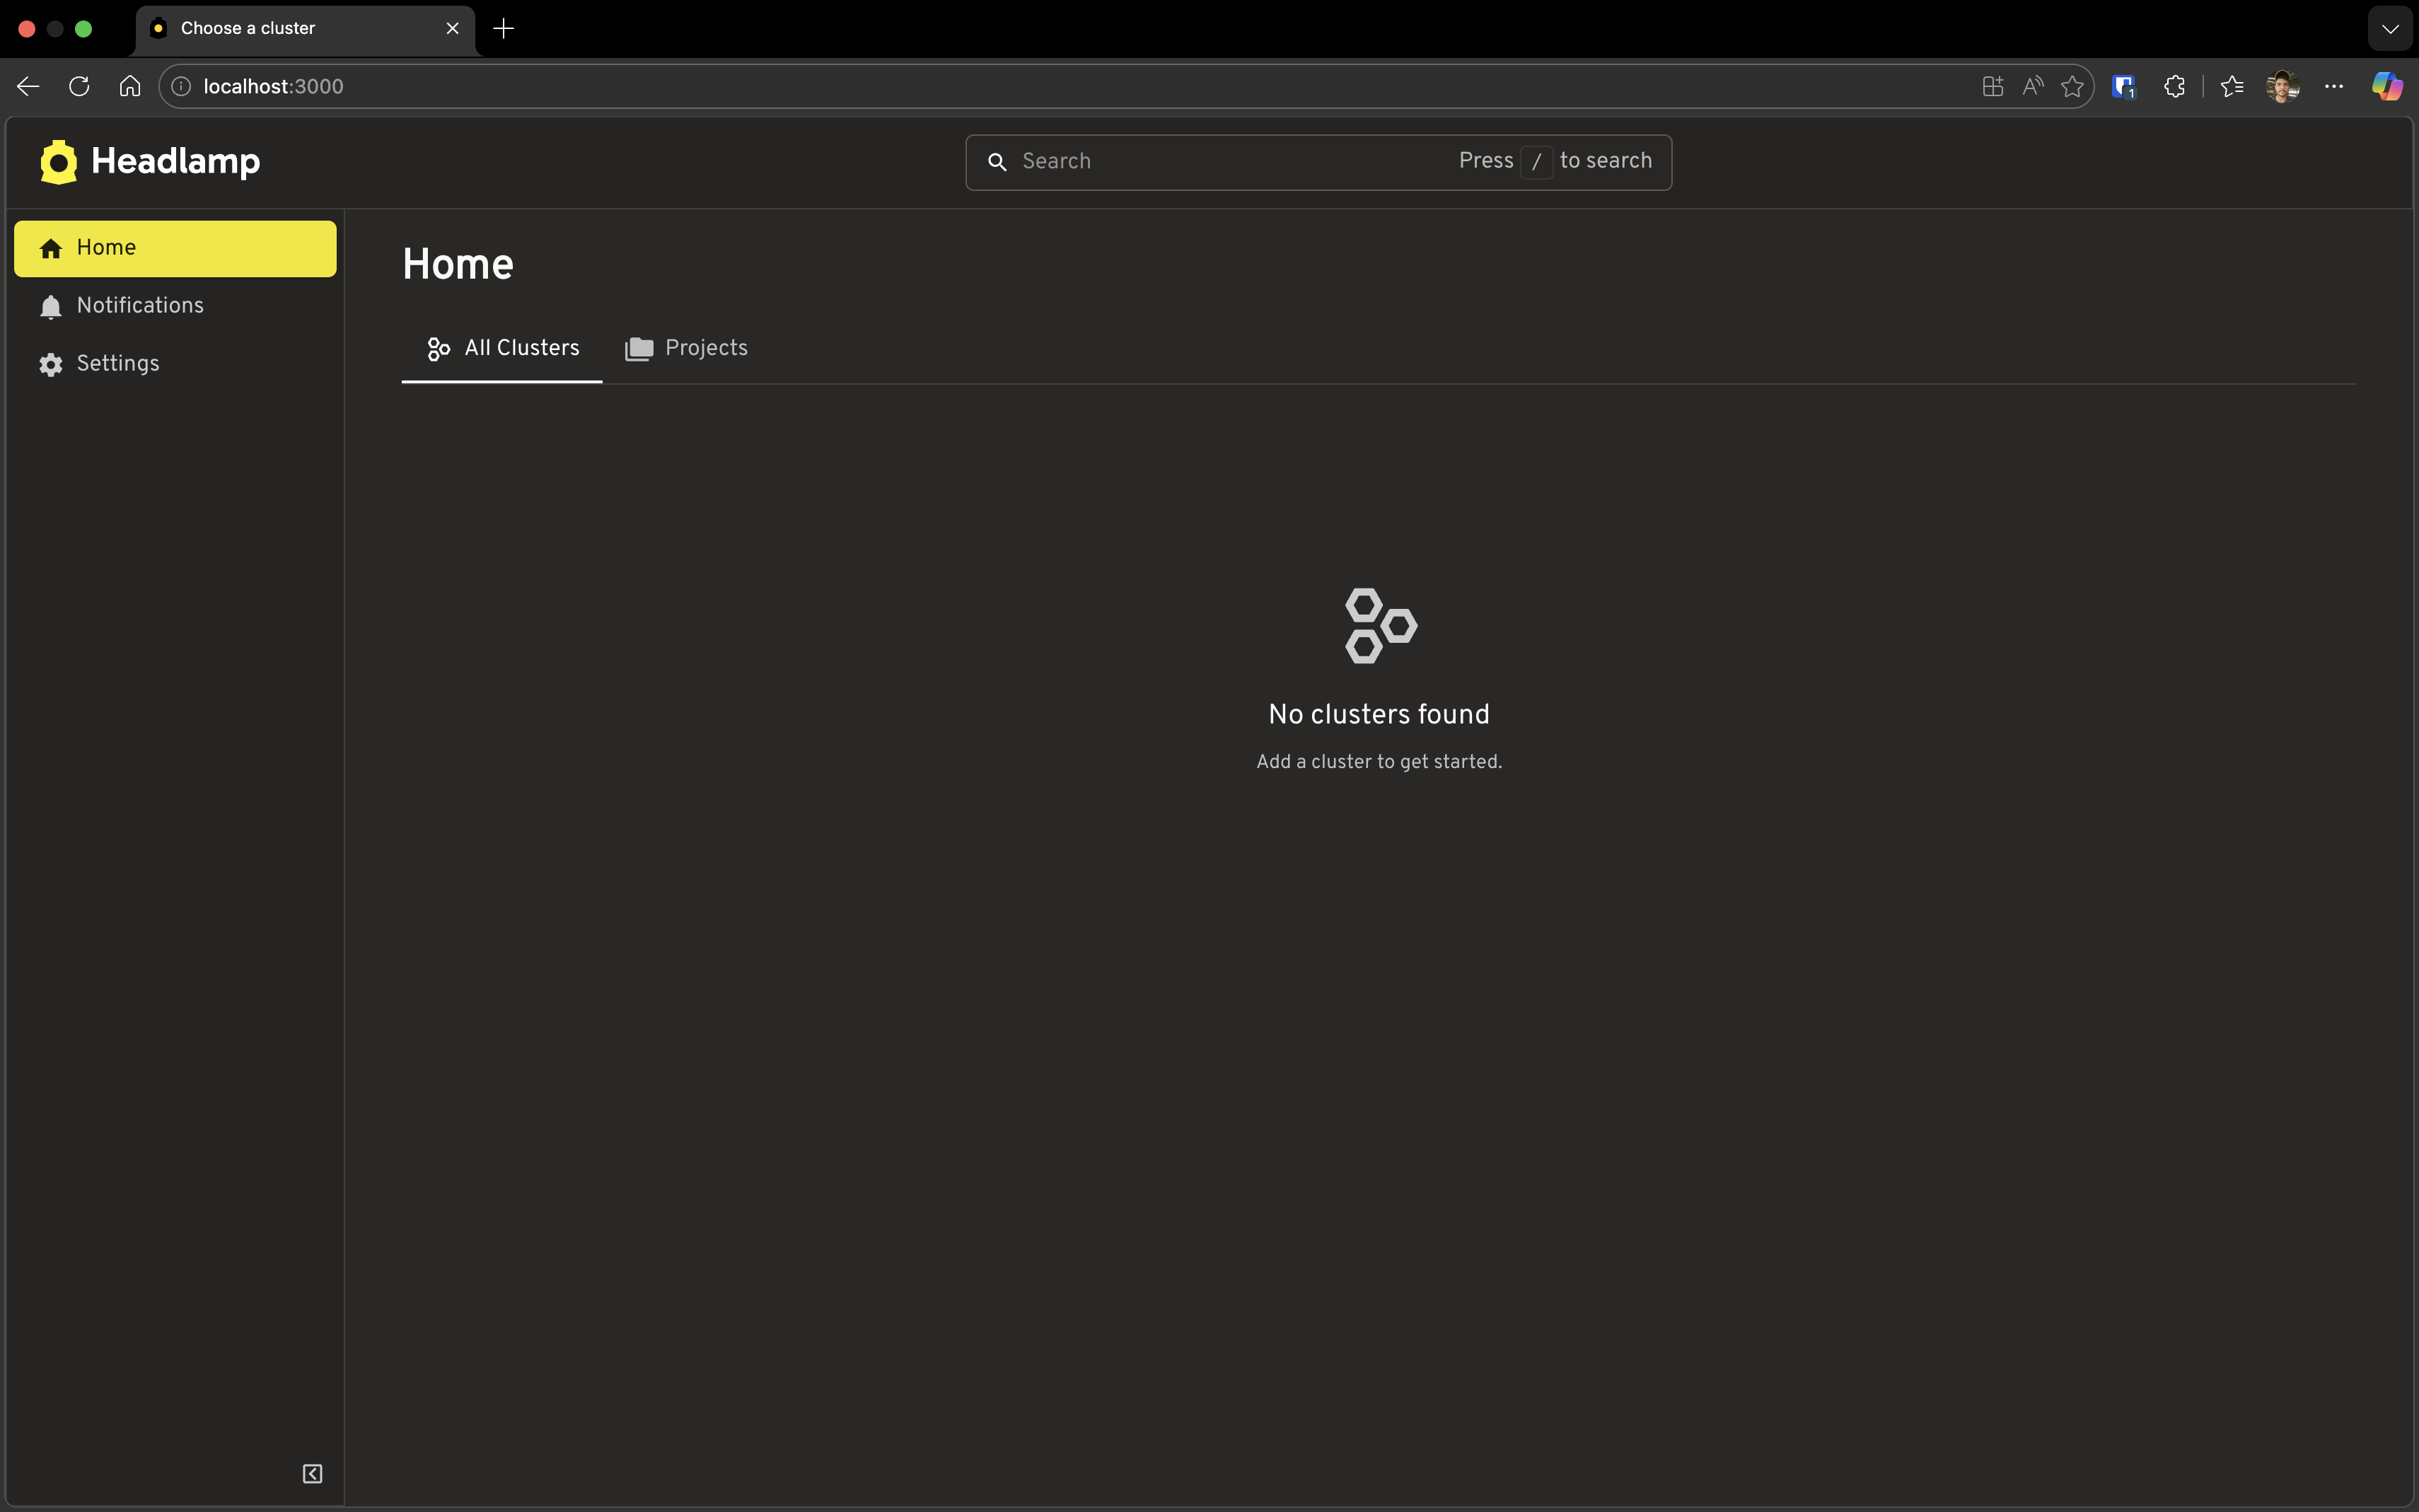
- Frontend: http://localhost:3000
- Backend API: http://localhost:4466
Open http://localhost:3000 in your browser. You should see Headlamp's welcome screen:
Option 2: Run Separately (Two Terminals)
Terminal 1 - Backend:
npm run backend:build   # Build first (required)
npm run backend:start
Terminal 2 - Frontend:
npm run frontend:start
Tip: Running separately is useful when you only want to restart one component.
Run the Desktop App
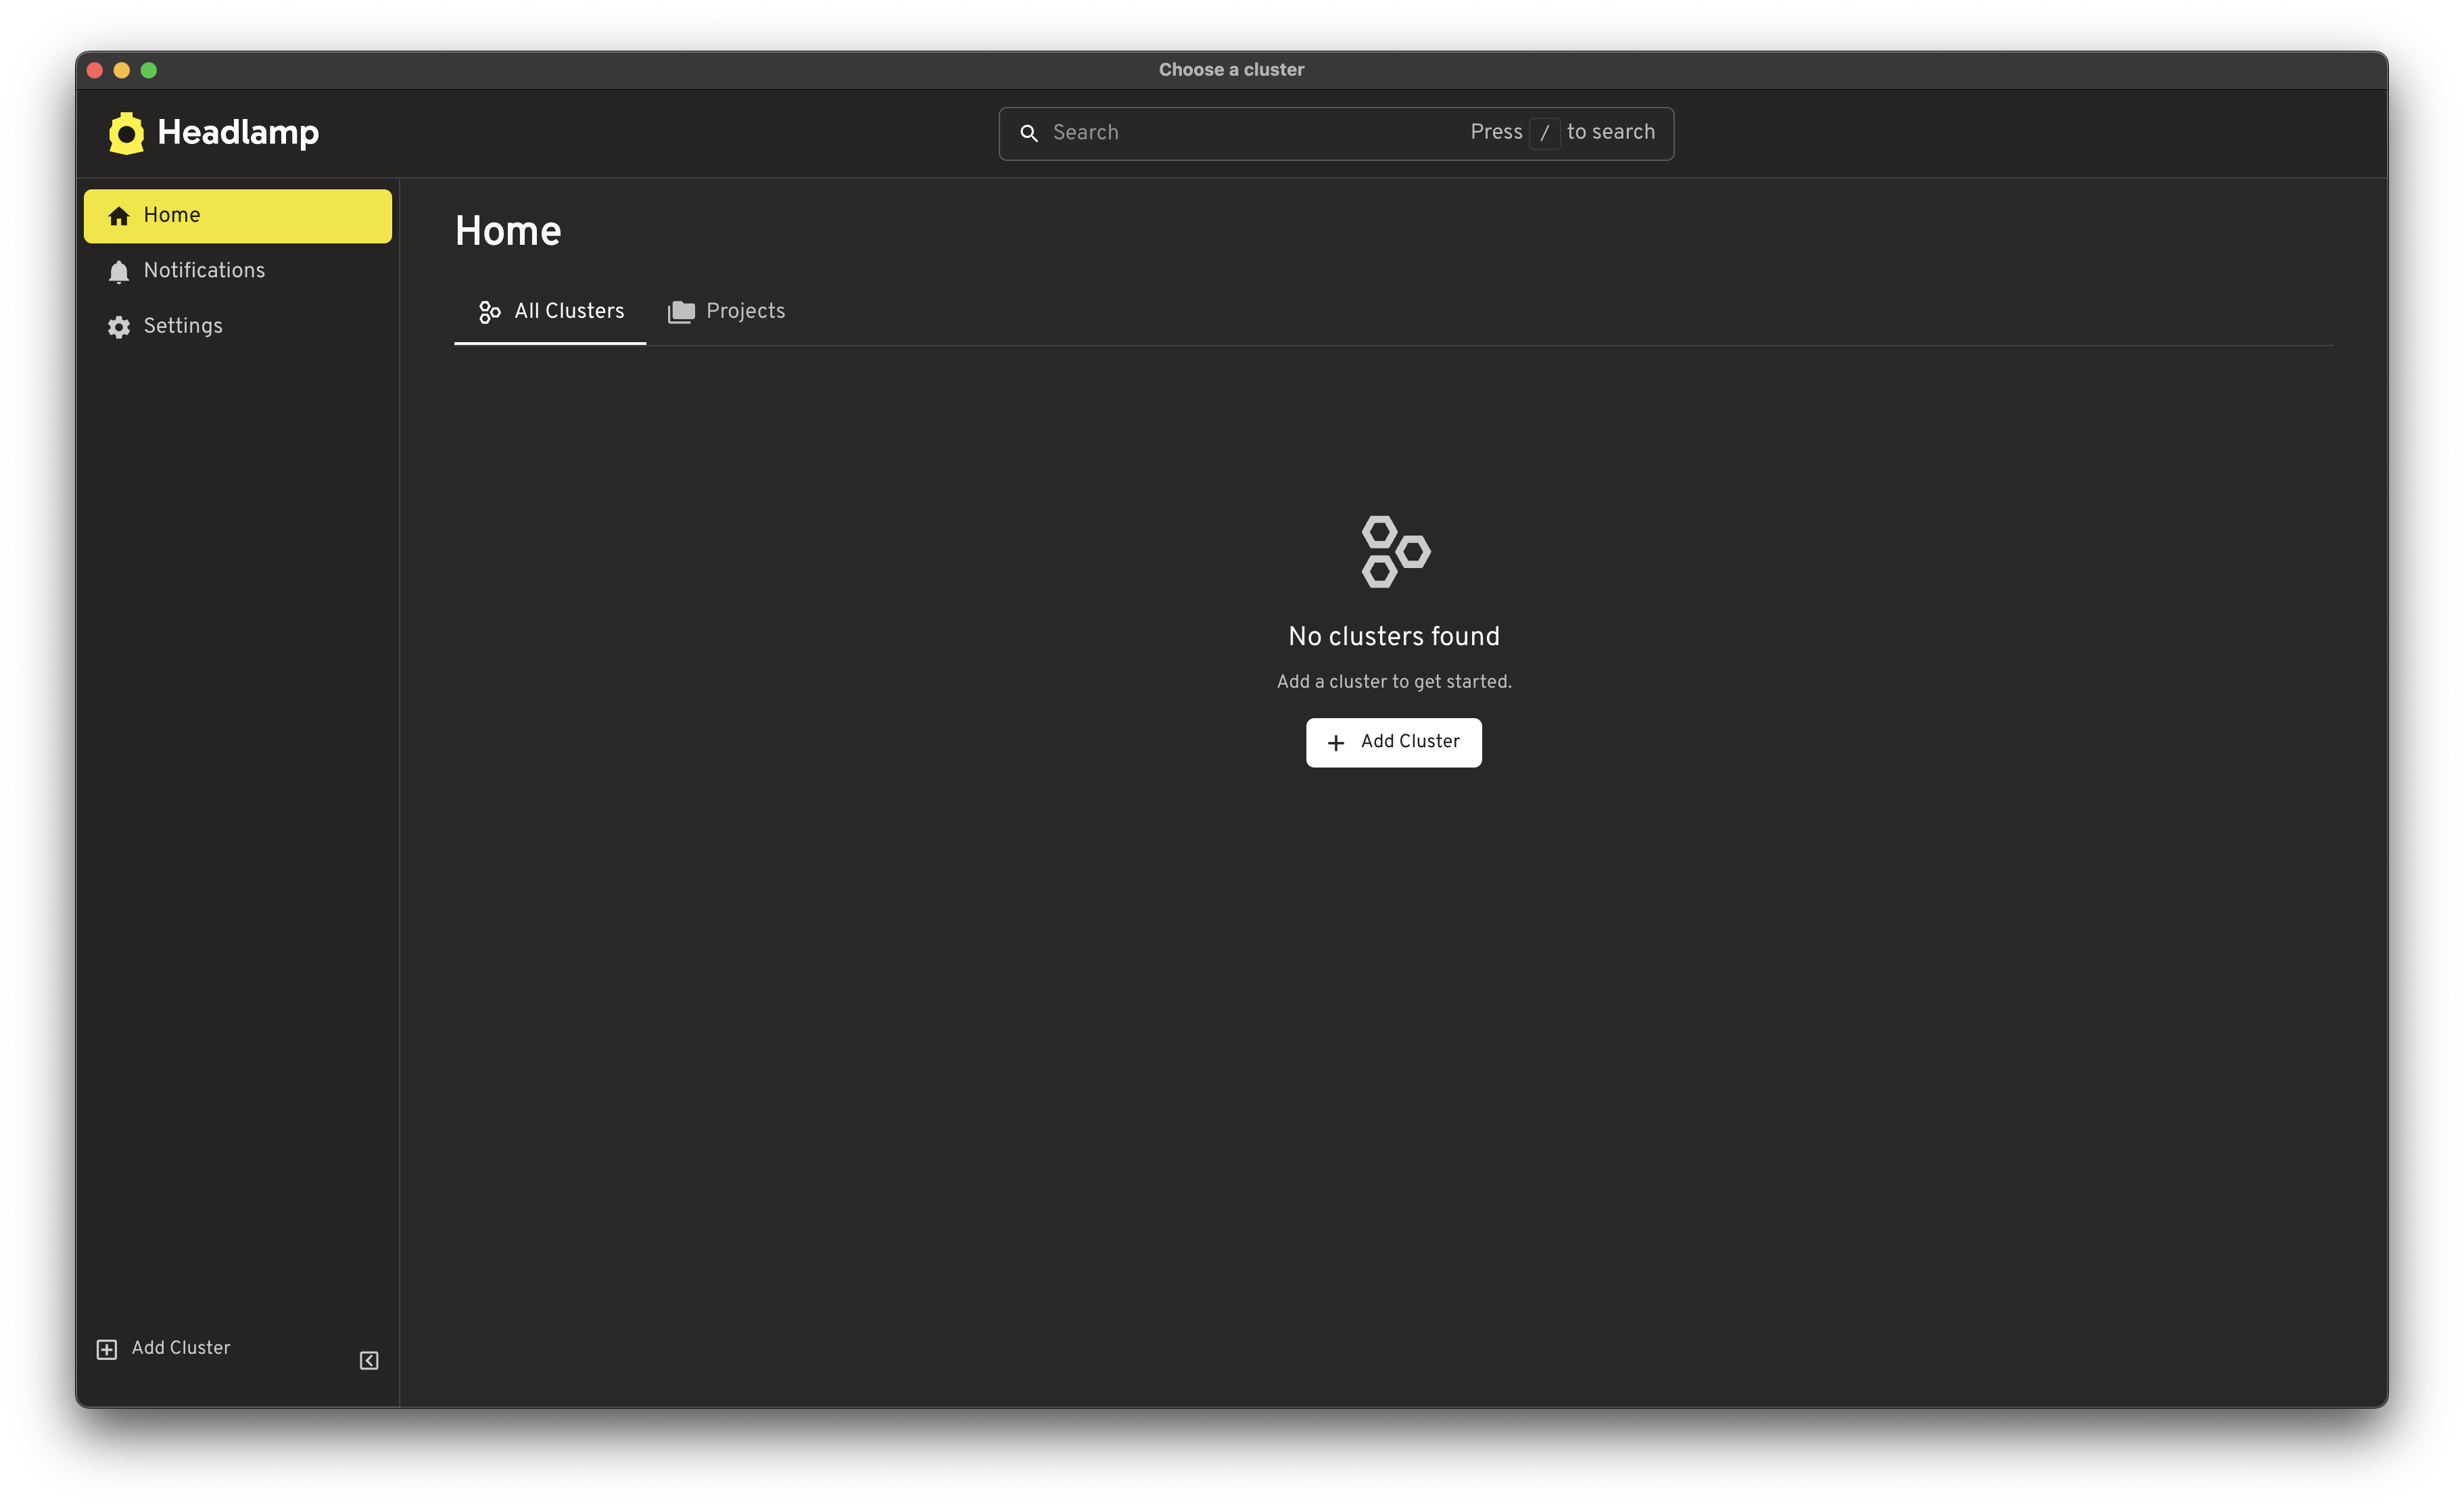
The desktop app wraps the frontend and backend into a native application.
Option 1: Full App Mode
Builds frontend and runs the complete Electron app:
npm run app:start
Option 2: App-Only Mode (Development)
If you already have npm start running (backend + frontend), you can run just the Electron shell:
npm run app:start:client
This connects to your running dev servers—useful for faster iteration on app-specific code.
Option 3: Everything Together
Run backend, frontend, and desktop app all at once:
npm run start:with-app
Connect to a Kubernetes Cluster
Headlamp automatically detects Kubernetes clusters from your kubeconfig file. By default, it looks for the file at ~/.kube/config on macOS/Linux or %USERPROFILE%\.kube\config on Windows. If you have multiple clusters configured, Headlamp will show all of them and let you switch between them.
Already have a cluster? If you already have
kubectlworking with a cluster (trykubectl get nodes), you can skip to the next section—Headlamp will pick it up automatically.
Quick Setup with minikube
# Start a local cluster
minikube start

# Verify it's running
kubectl get nodes
Now refresh Headlamp, it should detect your cluster automatically.

Troubleshooting
Port Already in Use
# Find and kill process on port 3000 (frontend)
lsof -i :3000  # macOS/Linux
netstat -ano | findstr :3000  # Windows

# Find and kill process on port 4466 (backend)
lsof -i :4466  # macOS/Linux
Backend Won't Start
Ensure the binary exists:
ls backend/headlamp-server  # macOS/Linux
dir backend\headlamp-server.exe  # Windows
If missing, rebuild:
npm run backend:build
Node/Go Version Mismatch
# Check versions match requirements
node --version  # Need ≥20.11.1
go version      # Need ≥1.24
kubeconfig Not Found
Headlamp looks for ~/.kube/config by default. Verify it exists:
cat ~/.kube/config  # macOS/Linux
type %USERPROFILE%\.kube\config  # Windows
Clean Rebuild
When in doubt, clean and rebuild:
npm run clean
npm run install:all
npm run build
Next Steps
🎉 Congratulations! You now have Headlamp running from source!
Here's where to go next:
- Tutorial 2: Creating Your First Plugin — Create your first Headlamp plugin
- Architecture Overview — Understand how Headlamp is built
- Frontend Development — Deep dive into the Frontend
- Backend Development — Learn about the Backend Server
- Contributing Guidelines — How to submit changes
Get Help
Quick Reference
| Task | Command |
|---|---|
| Install all dependencies | npm run install:all |
| Build everything | npm run build |
| Run dev mode (backend + frontend) | npm start |
| Run desktop app | npm run app:start |
| Run desktop app (dev, connects to running servers) | npm run app:start:client |
| Run everything including app | npm run start:with-app |
| Build backend only | npm run backend:build |
| Build frontend only | npm run frontend:build |
| Run tests | npm test |
| Lint code | npm run lint |
| Clean build artifacts | npm run clean |